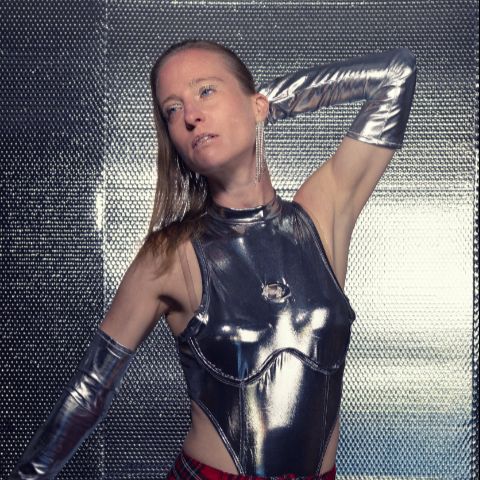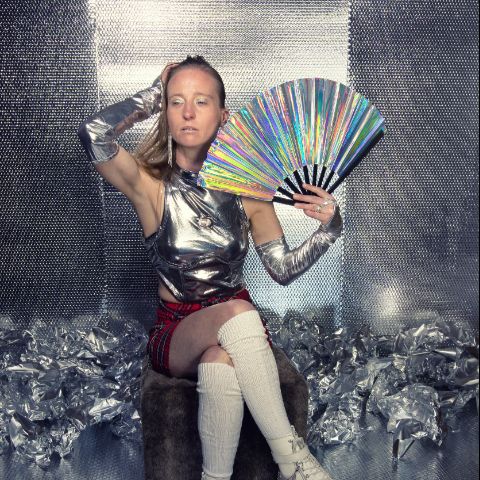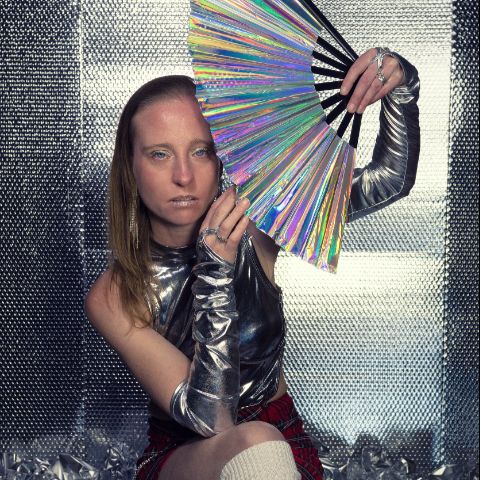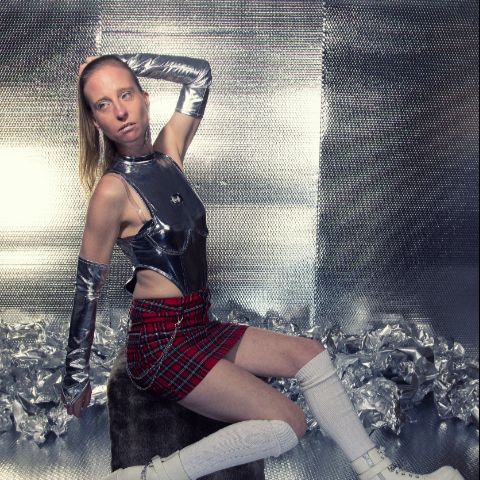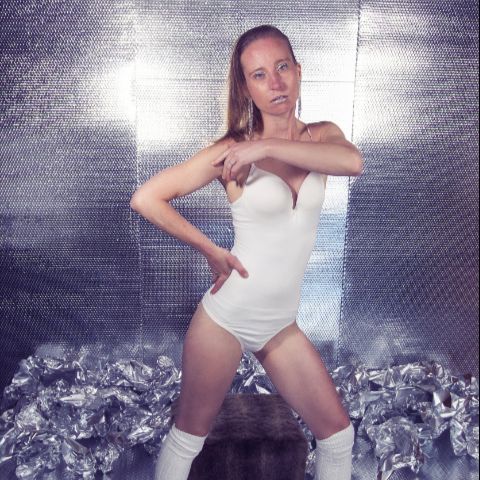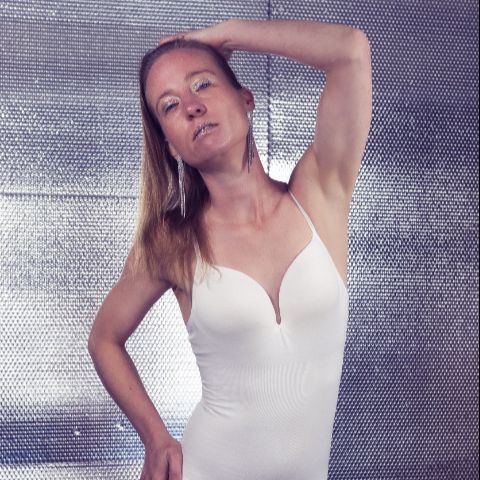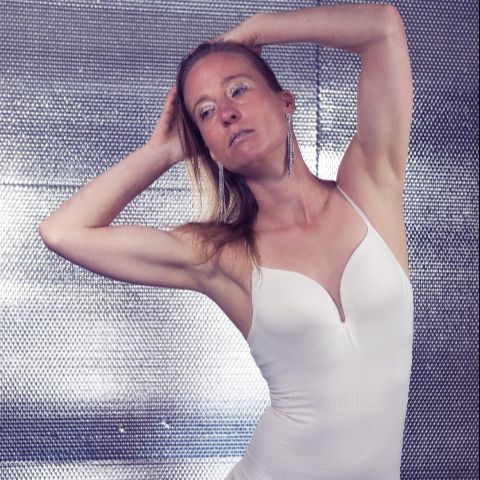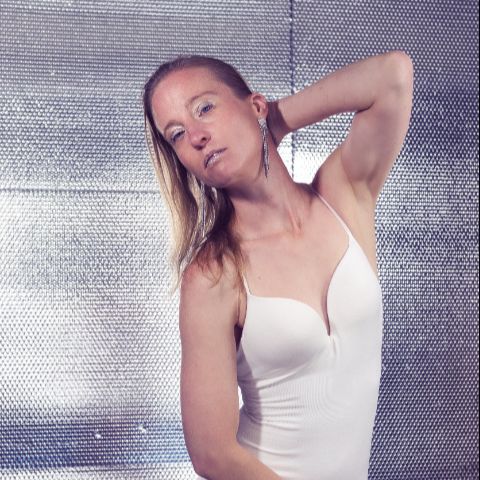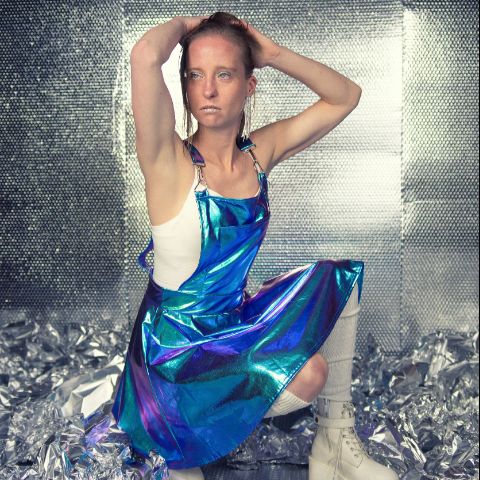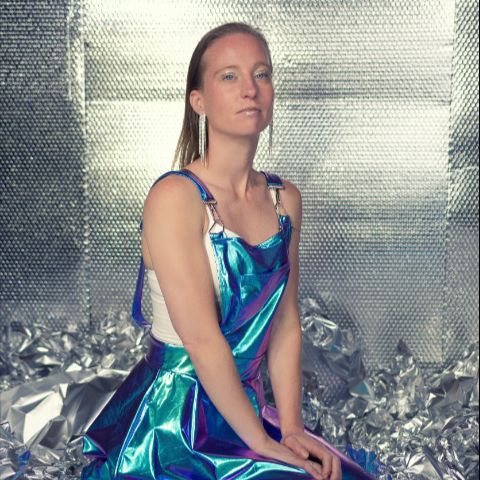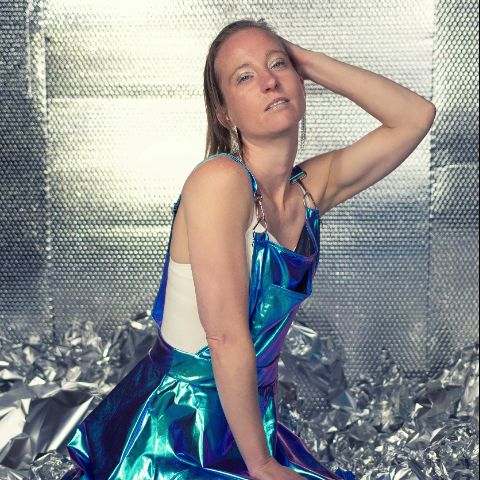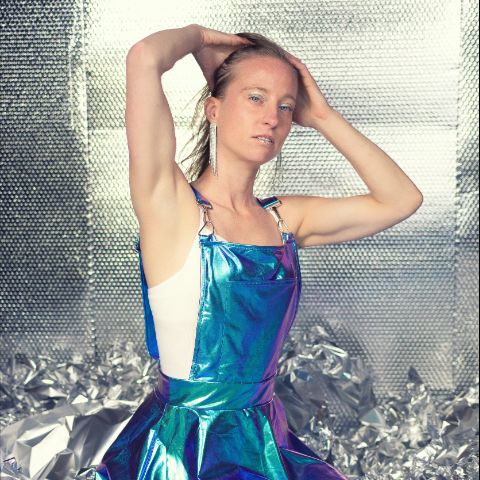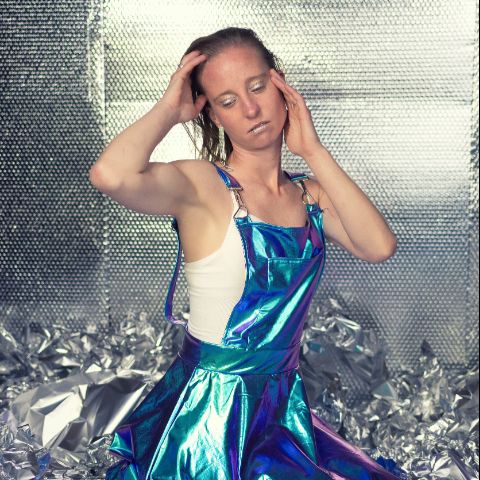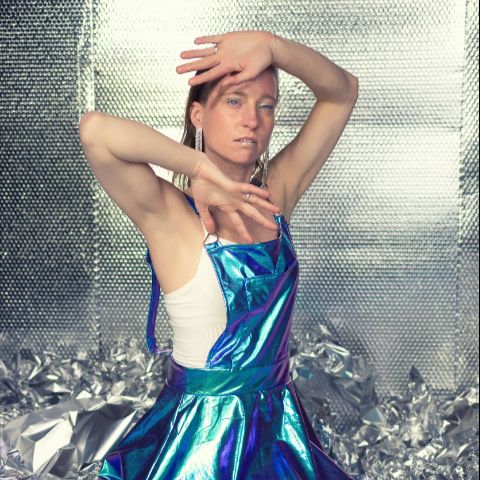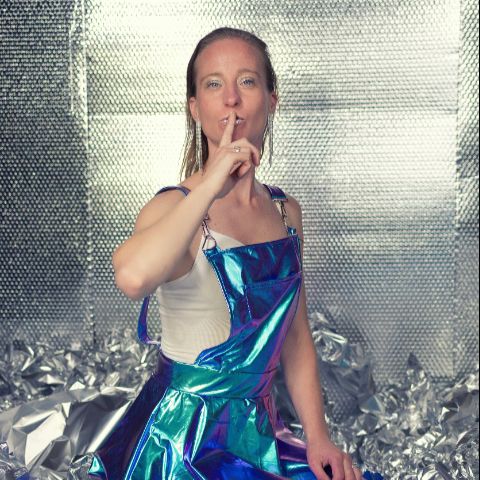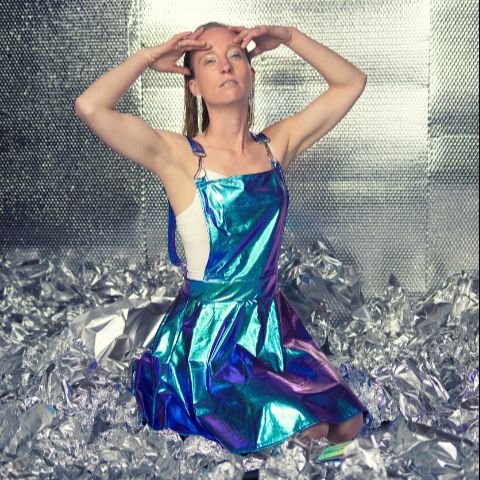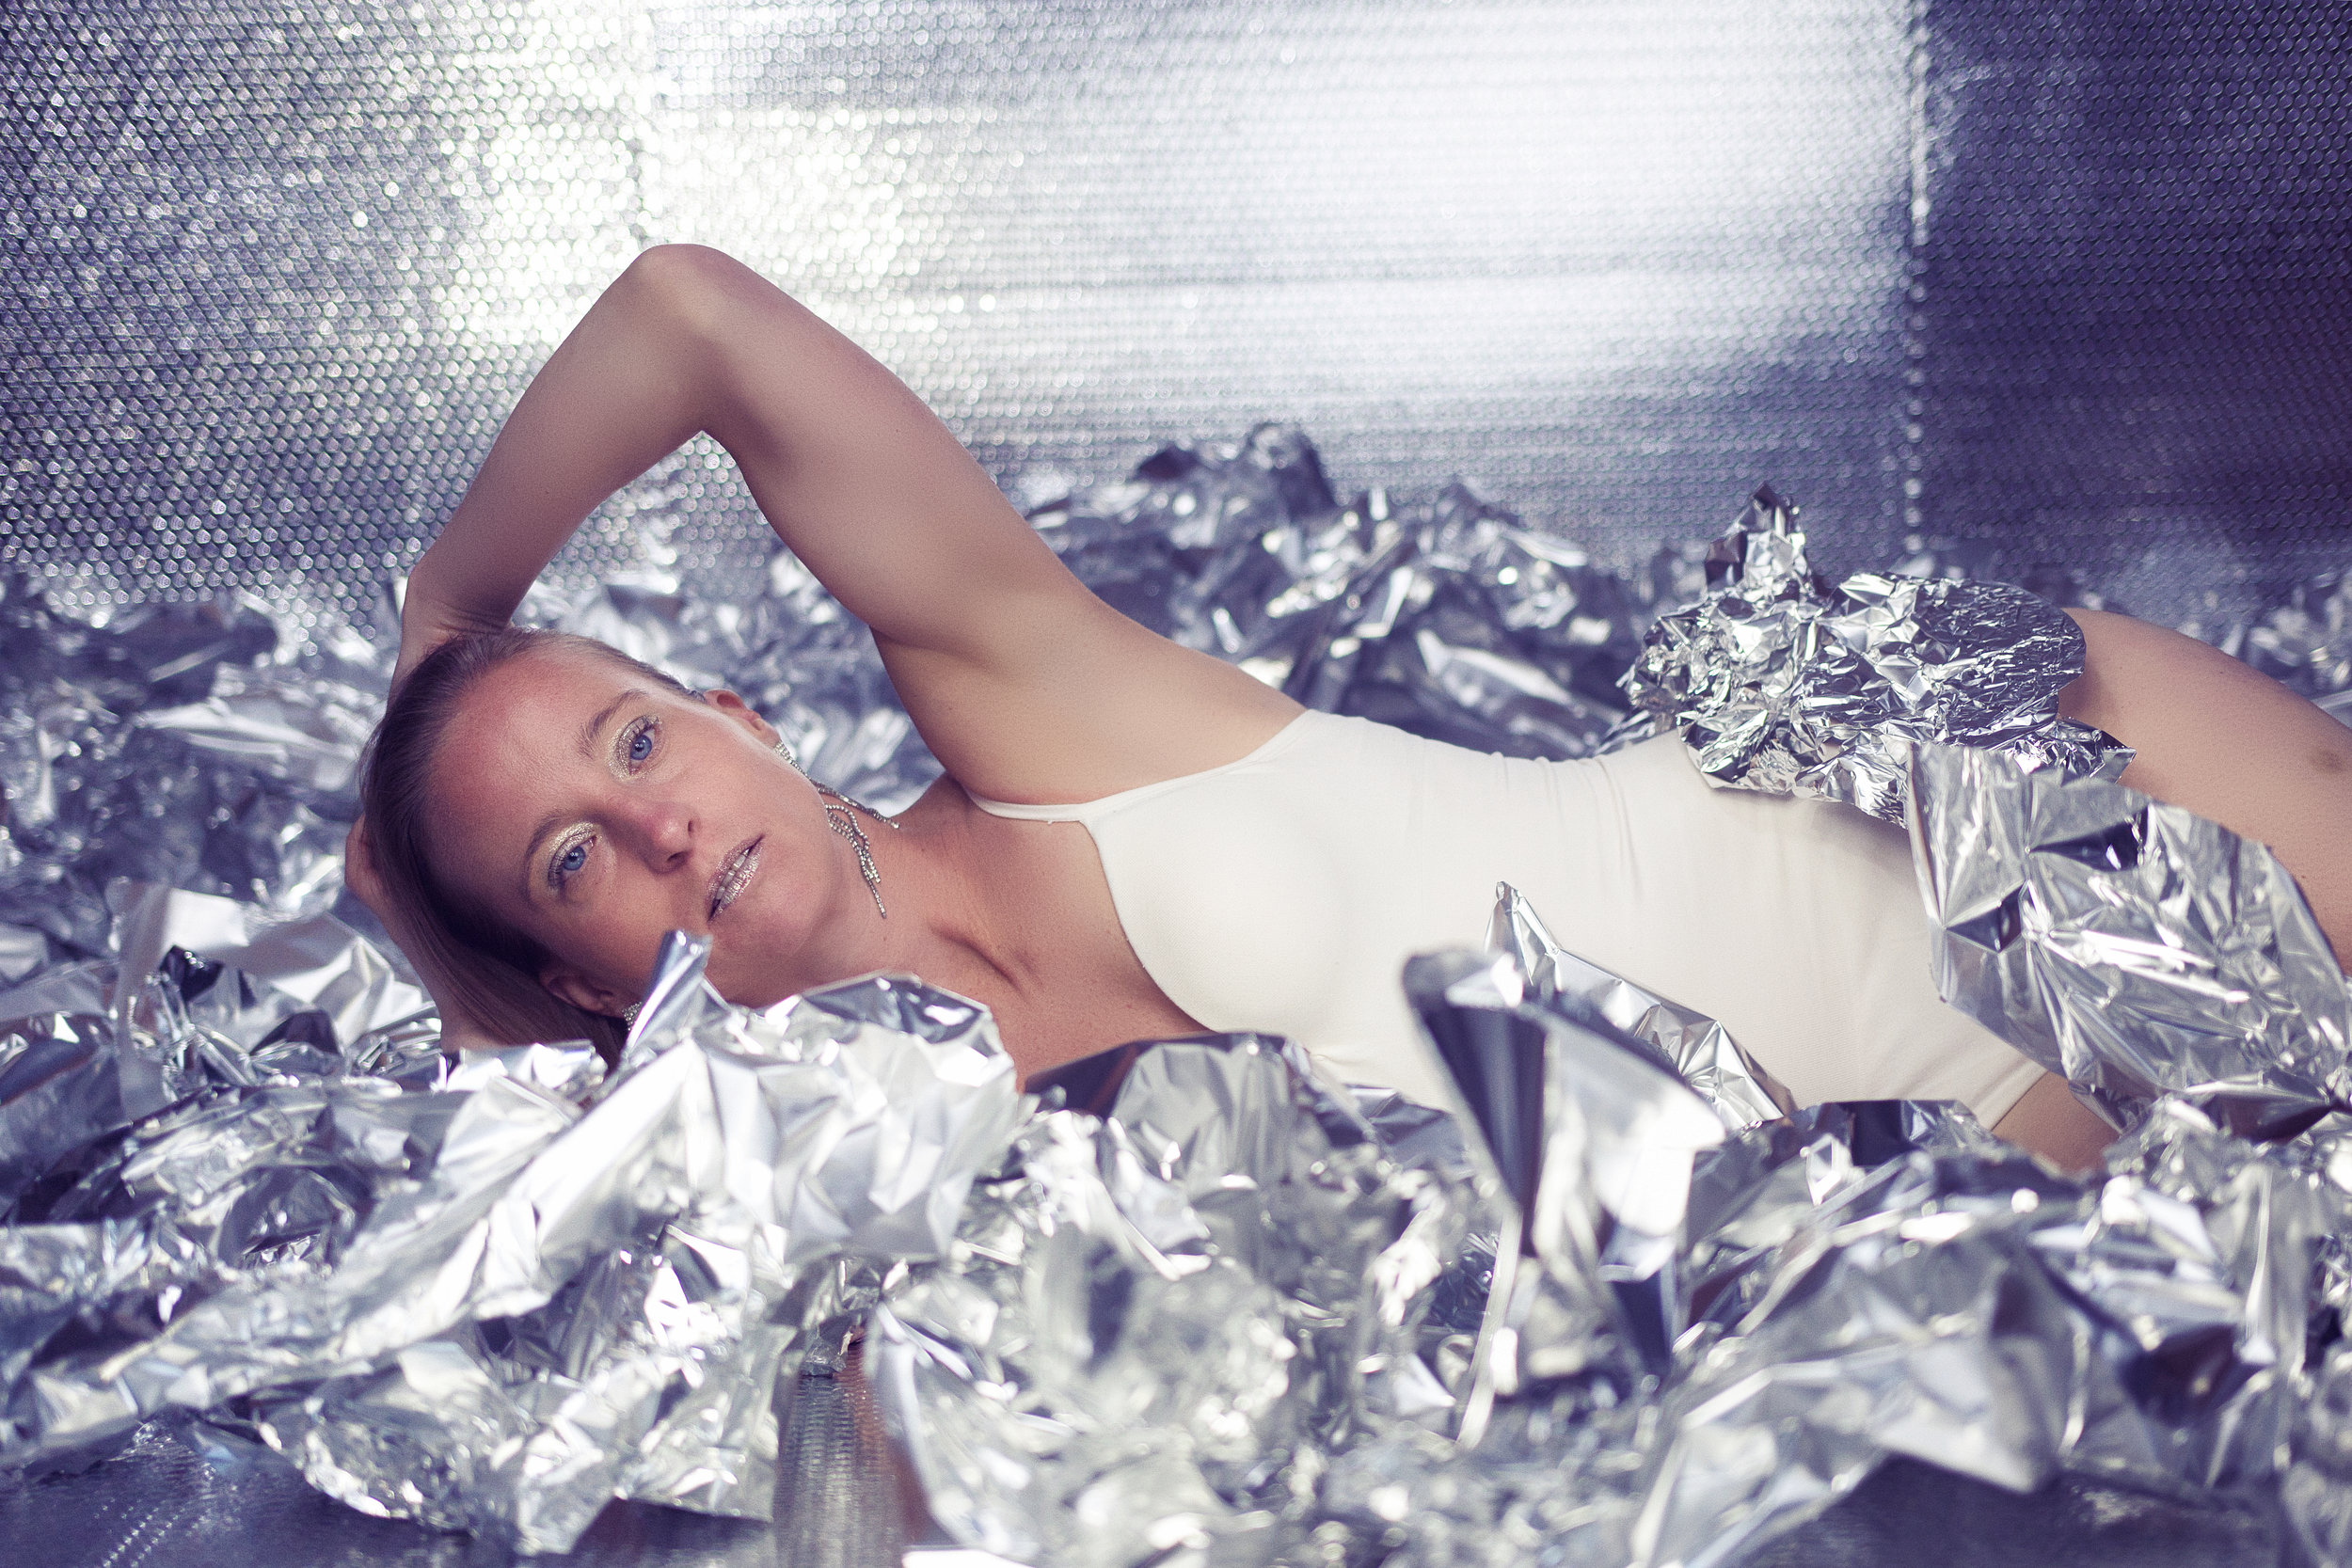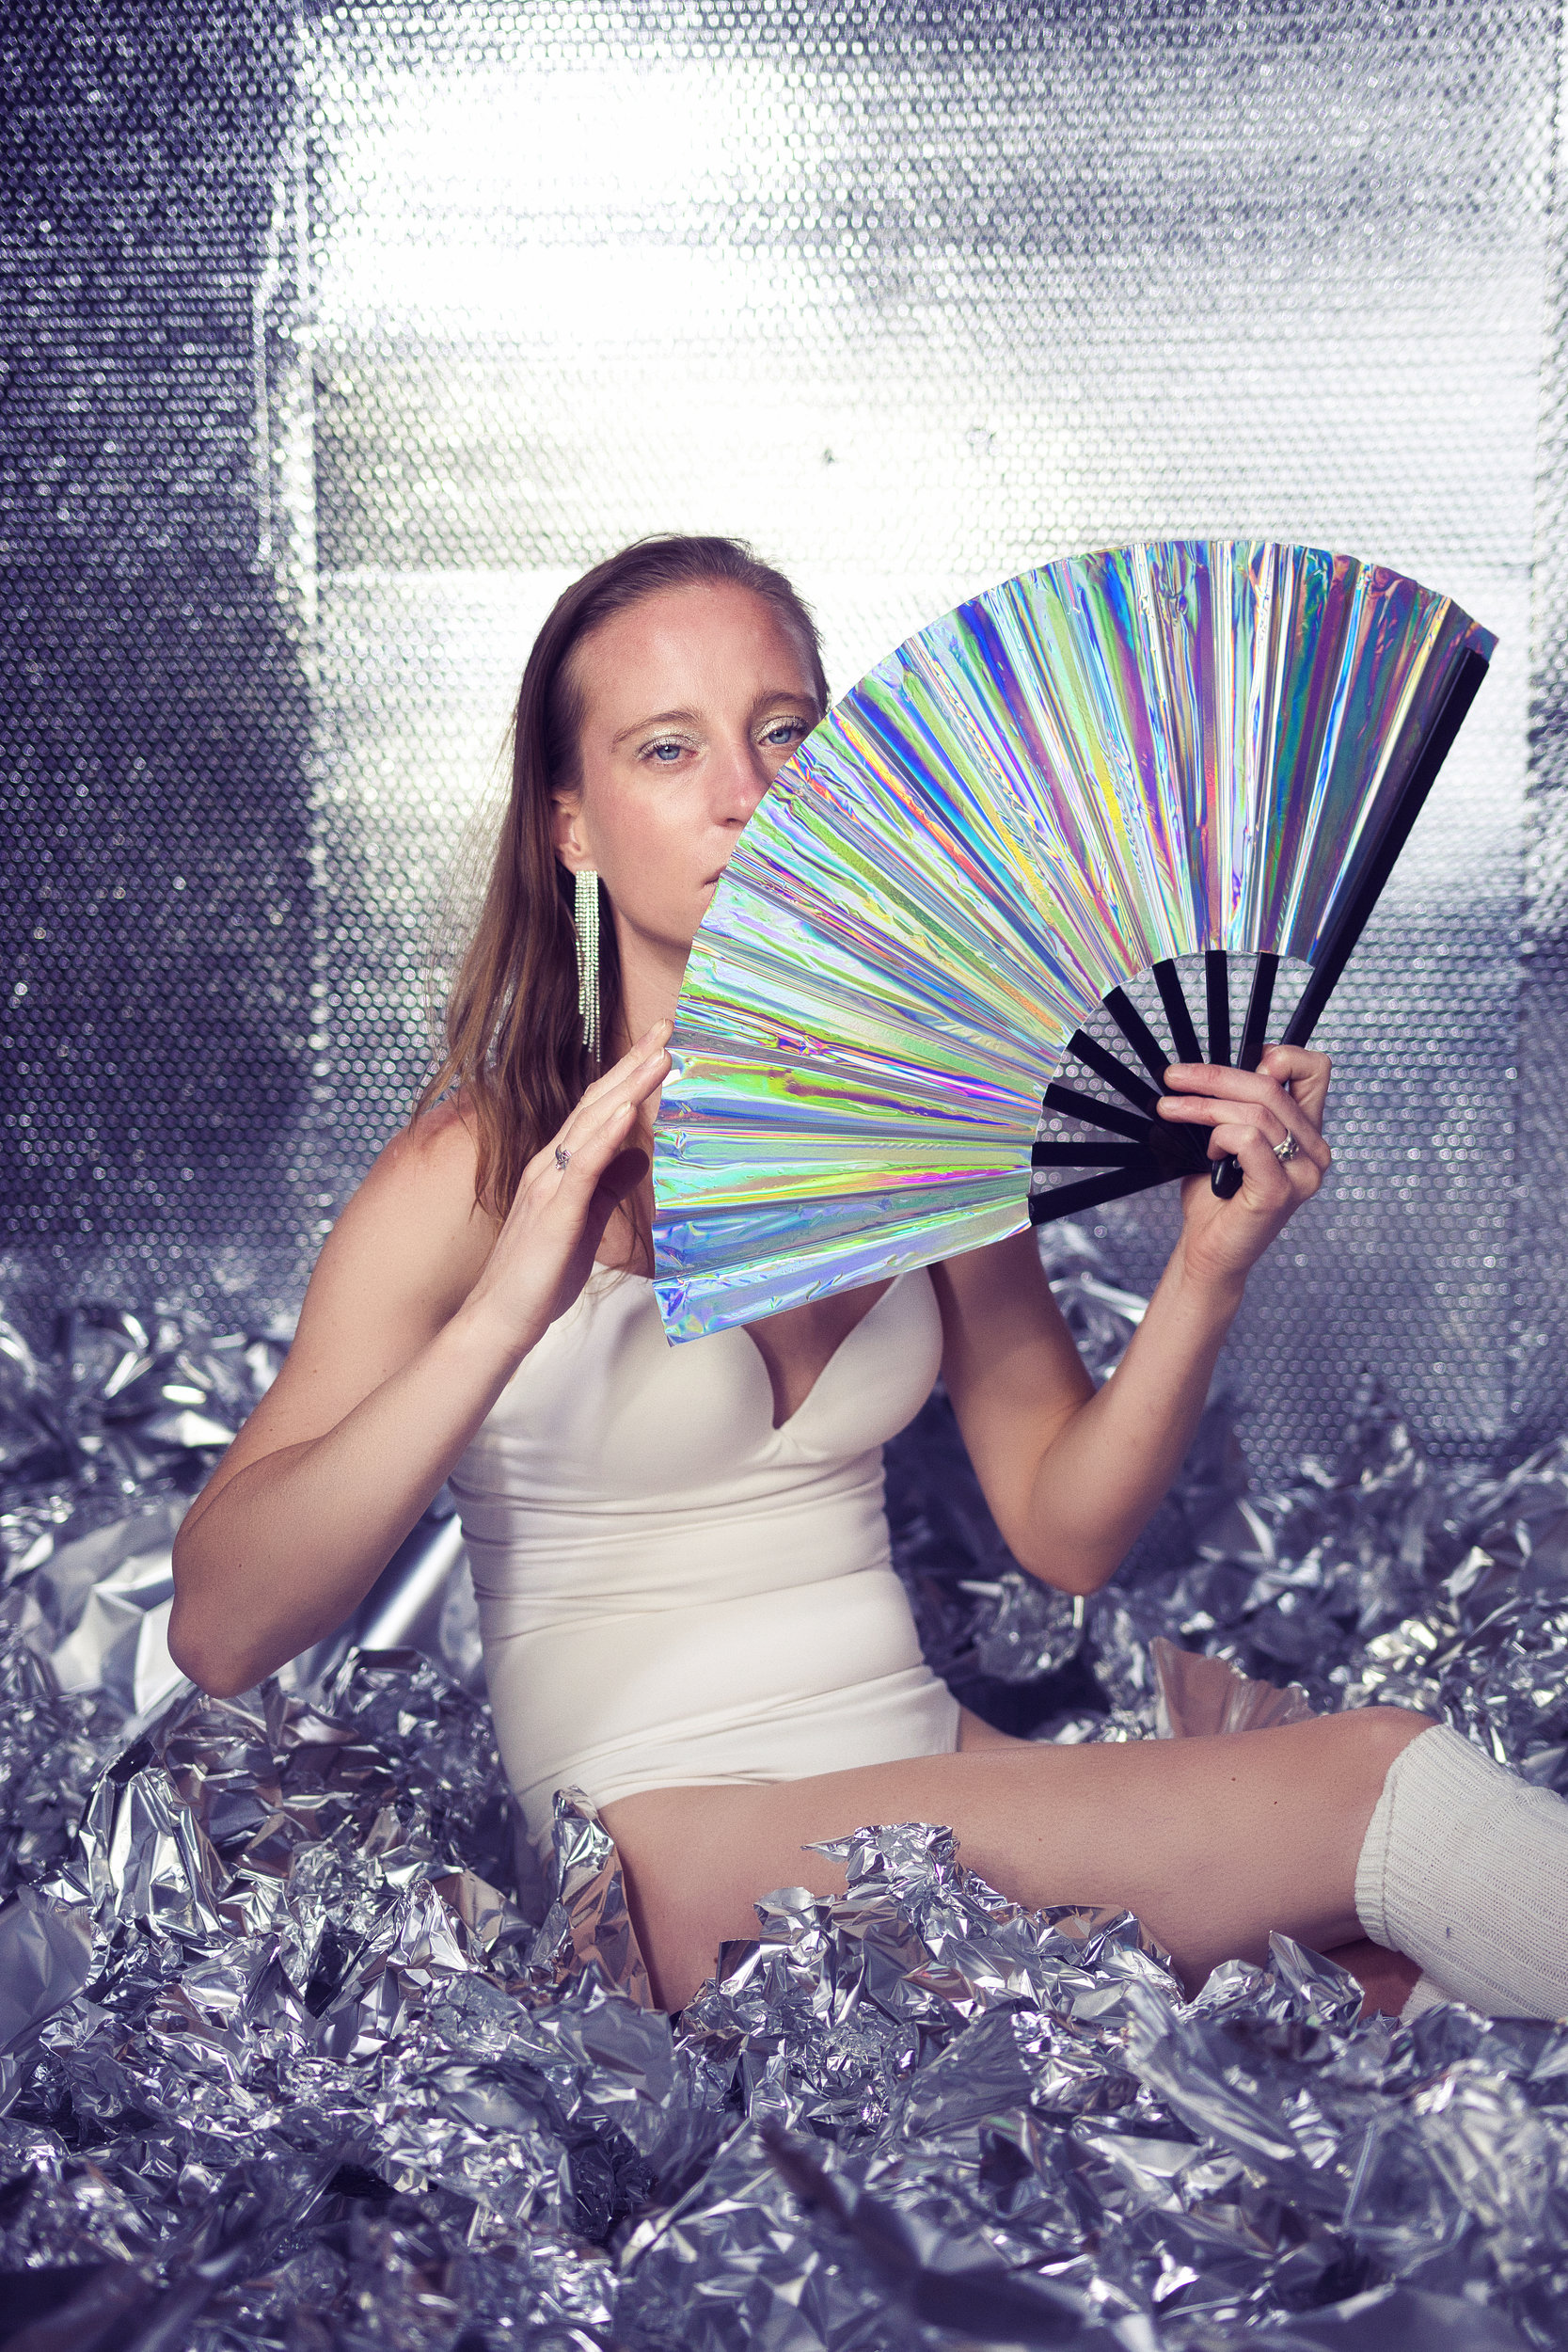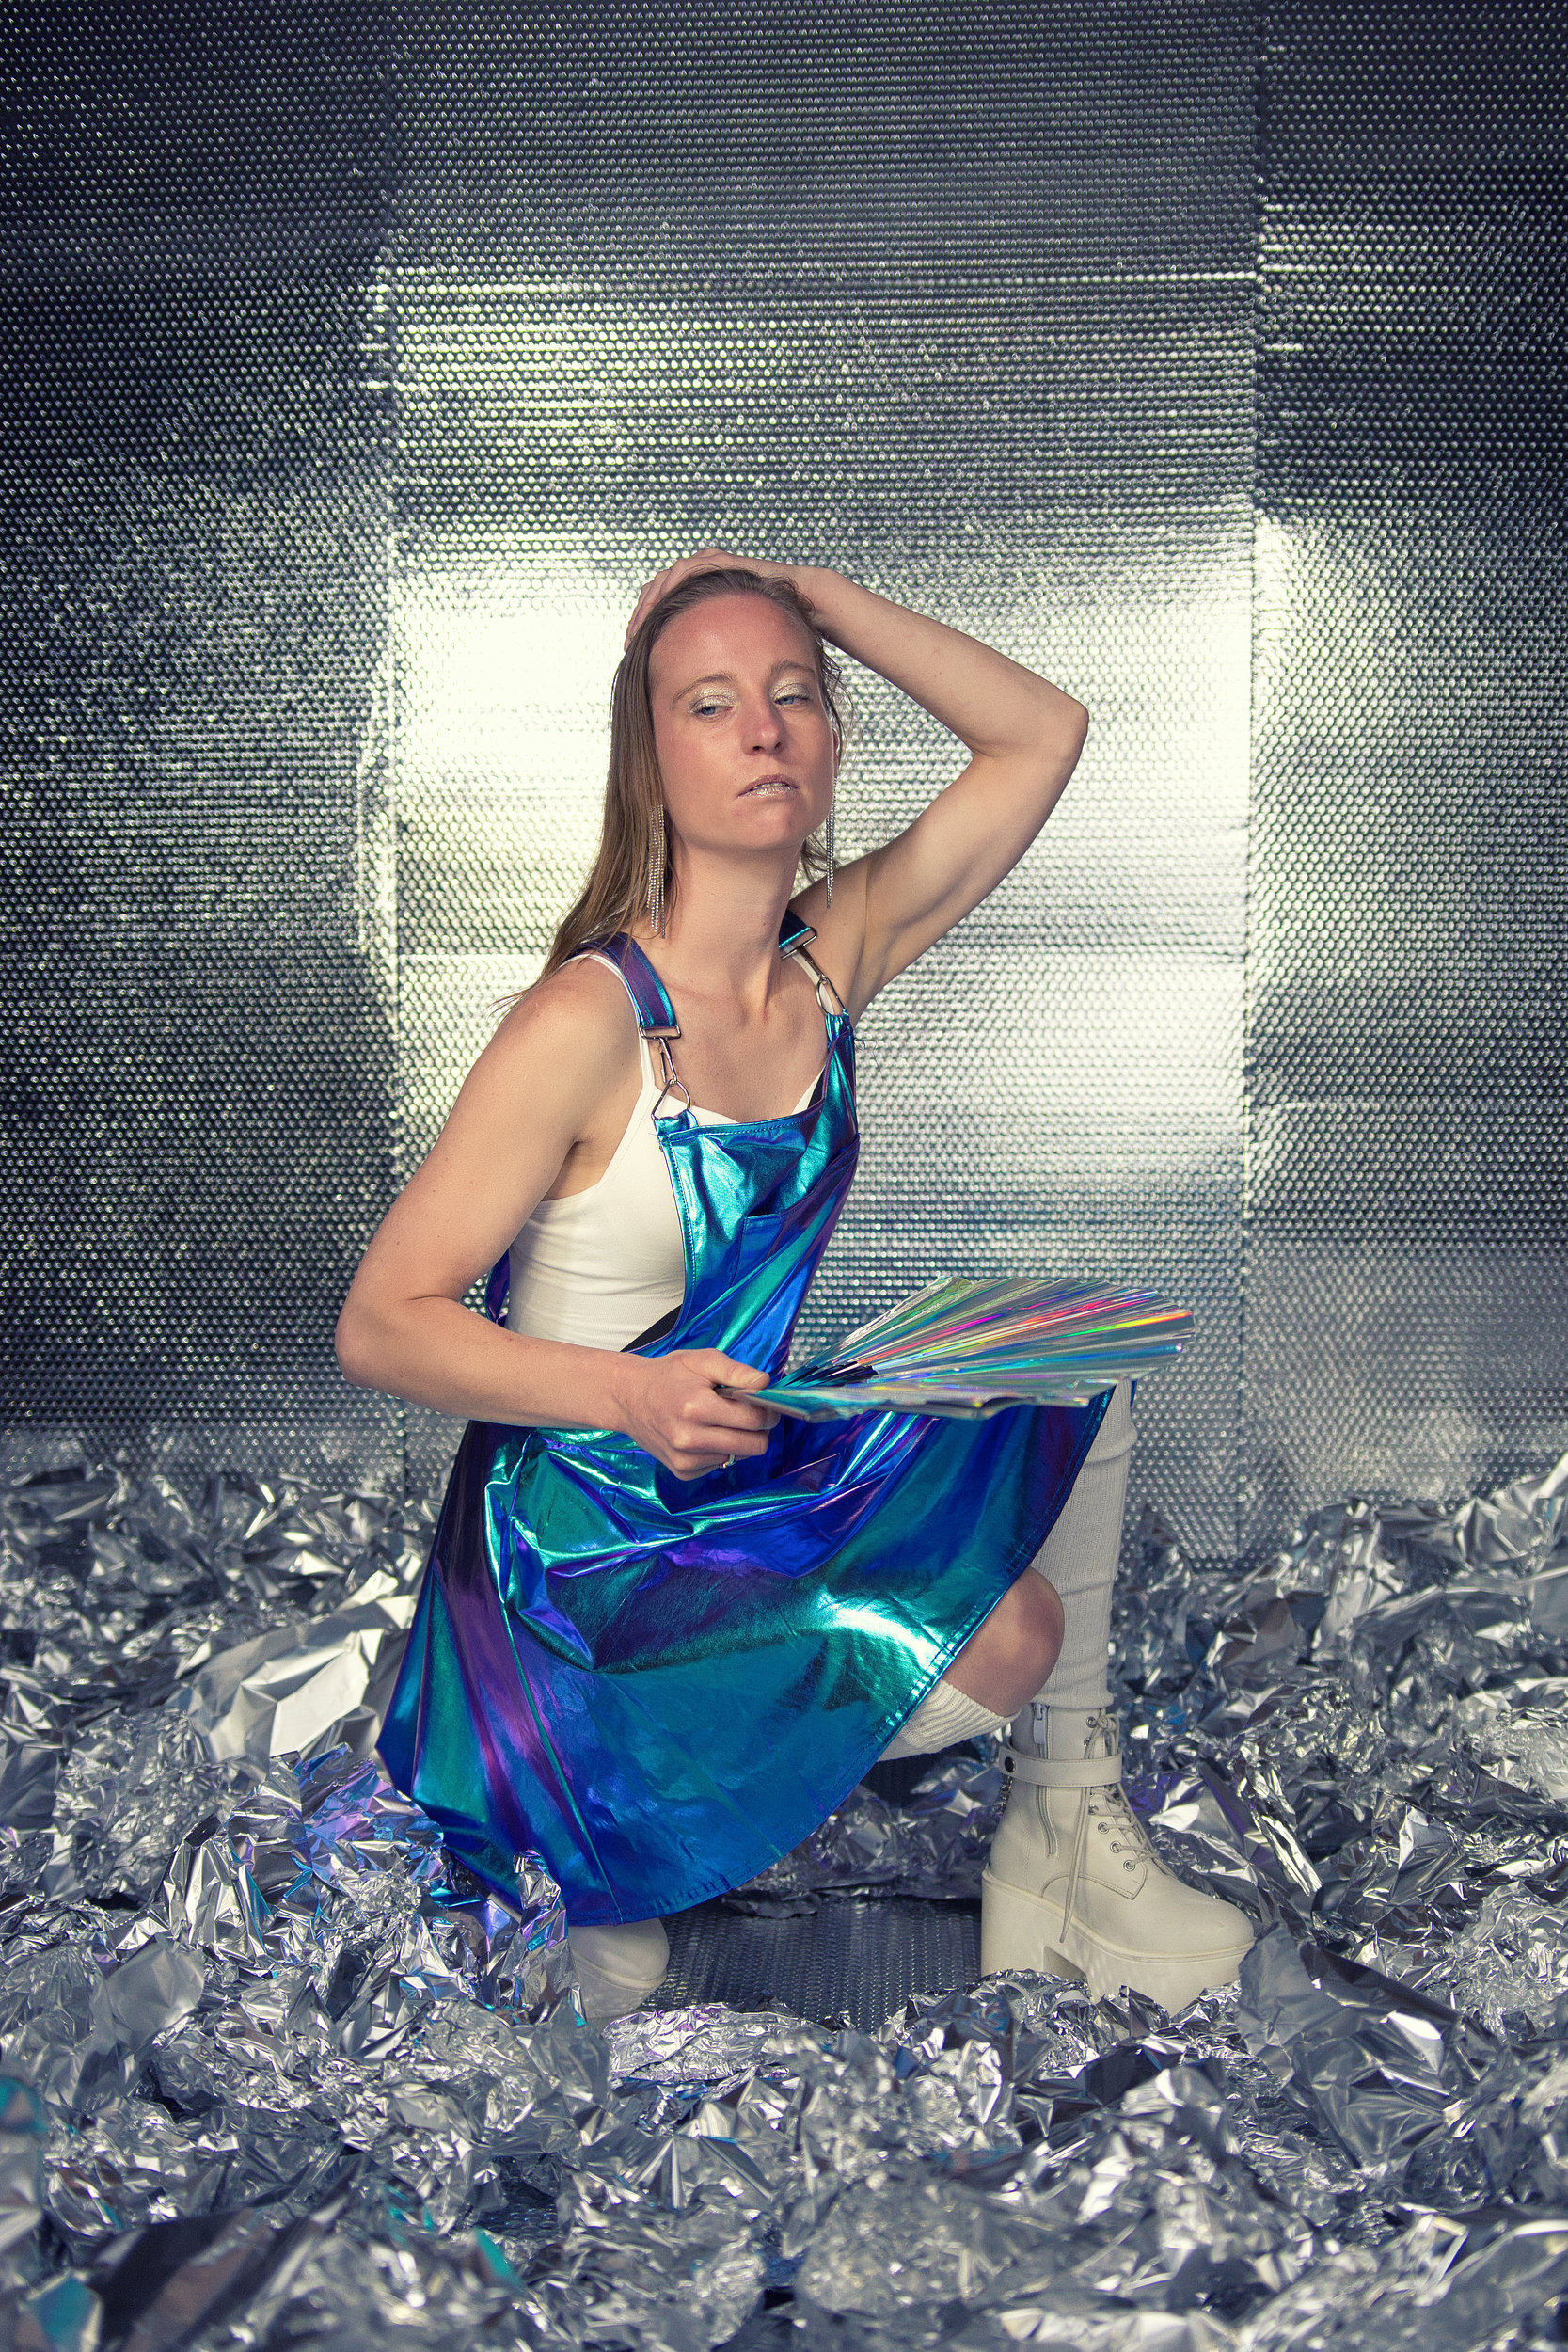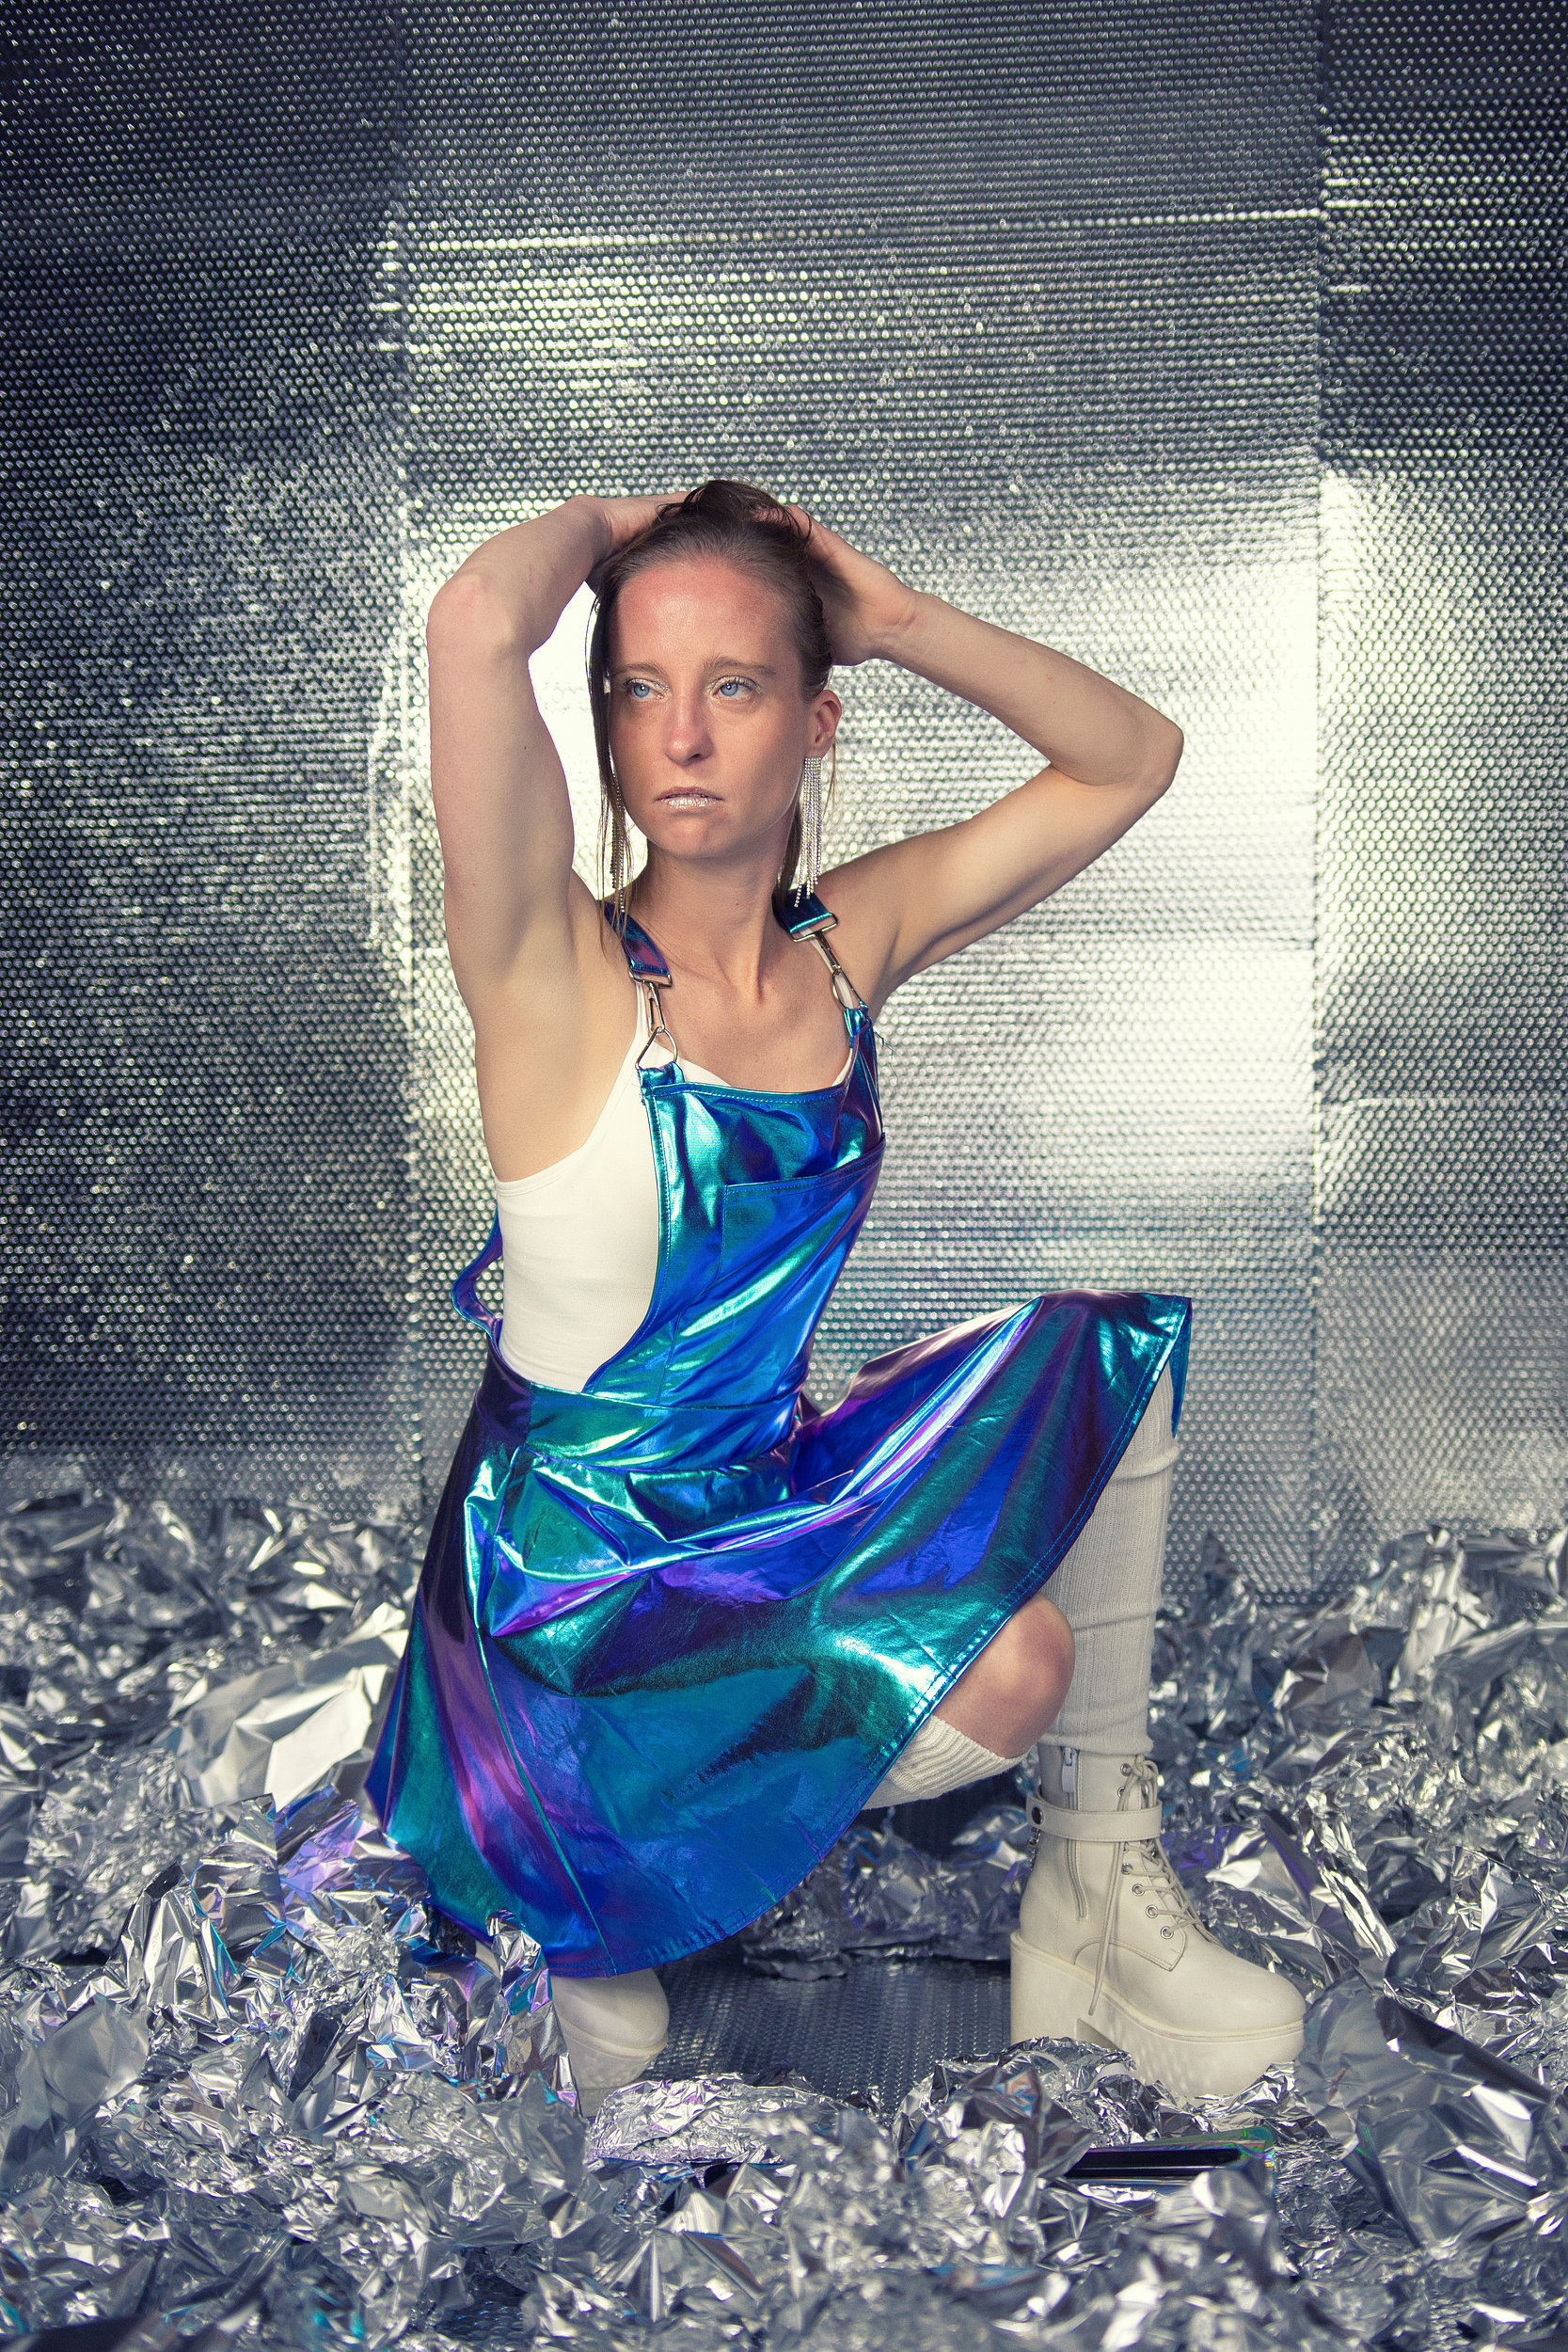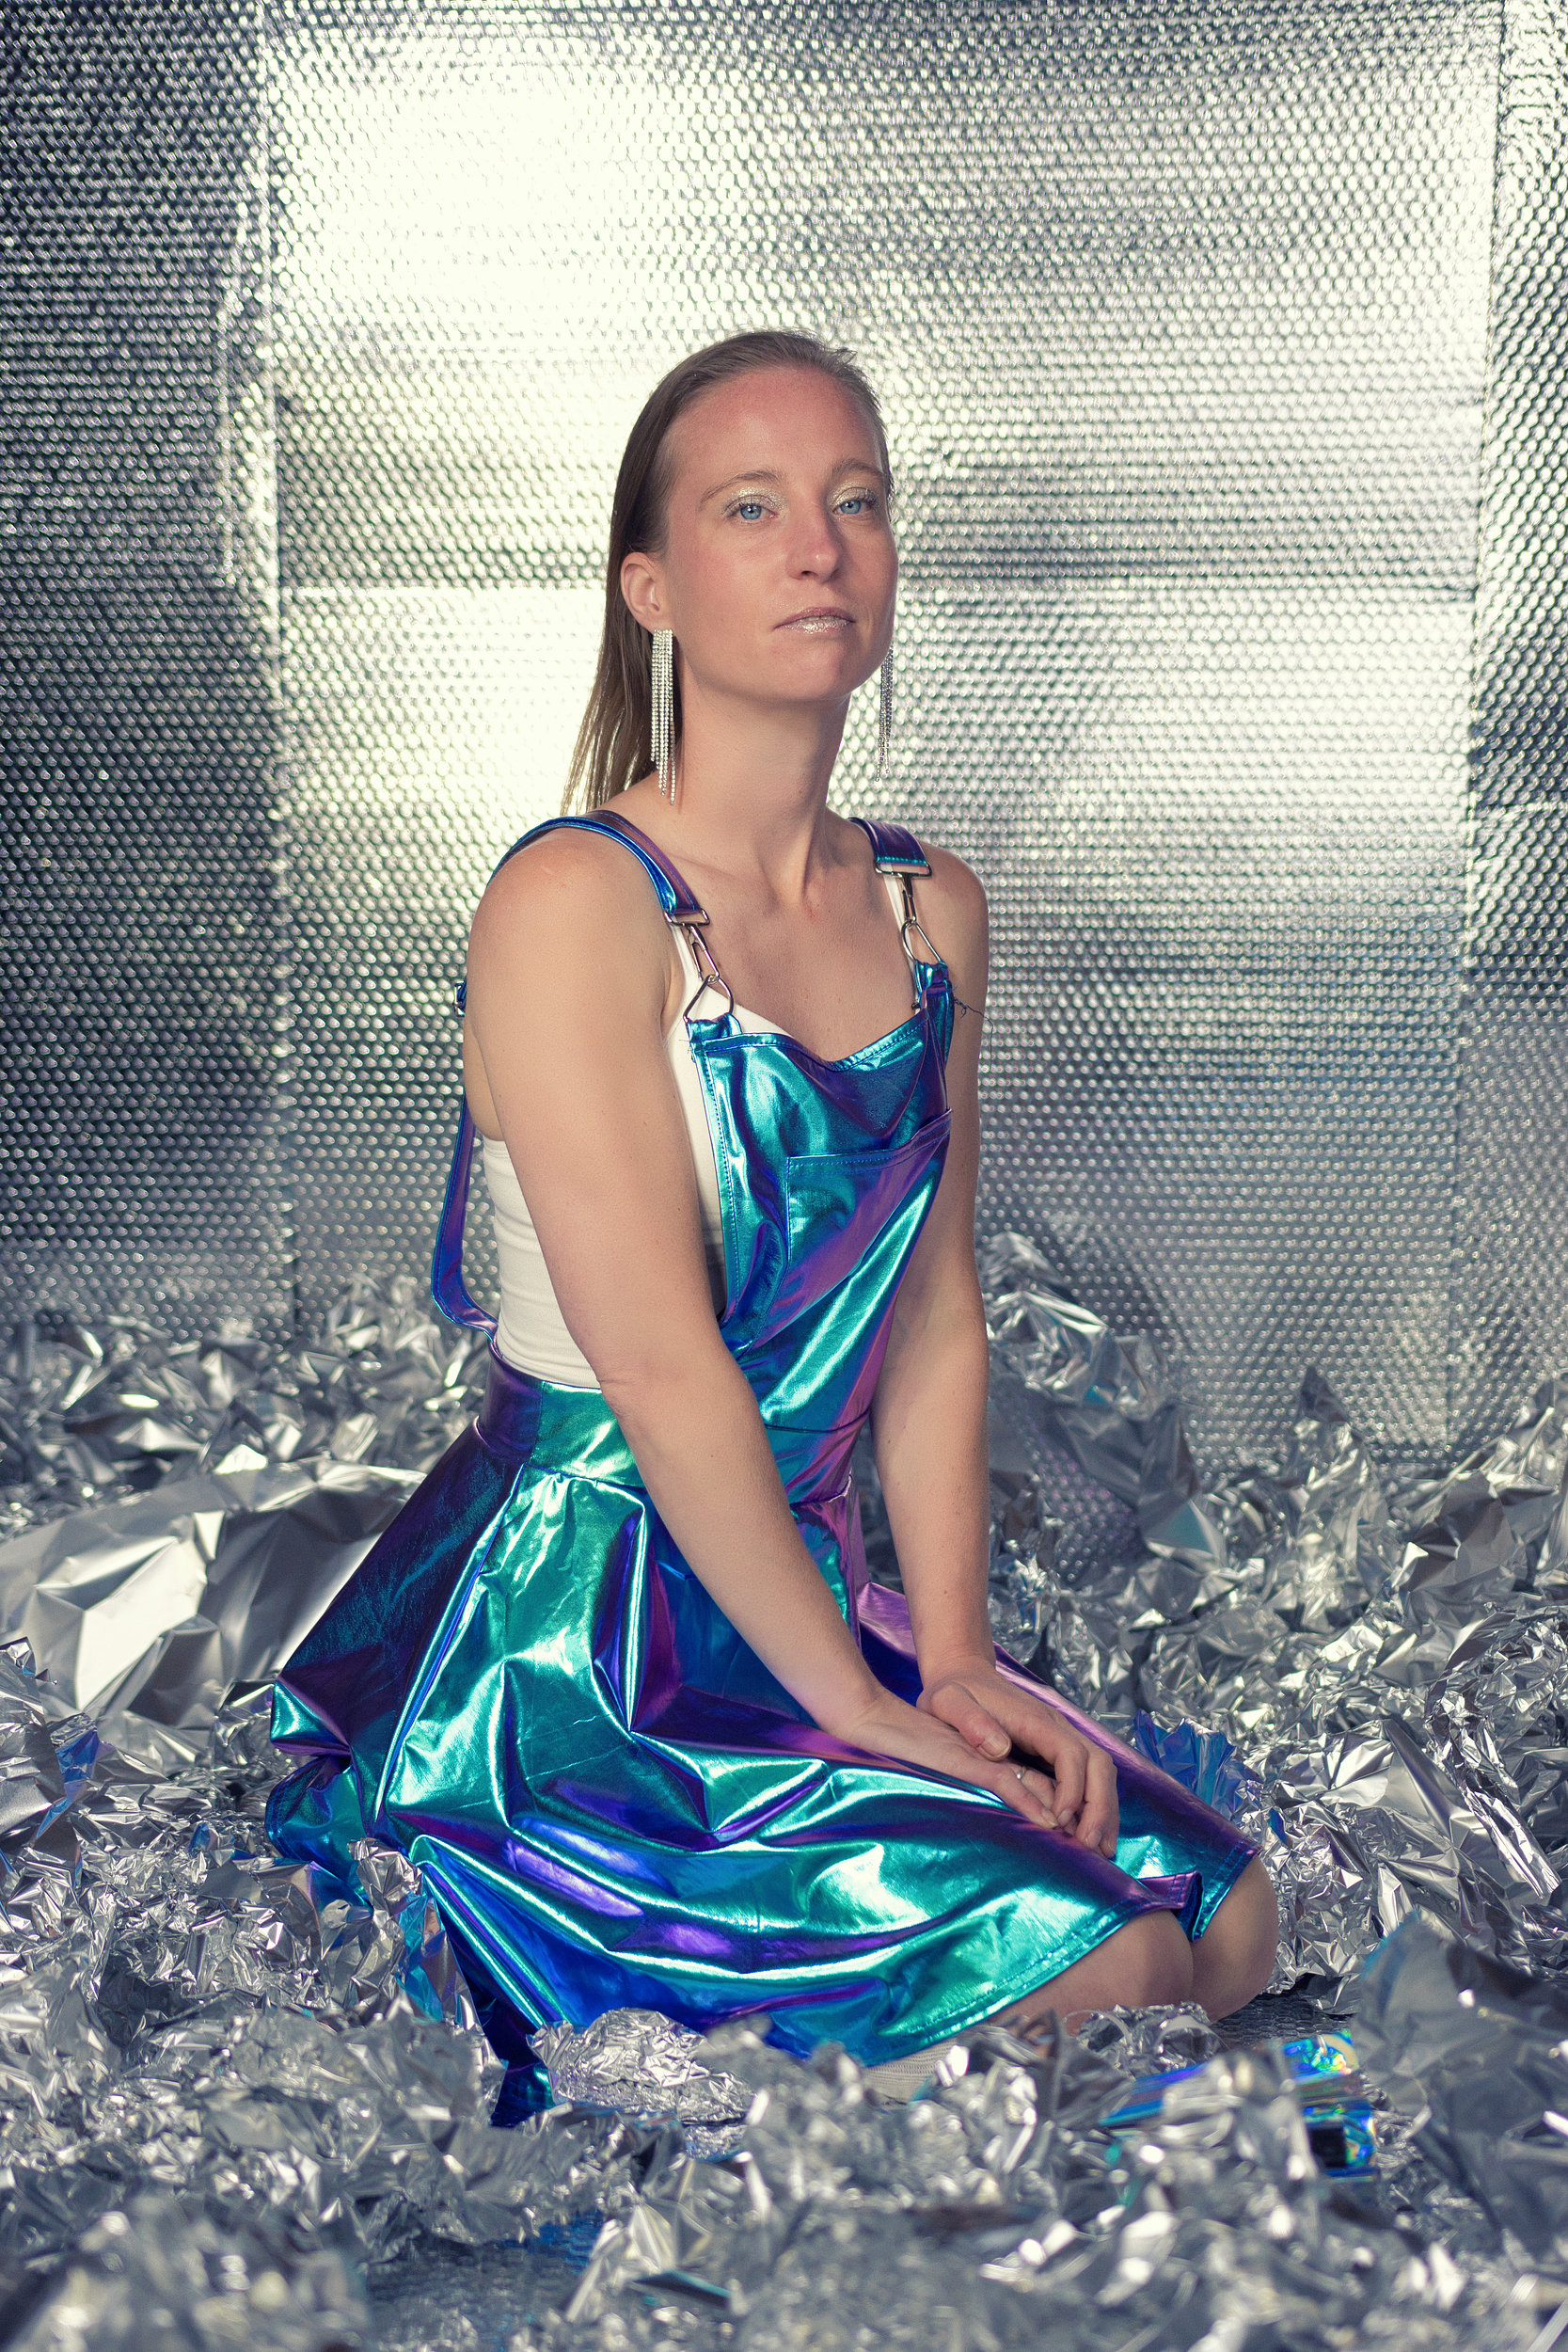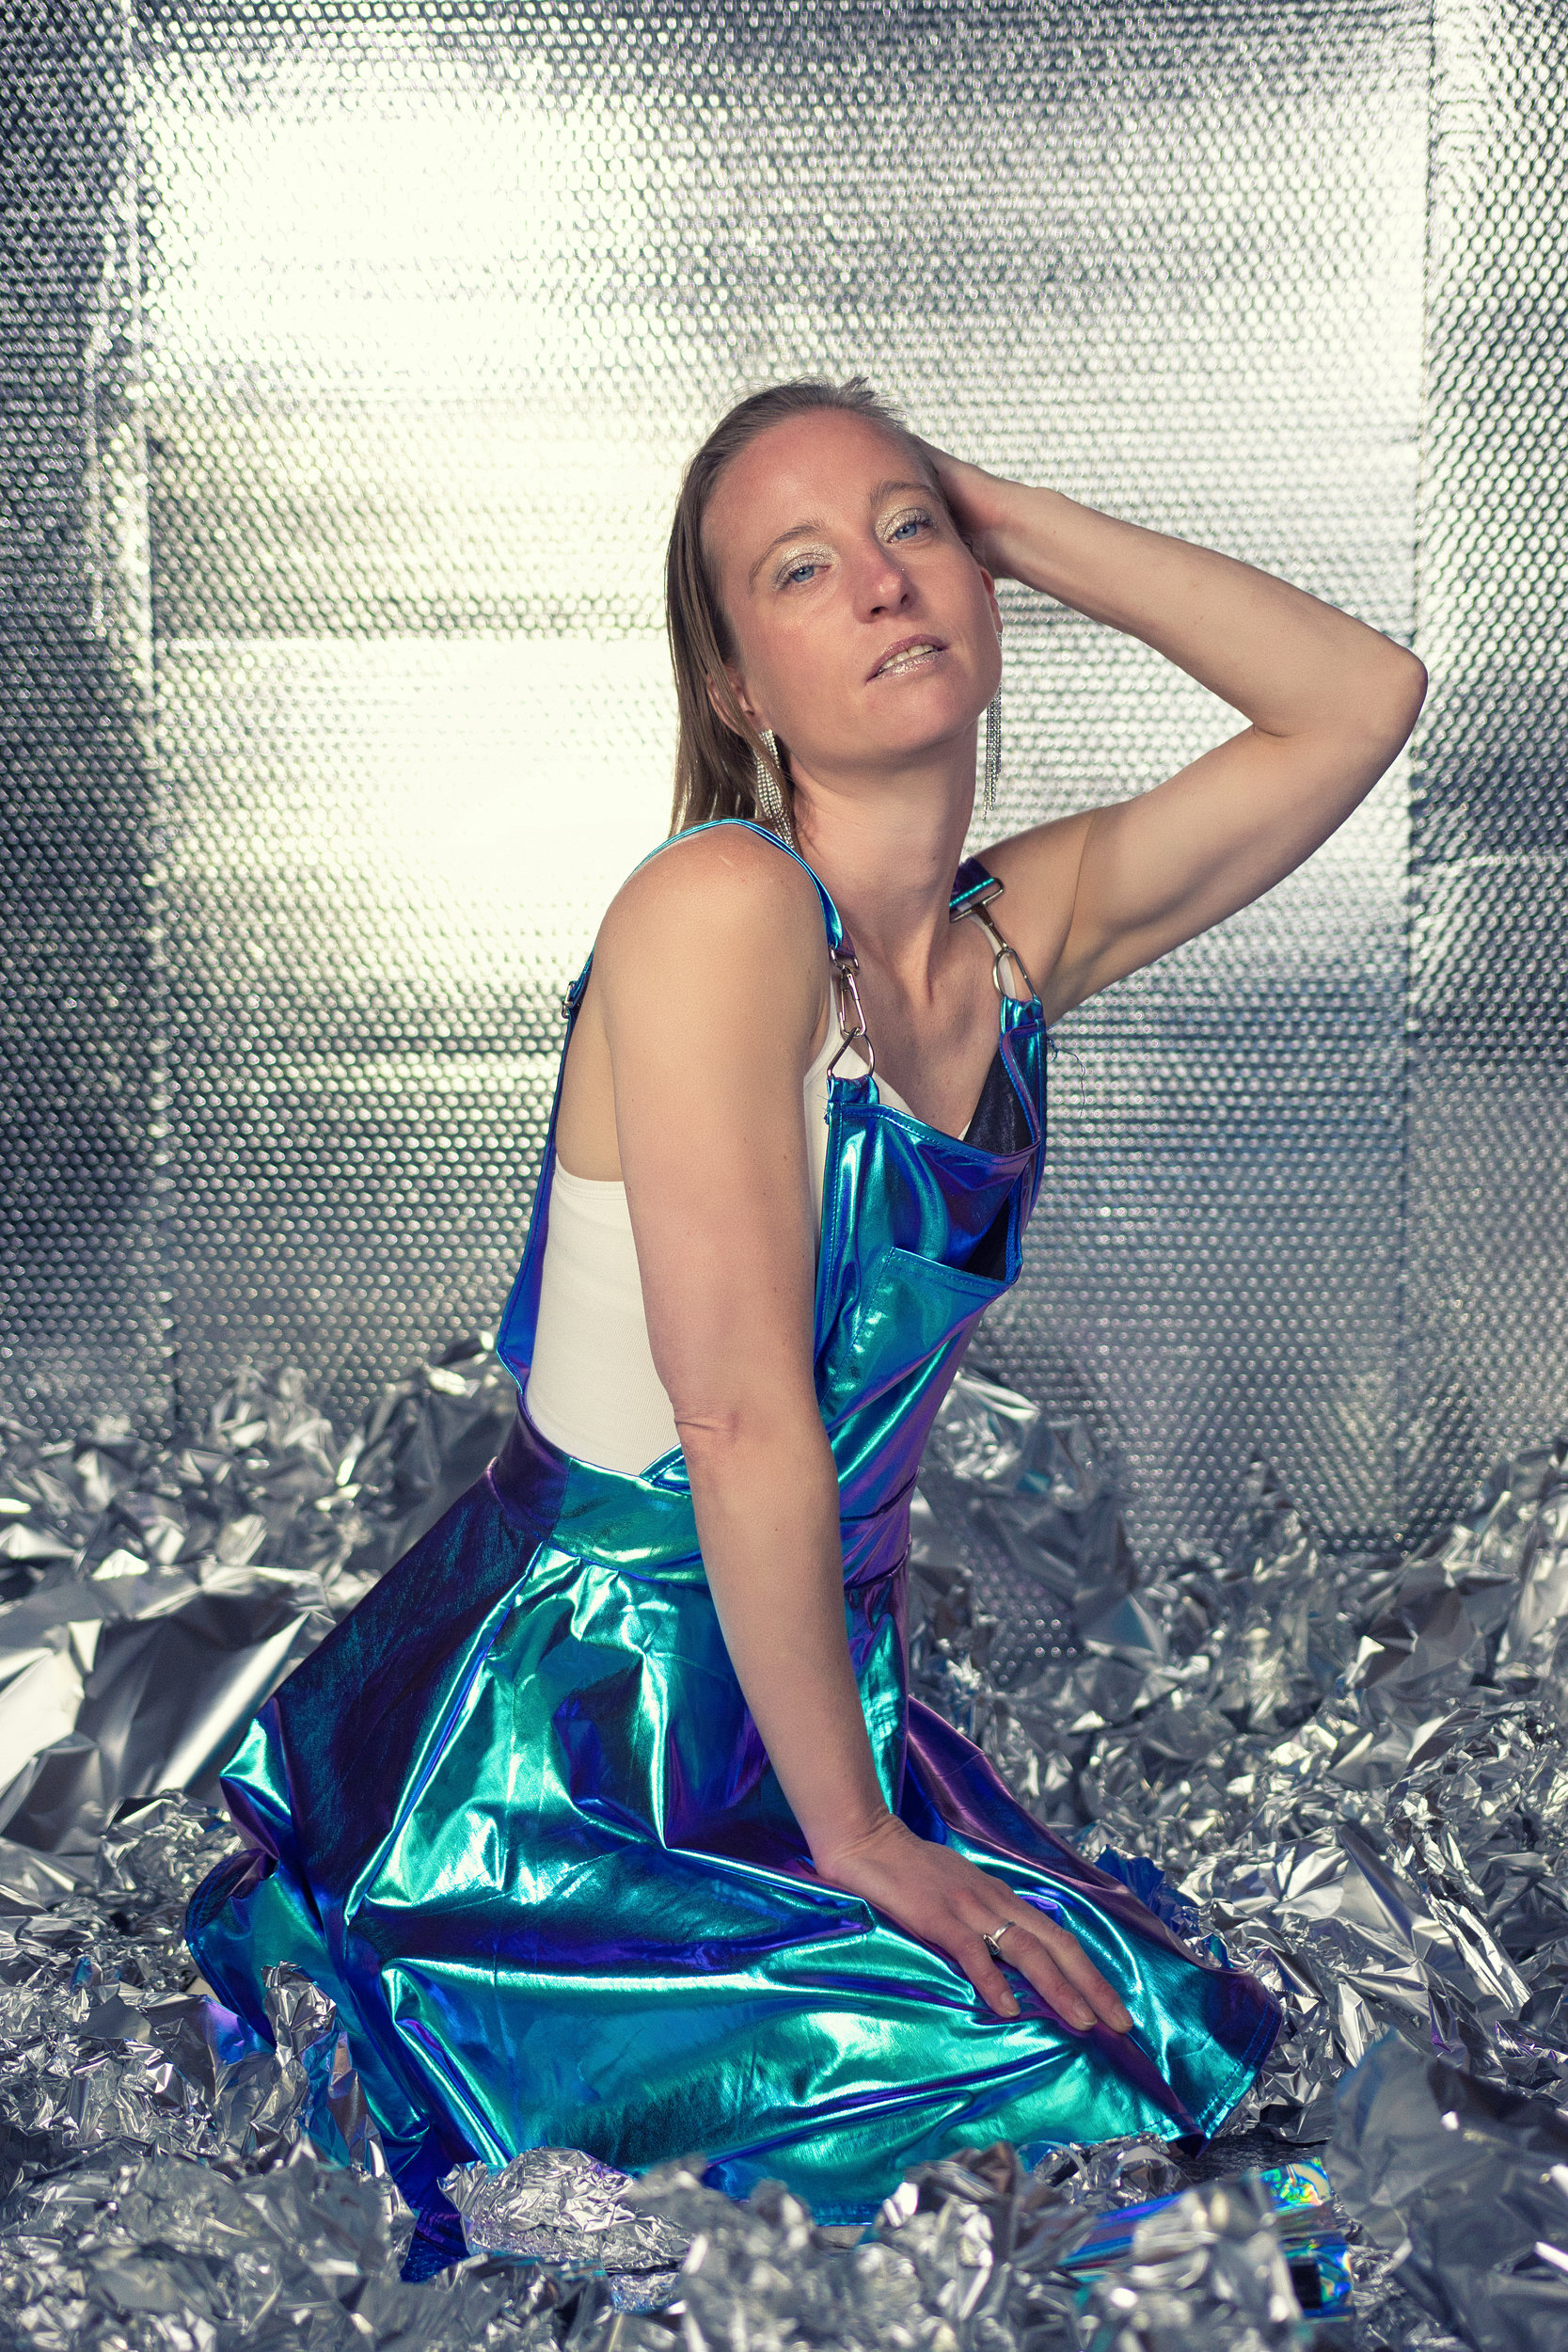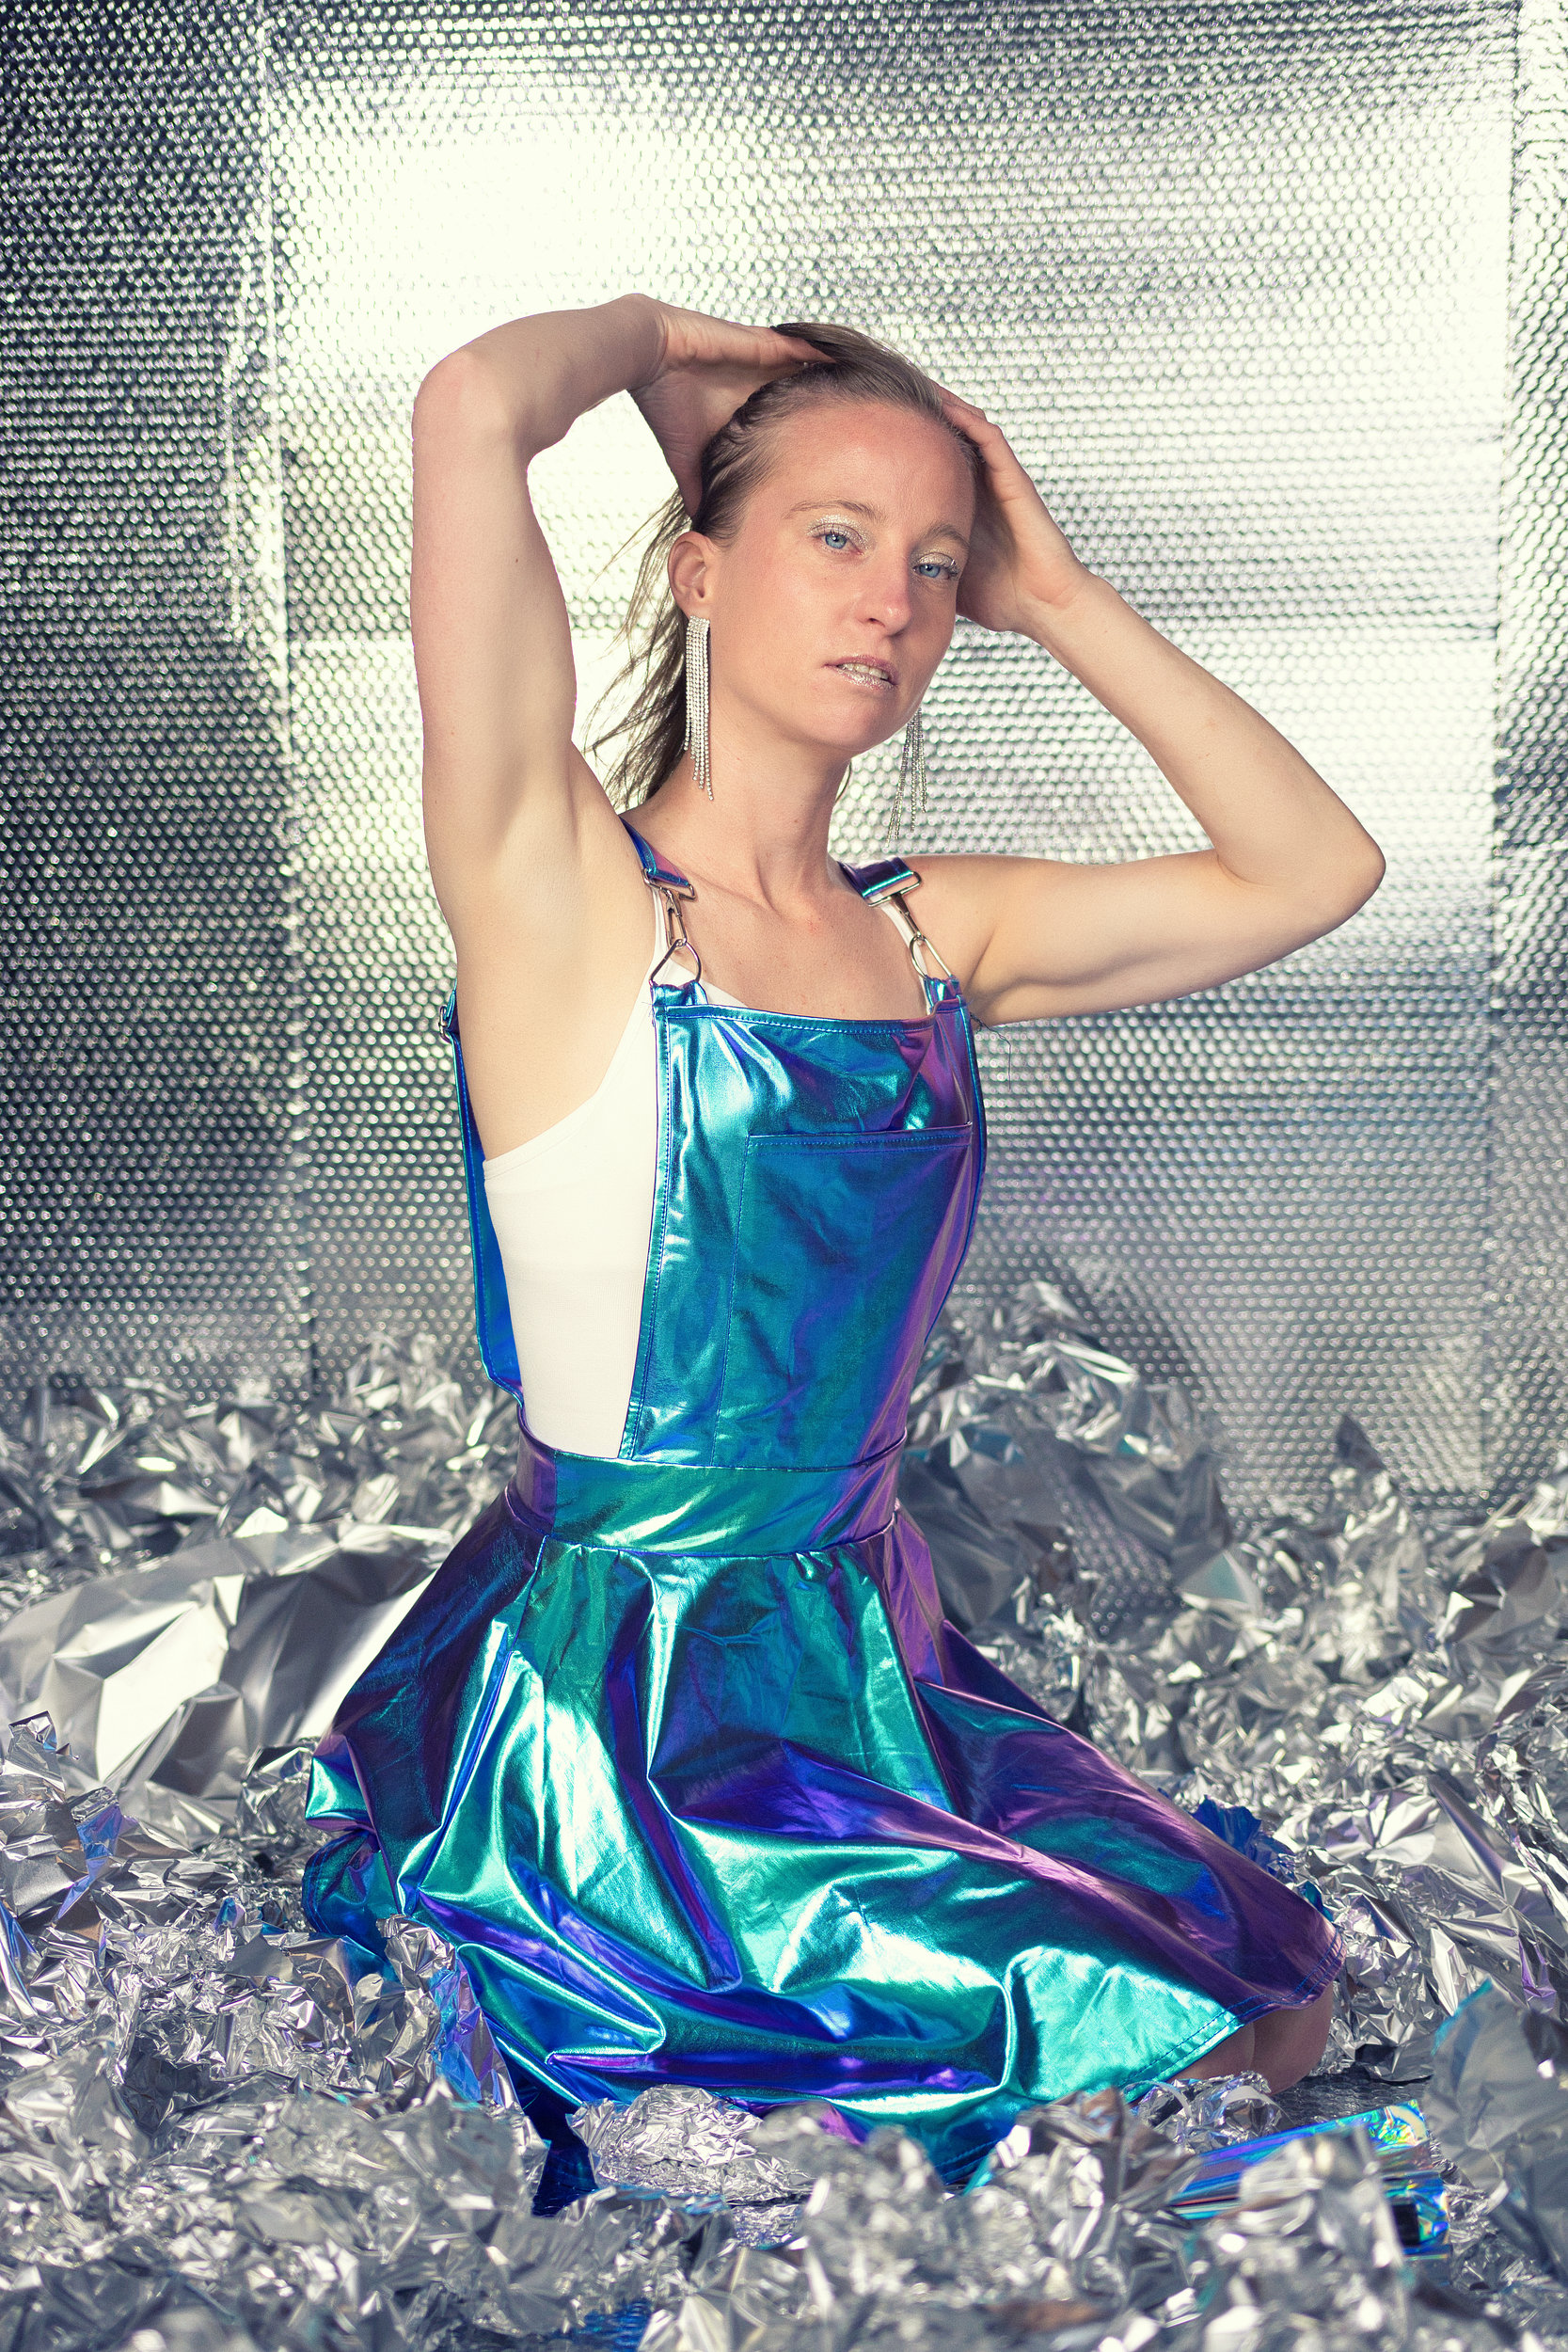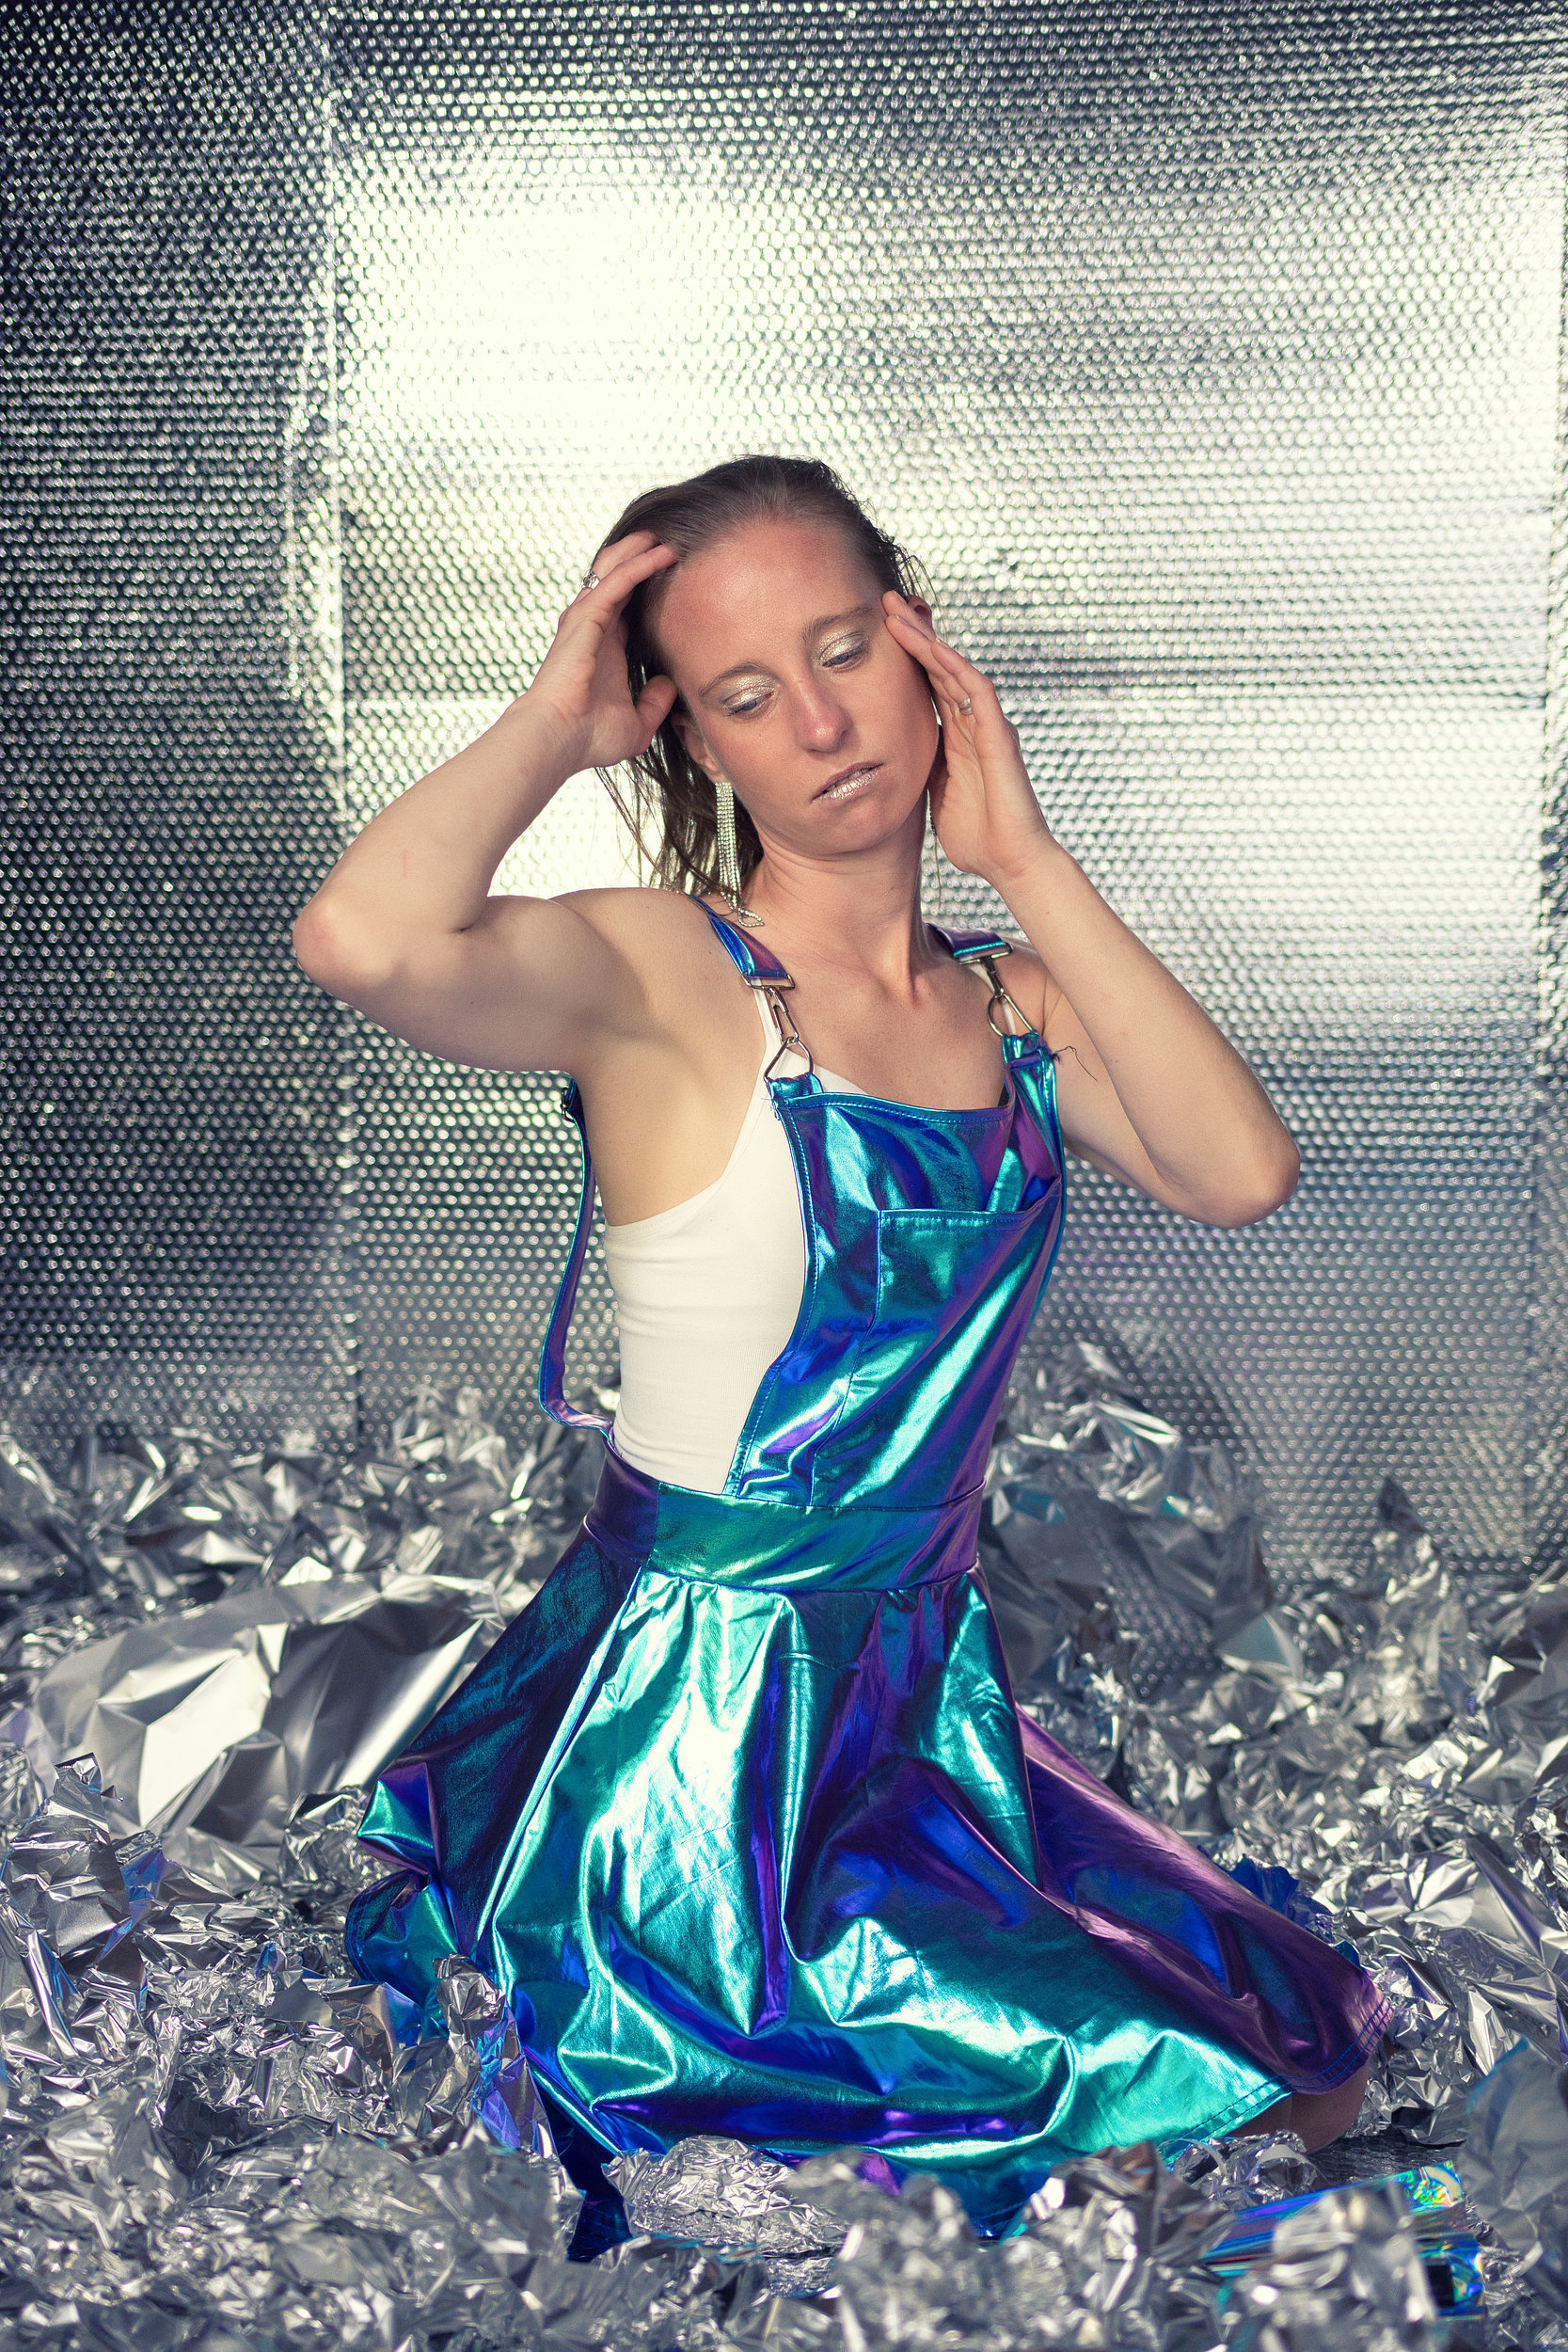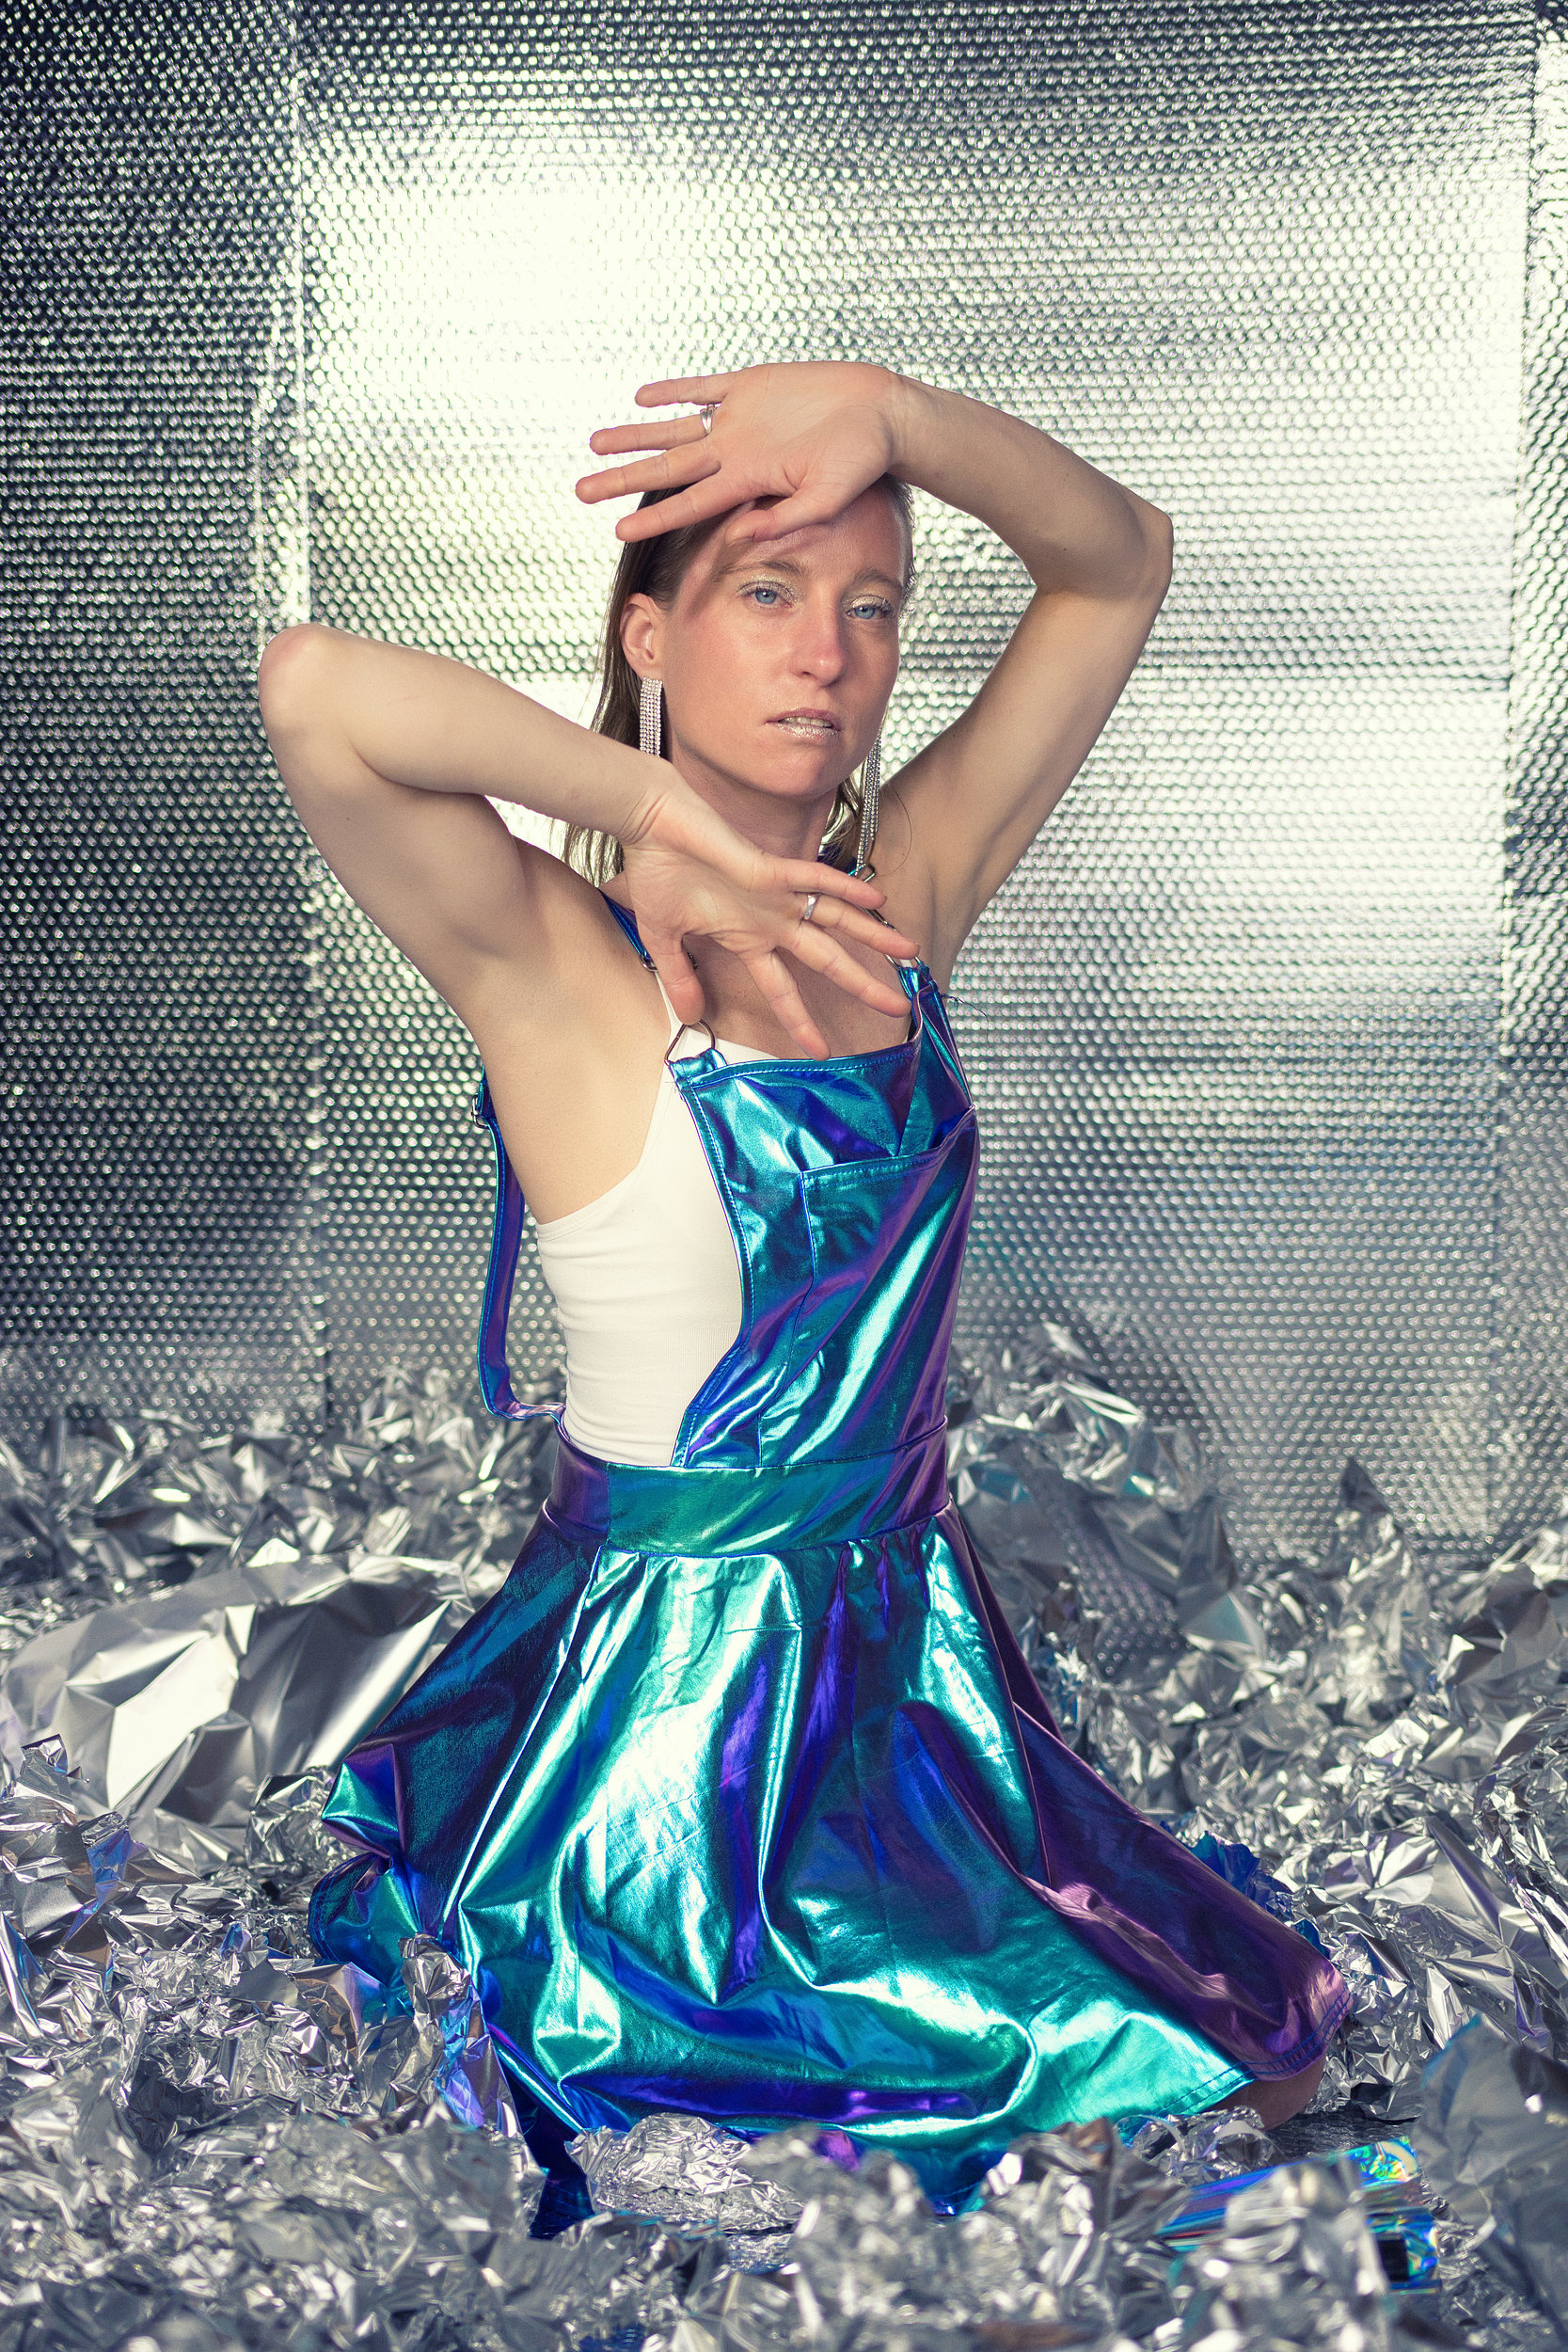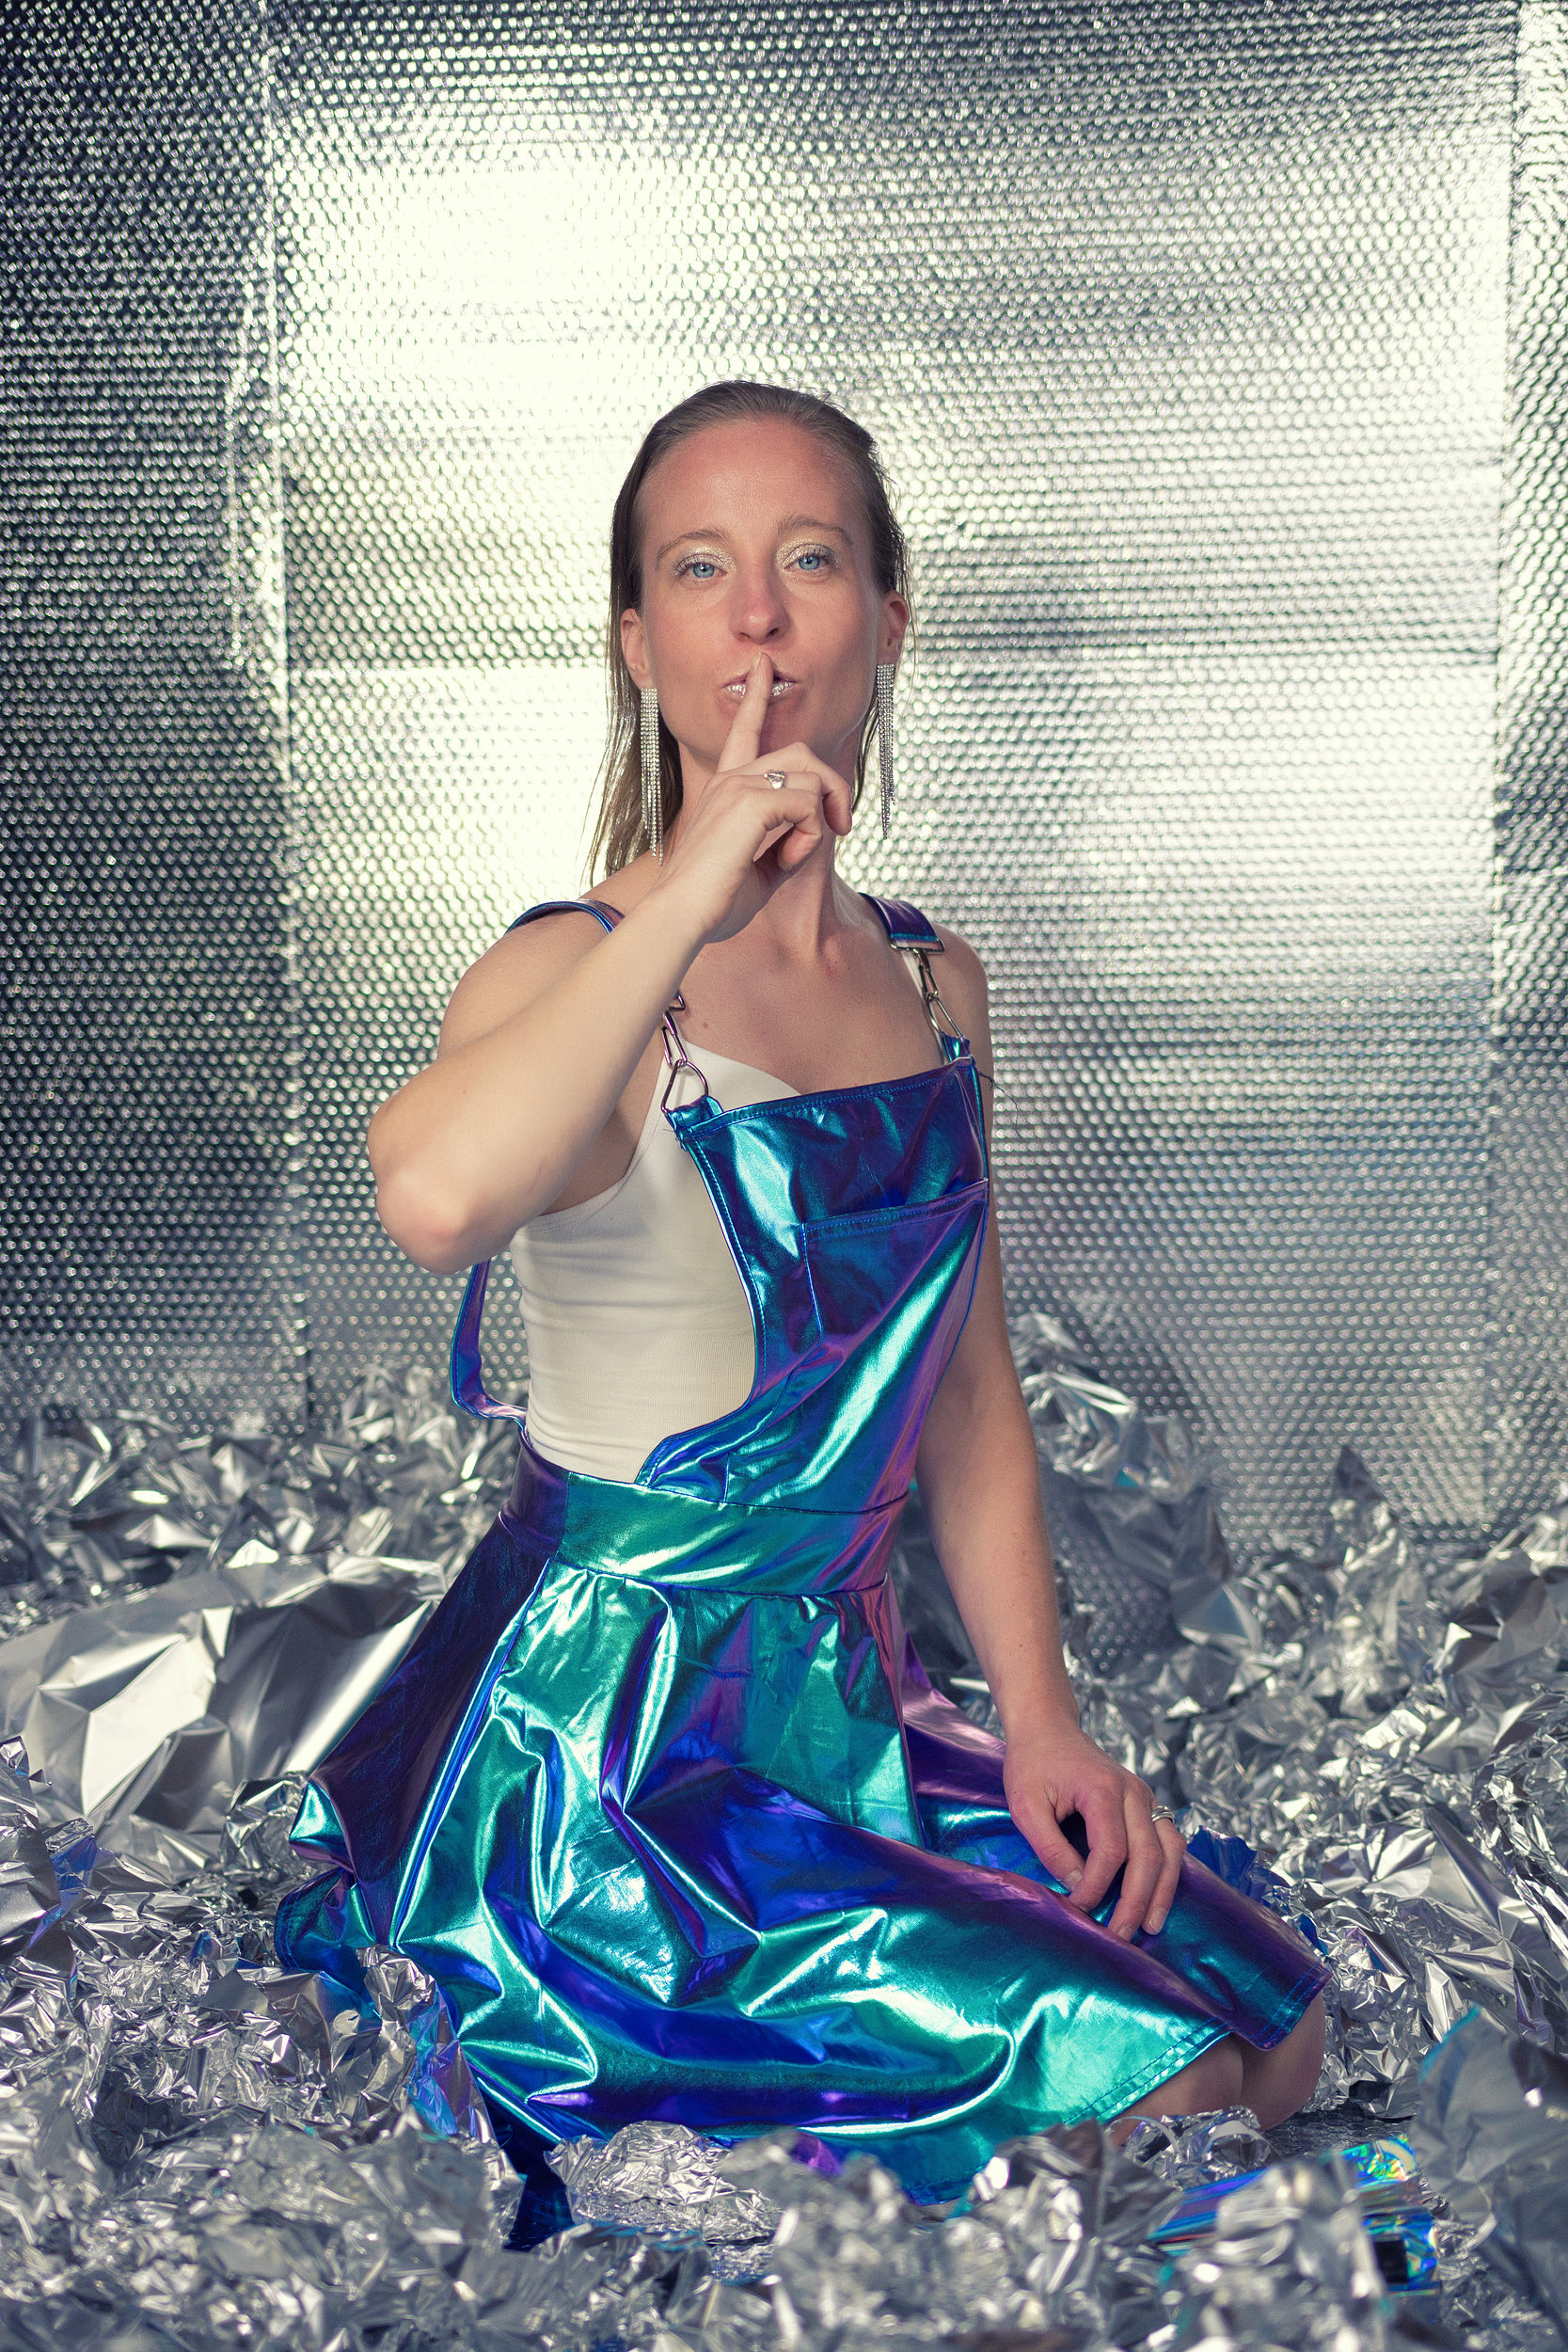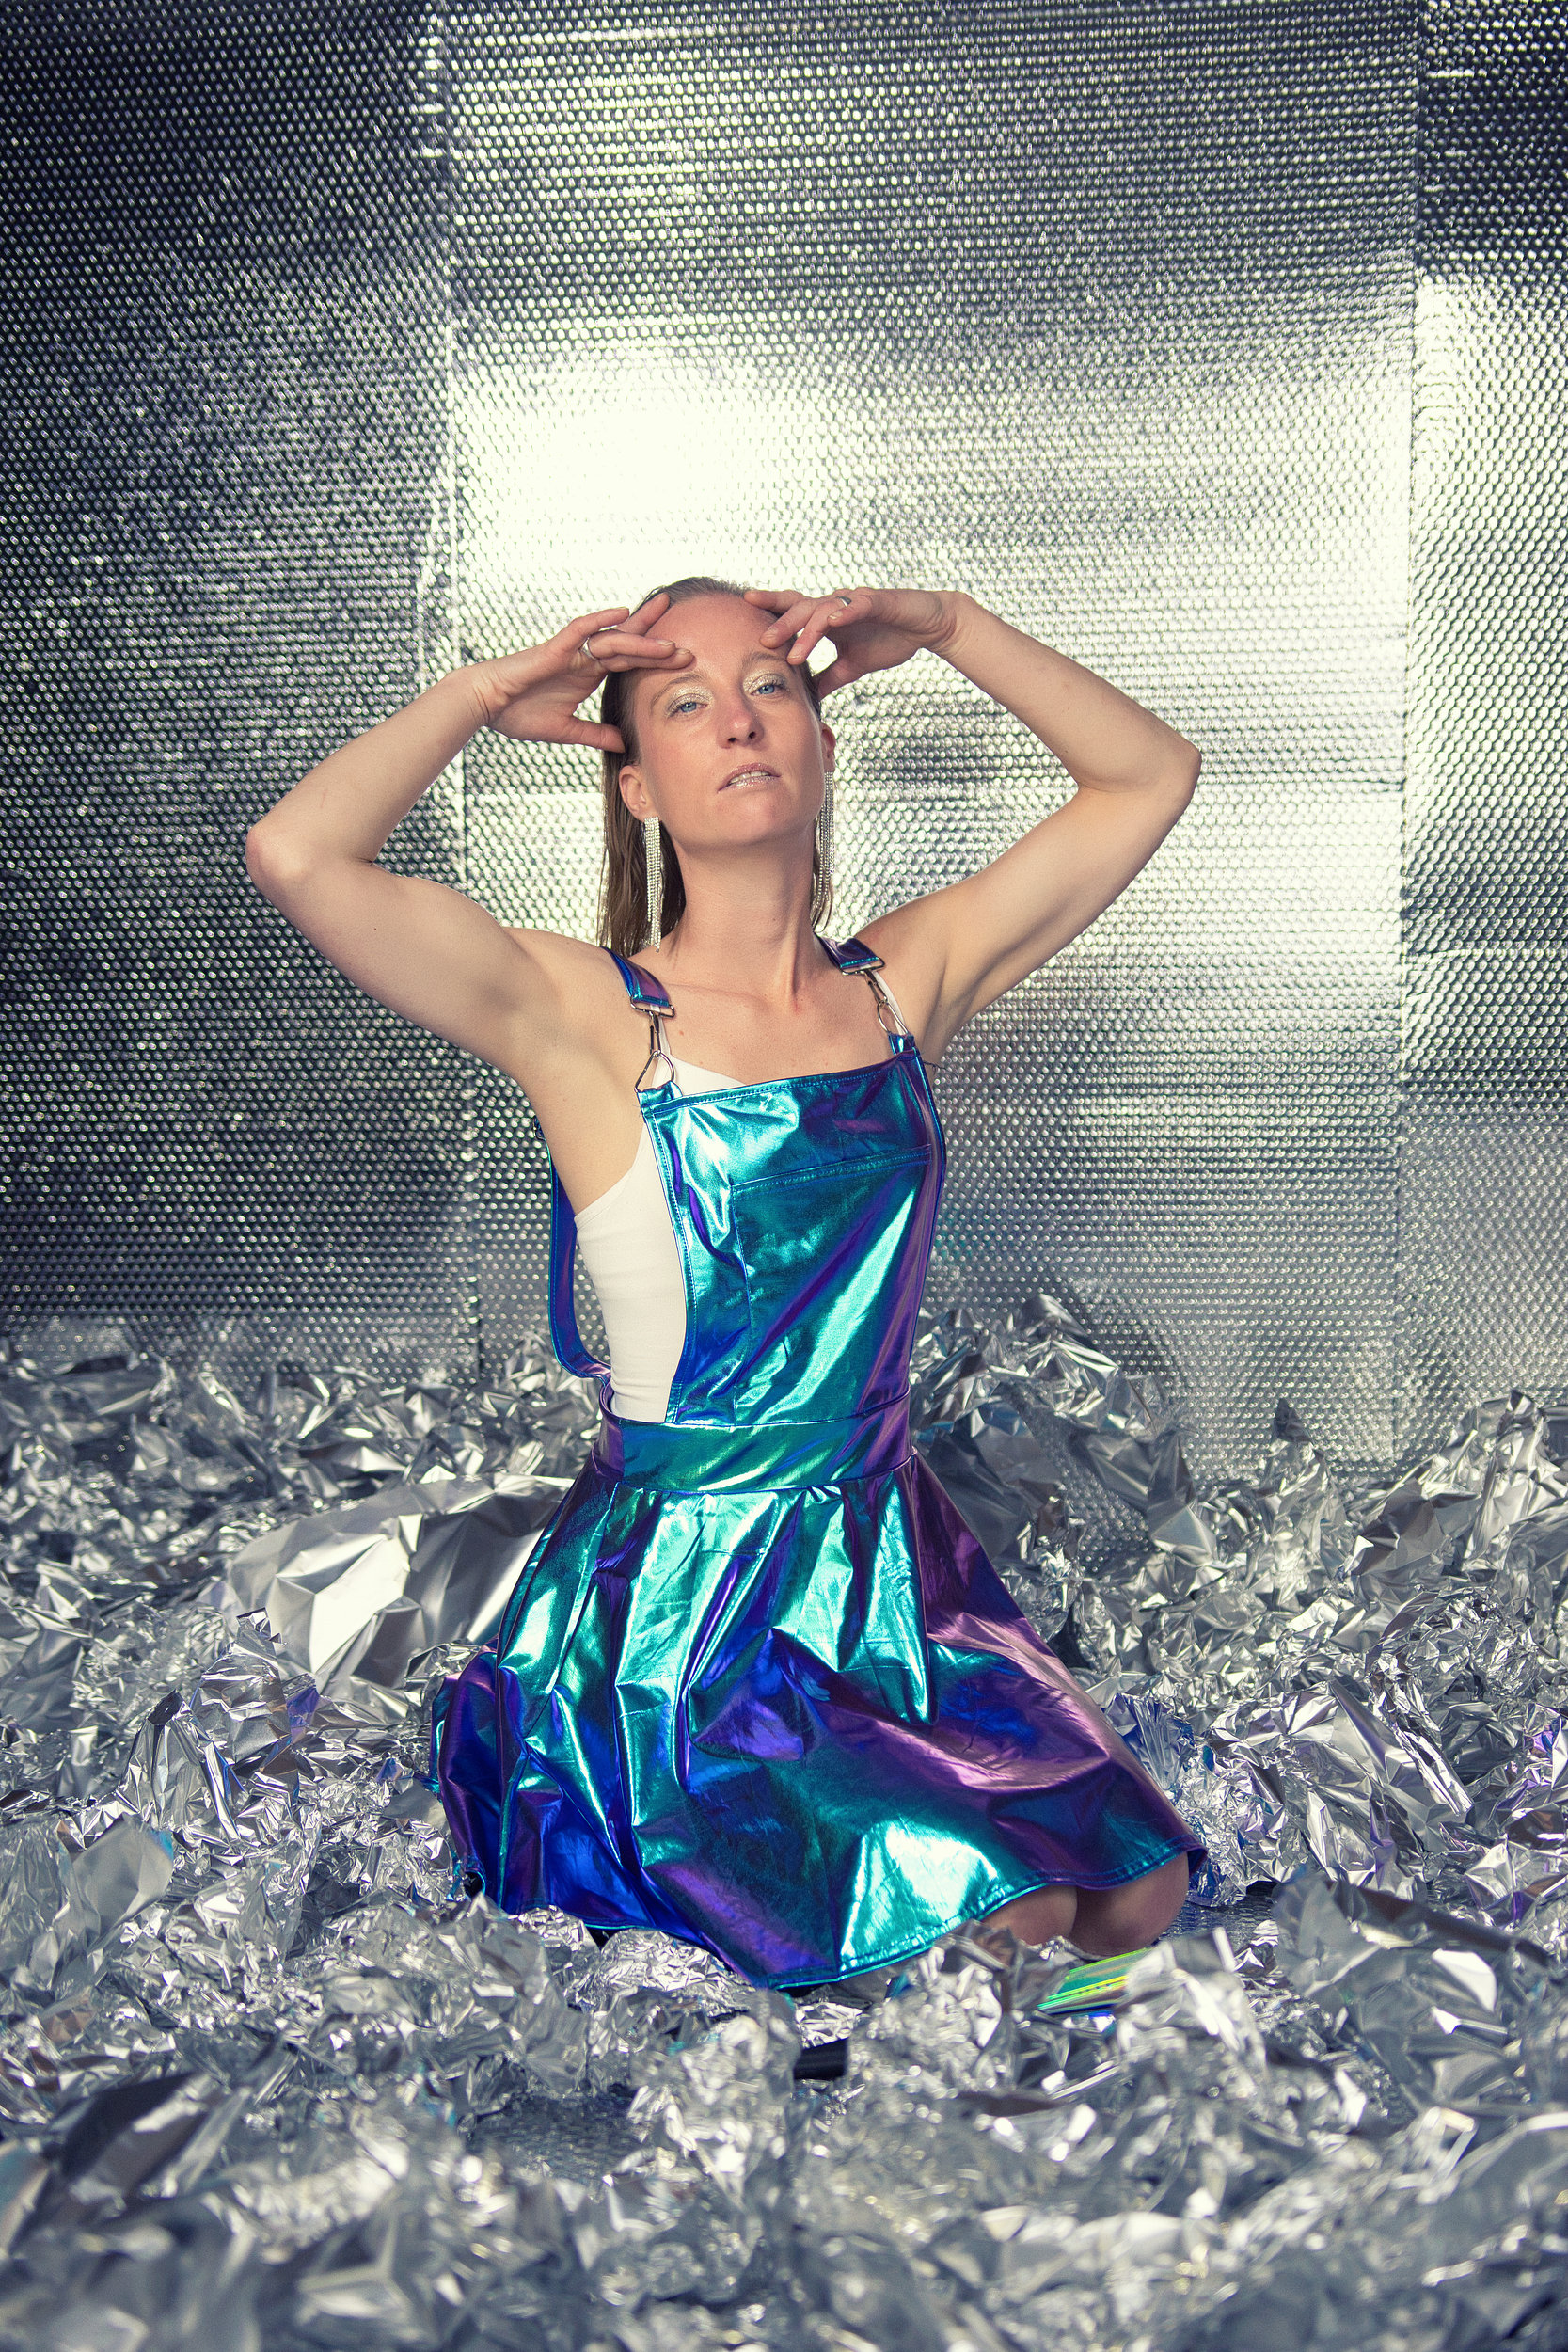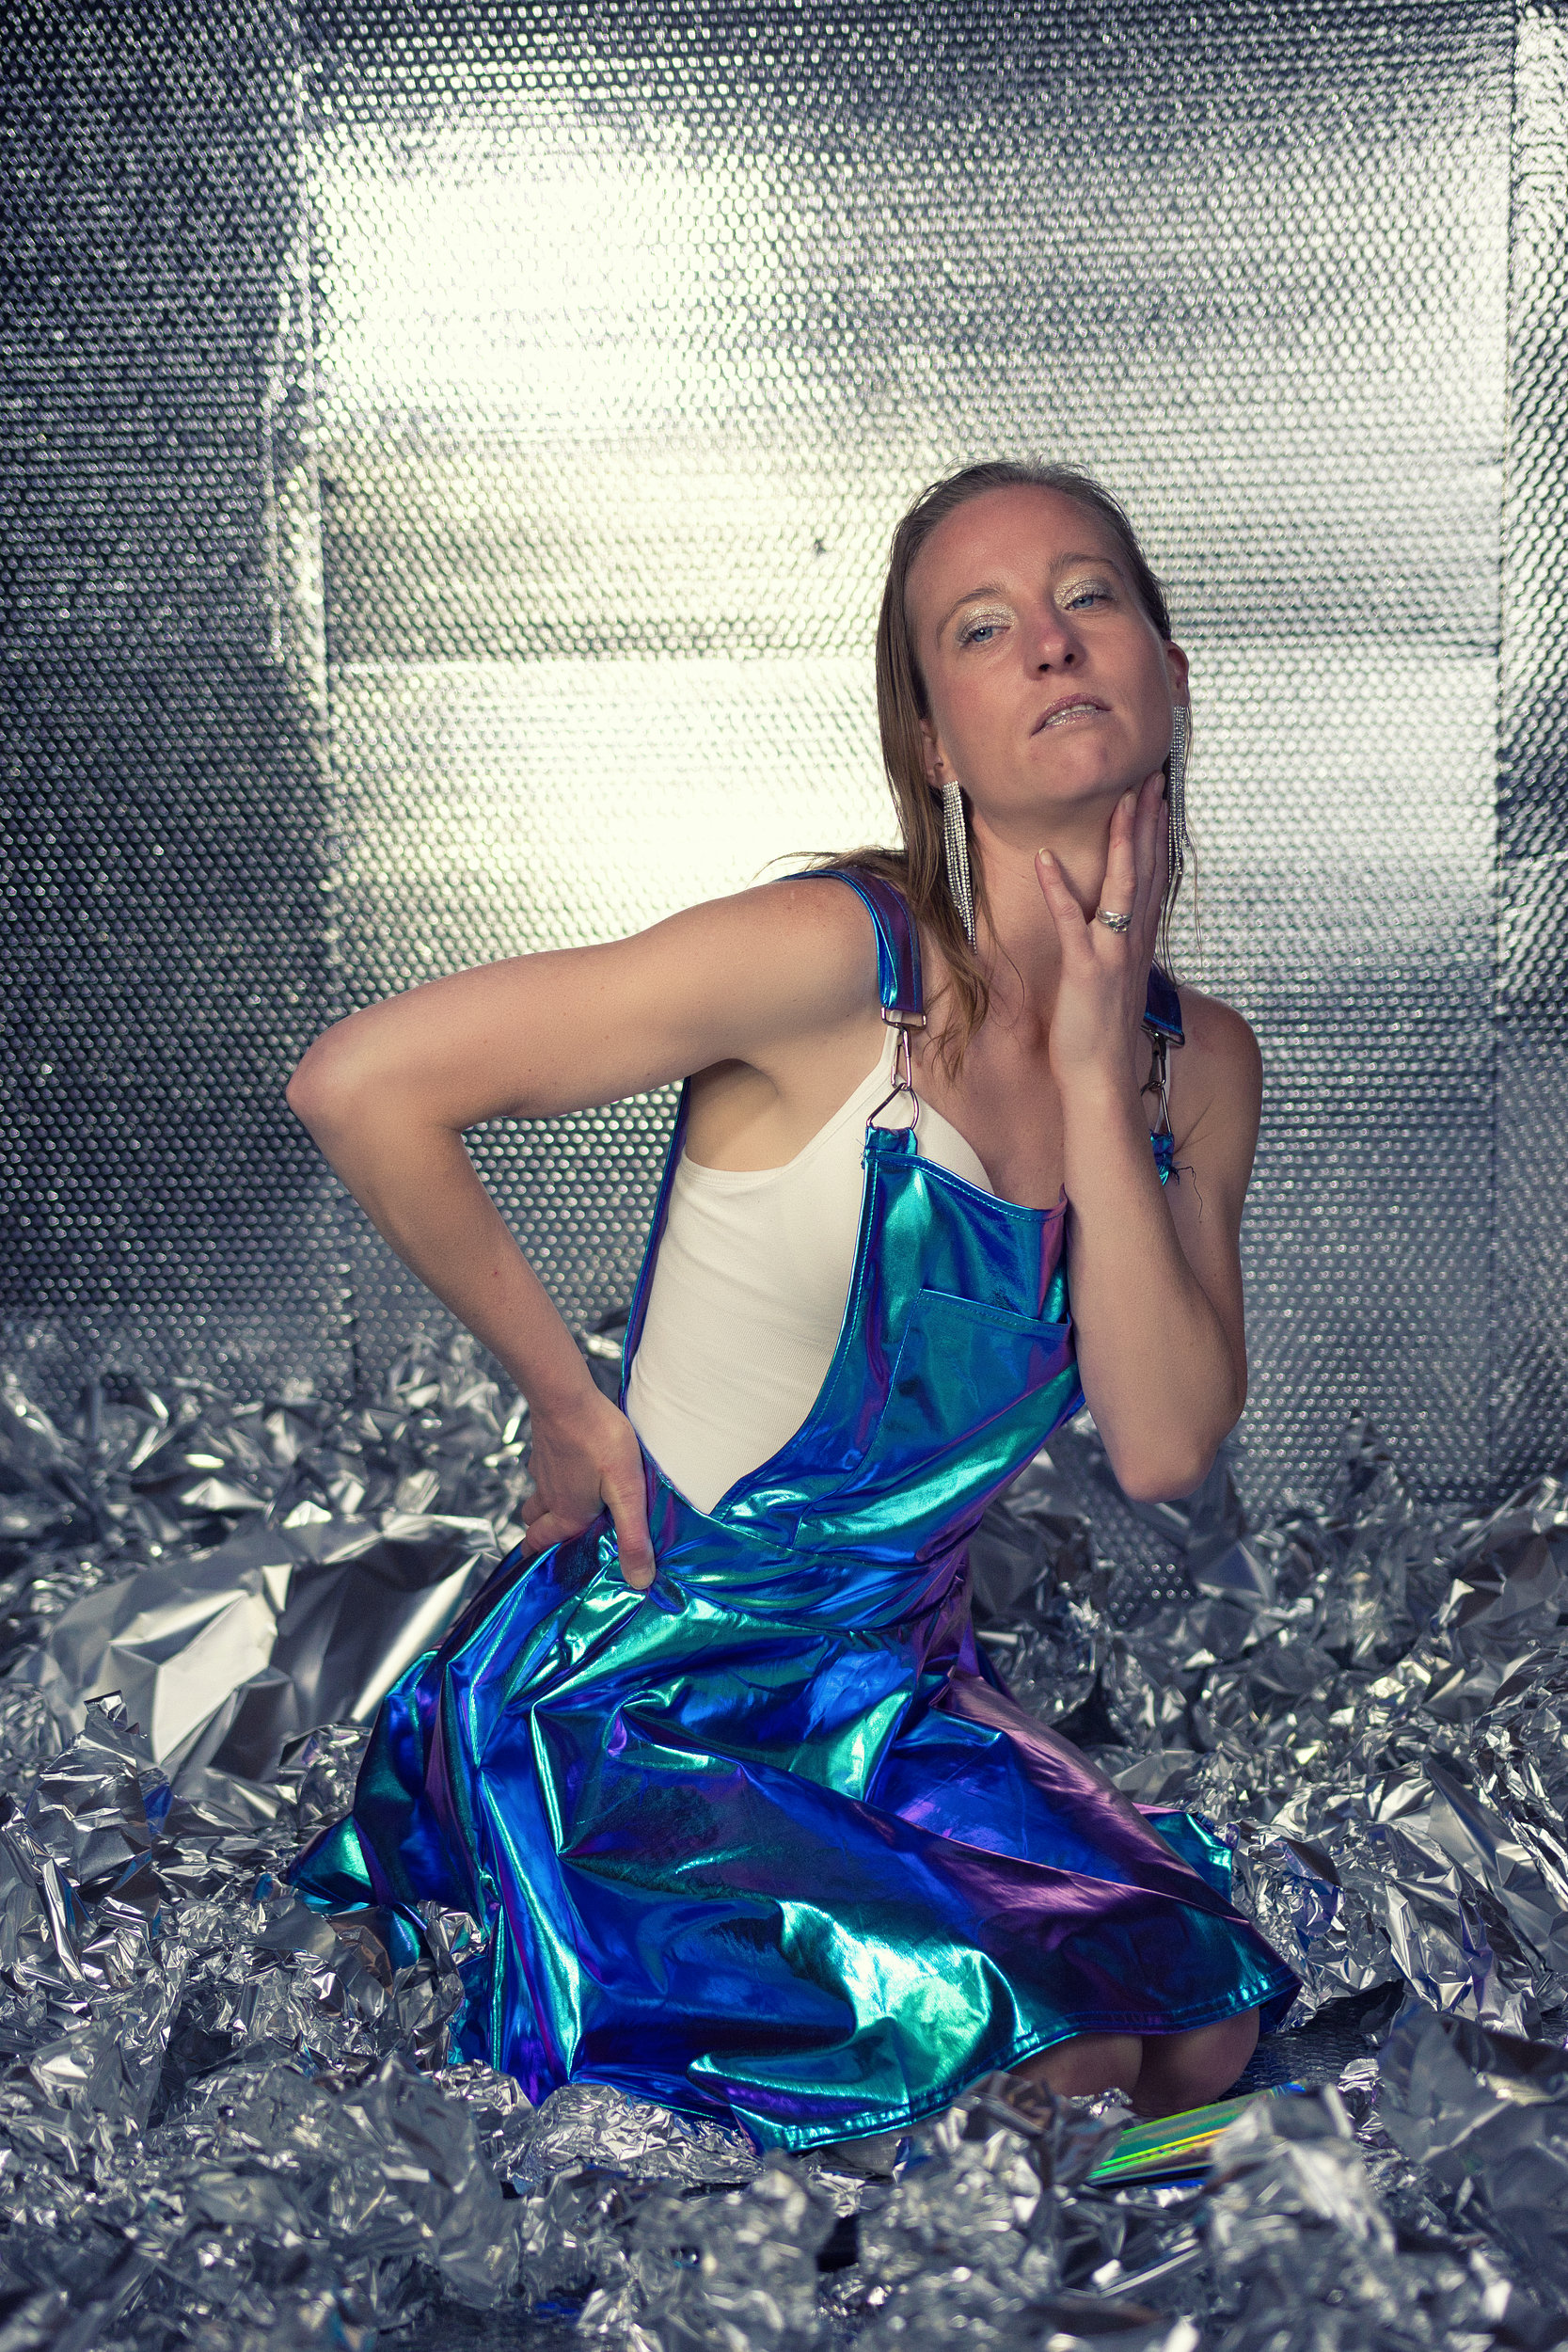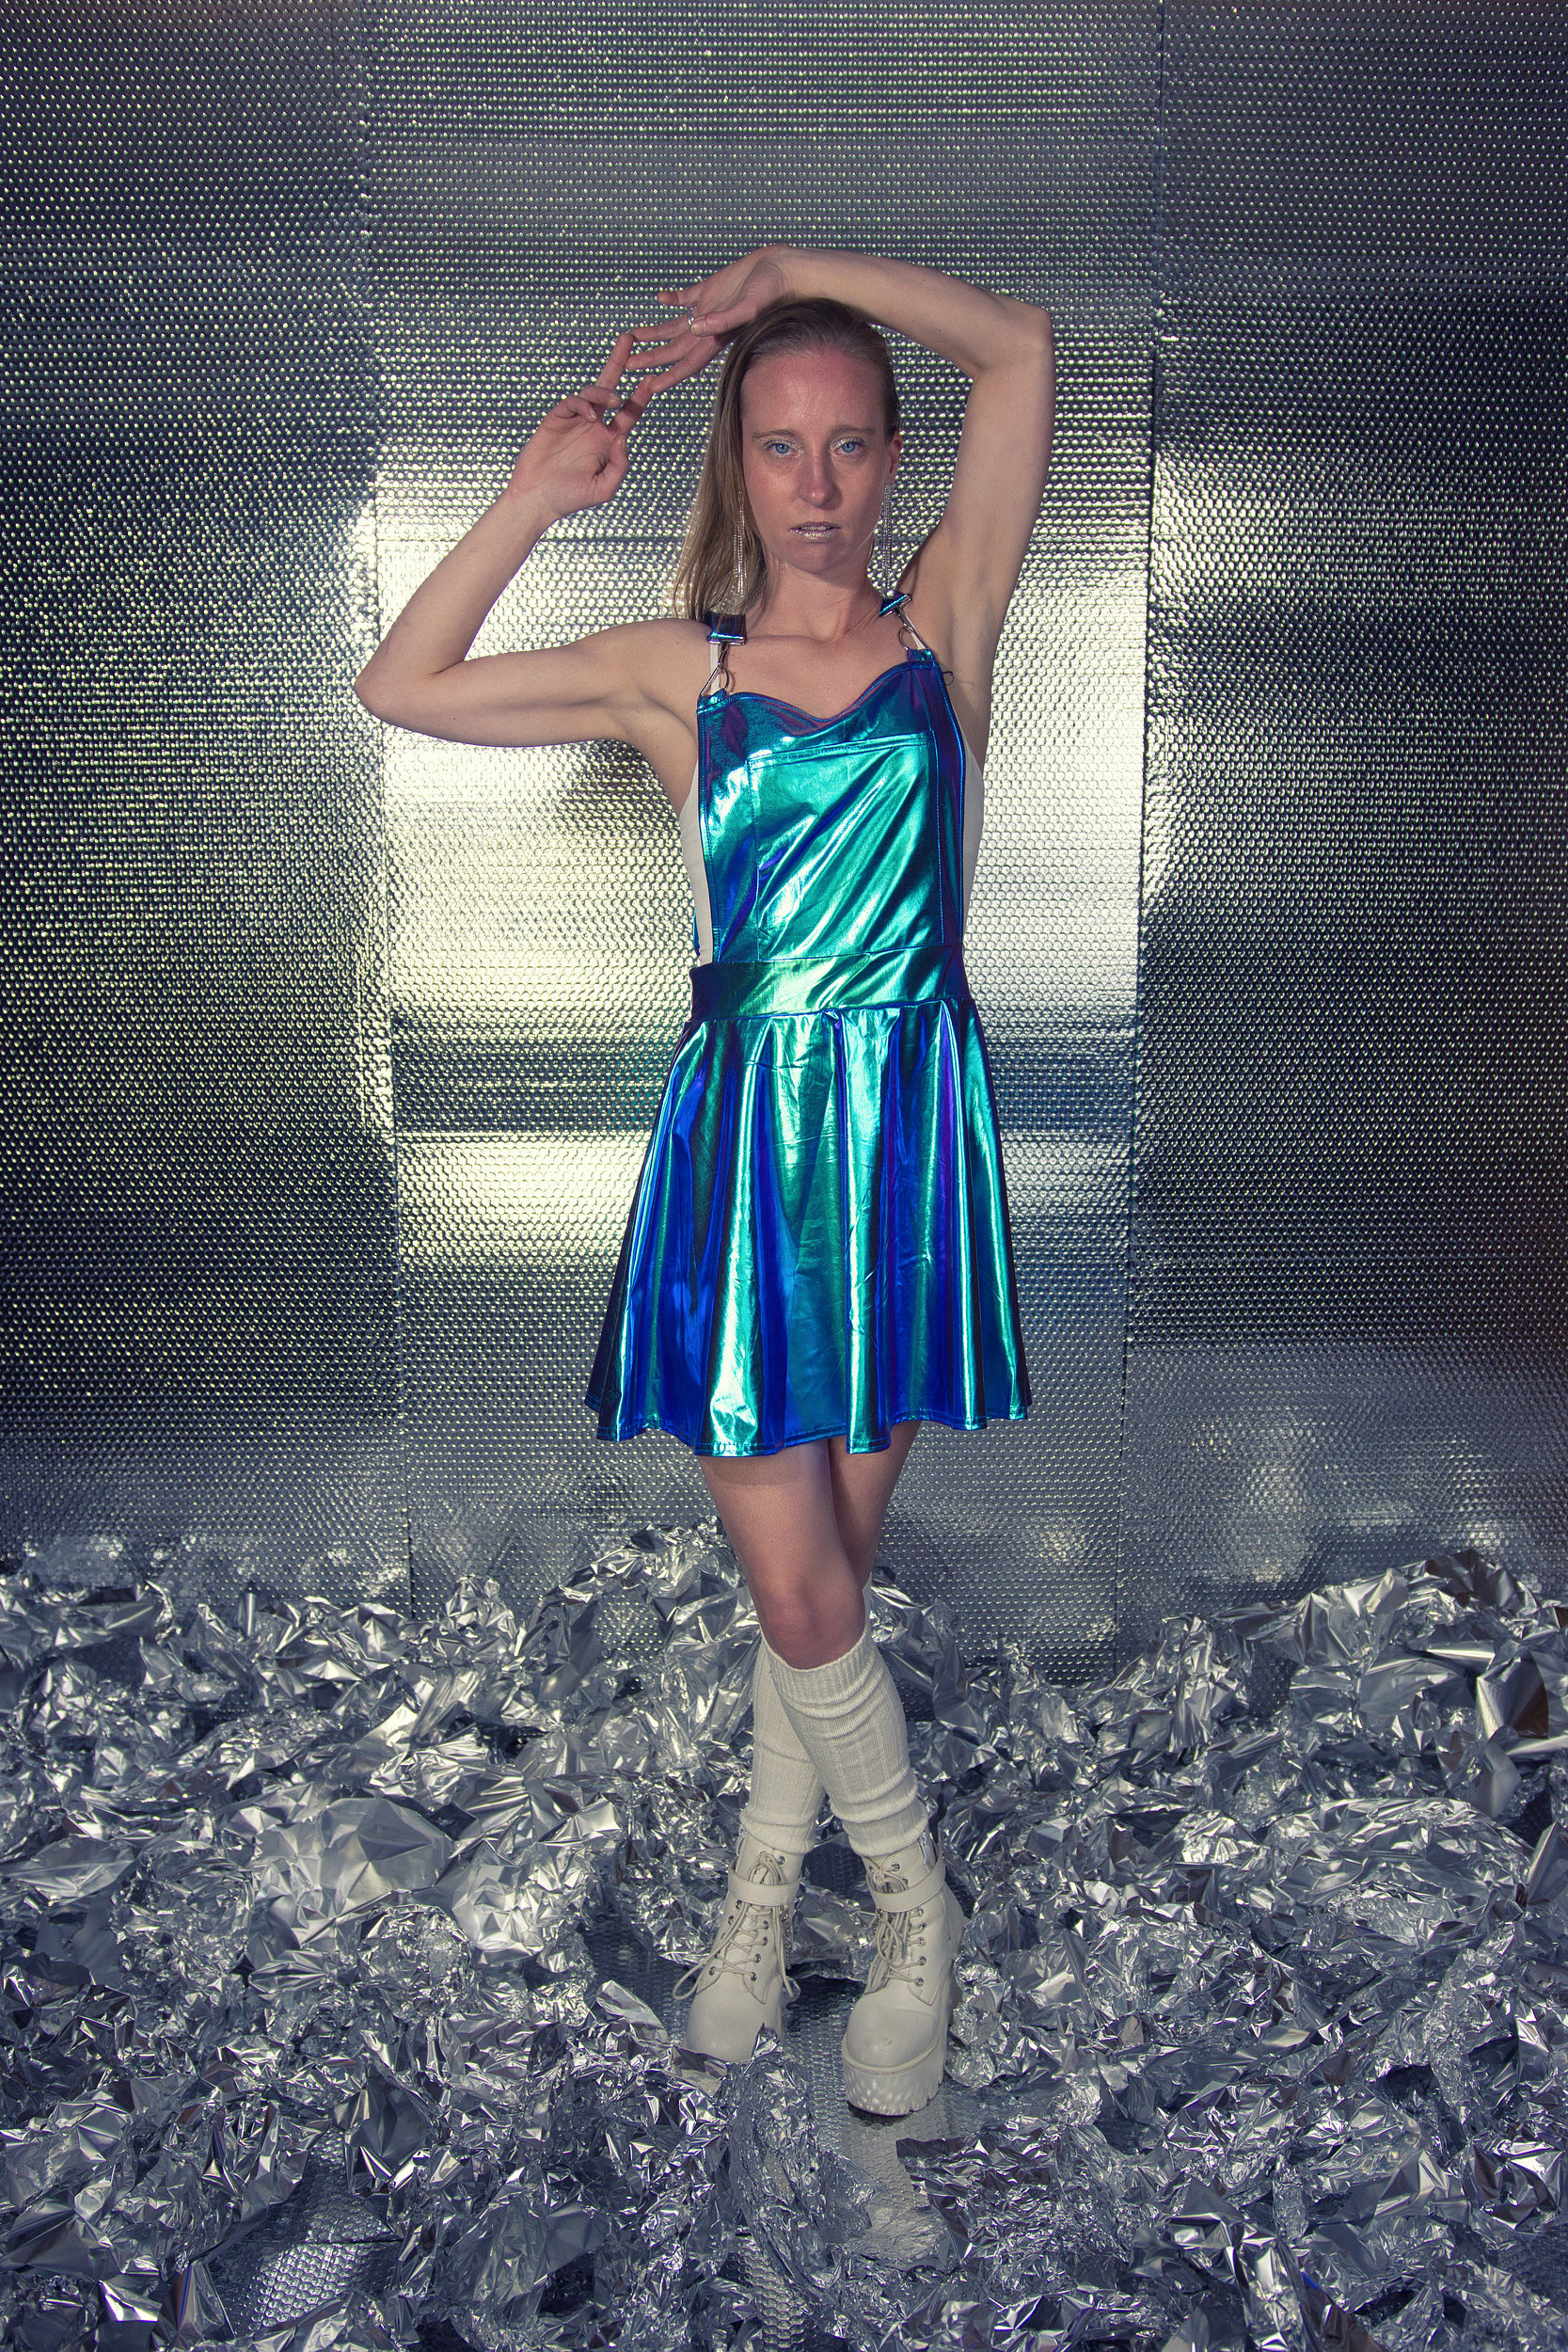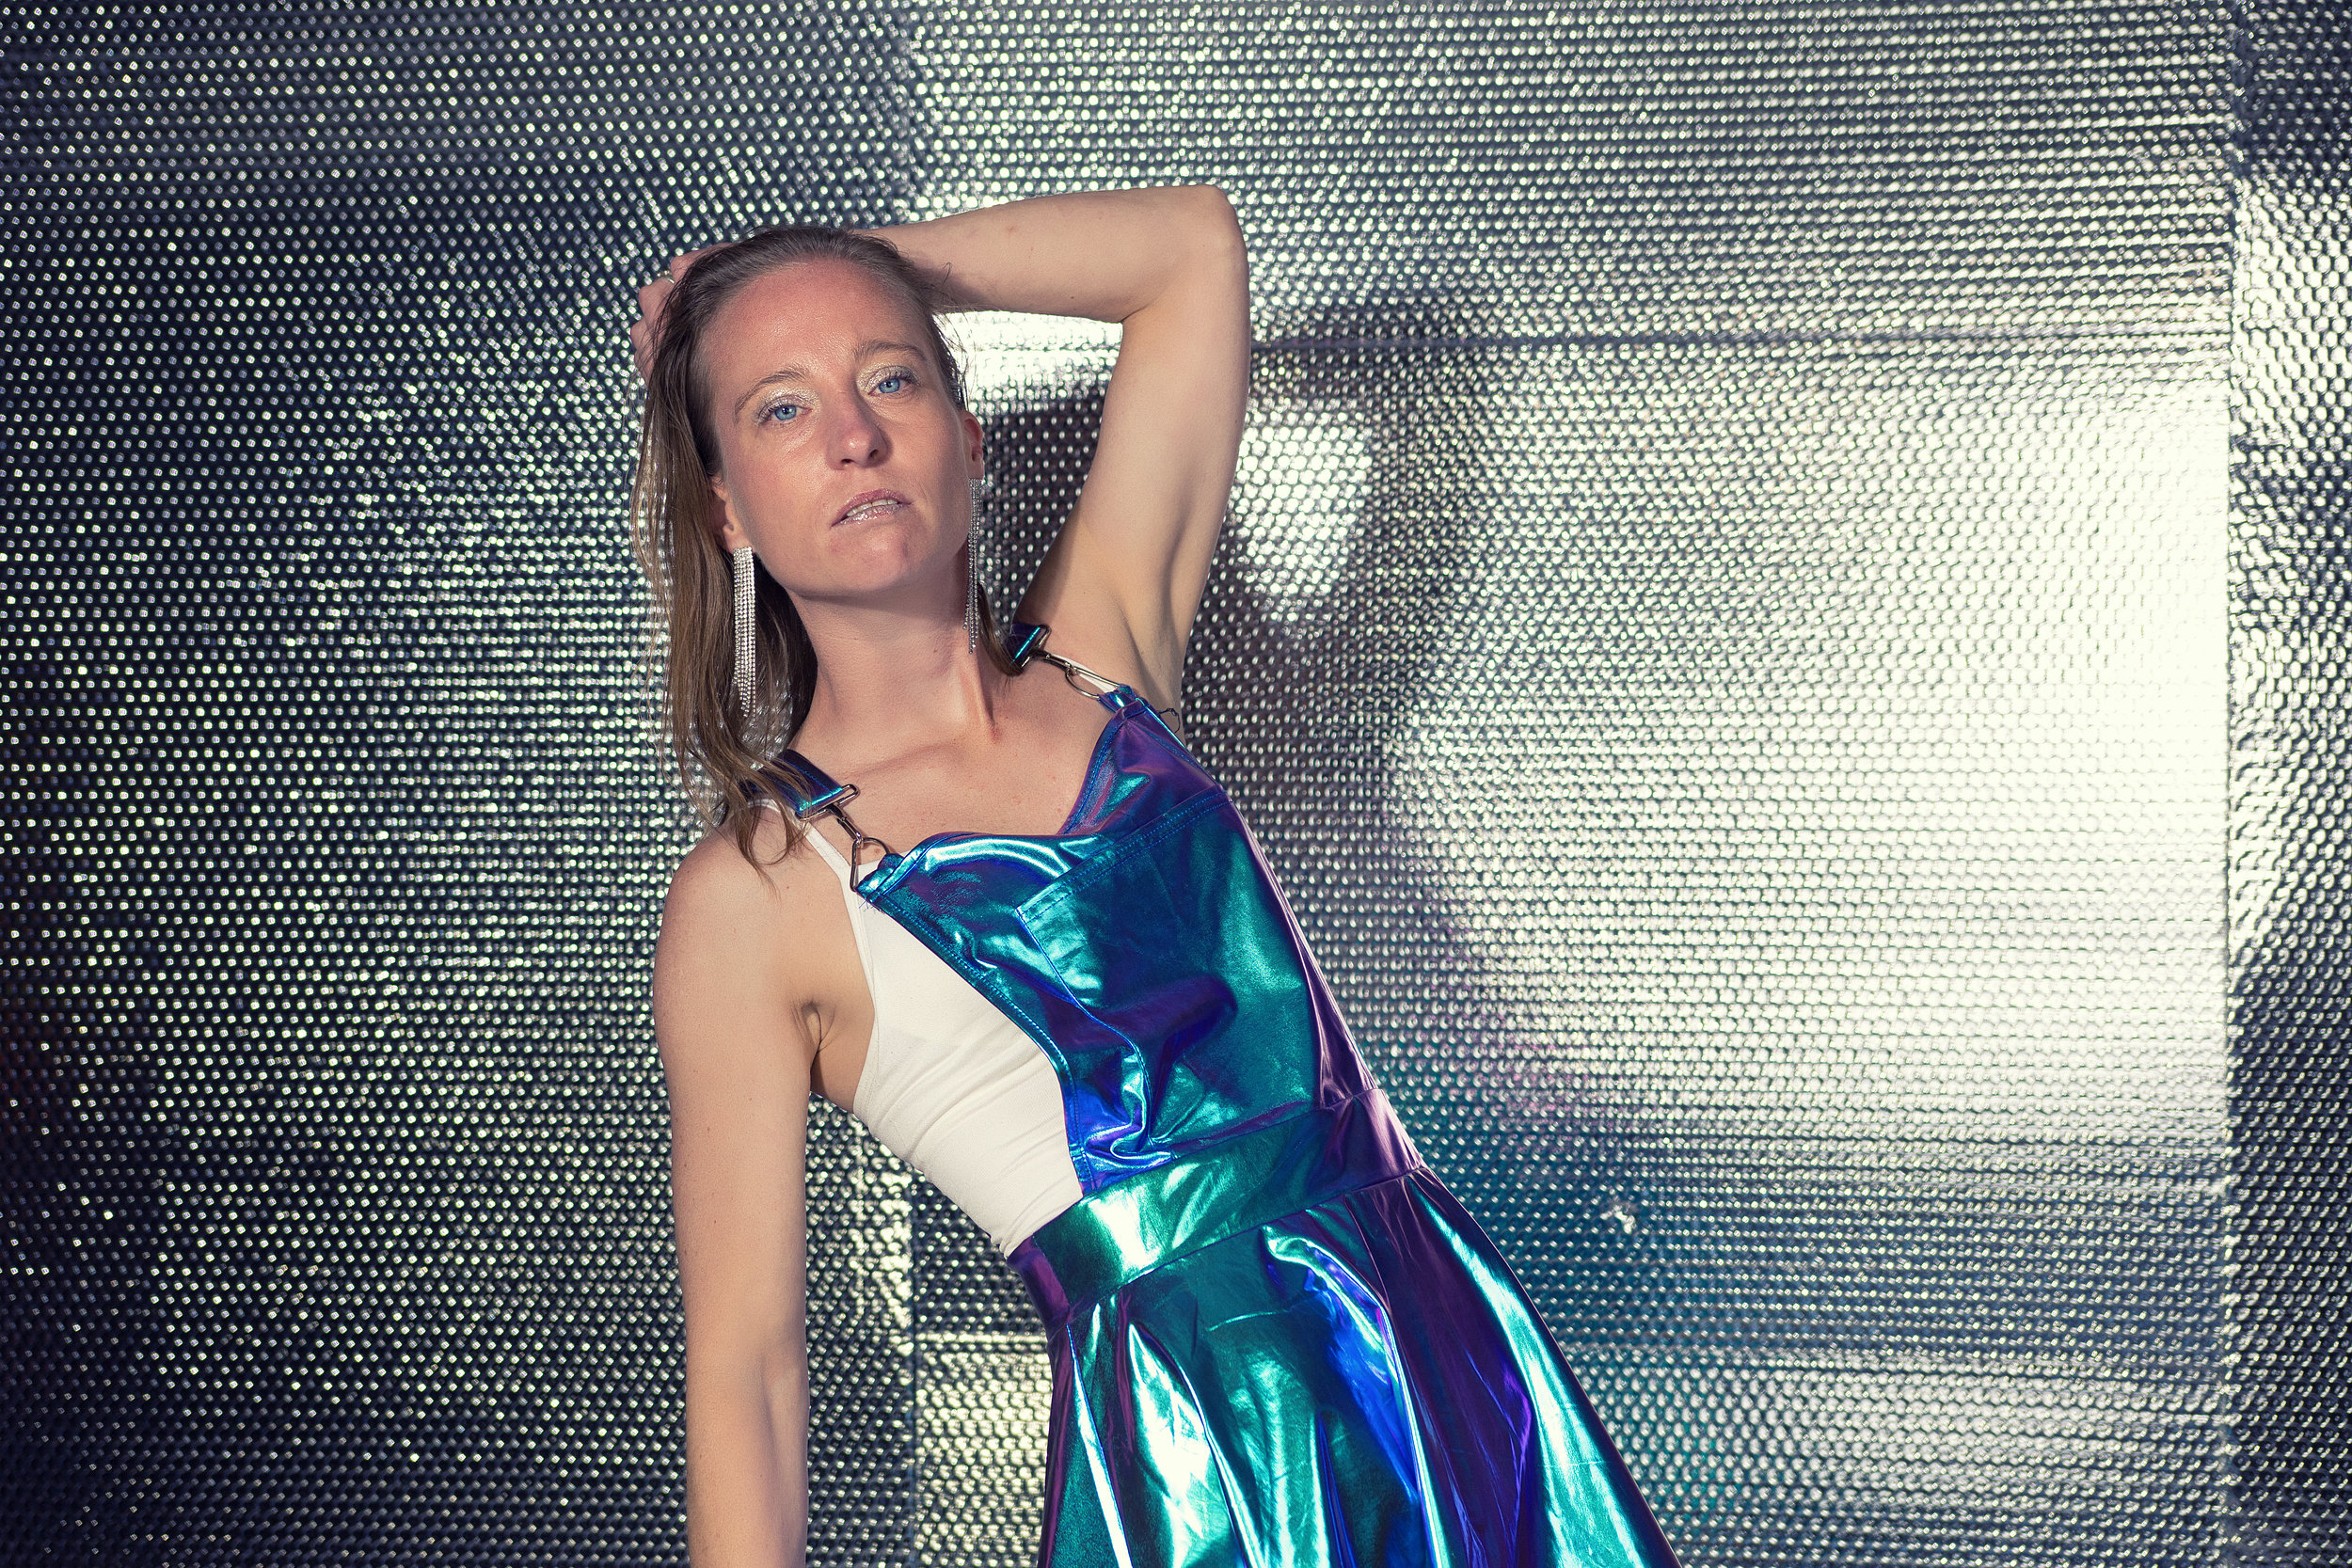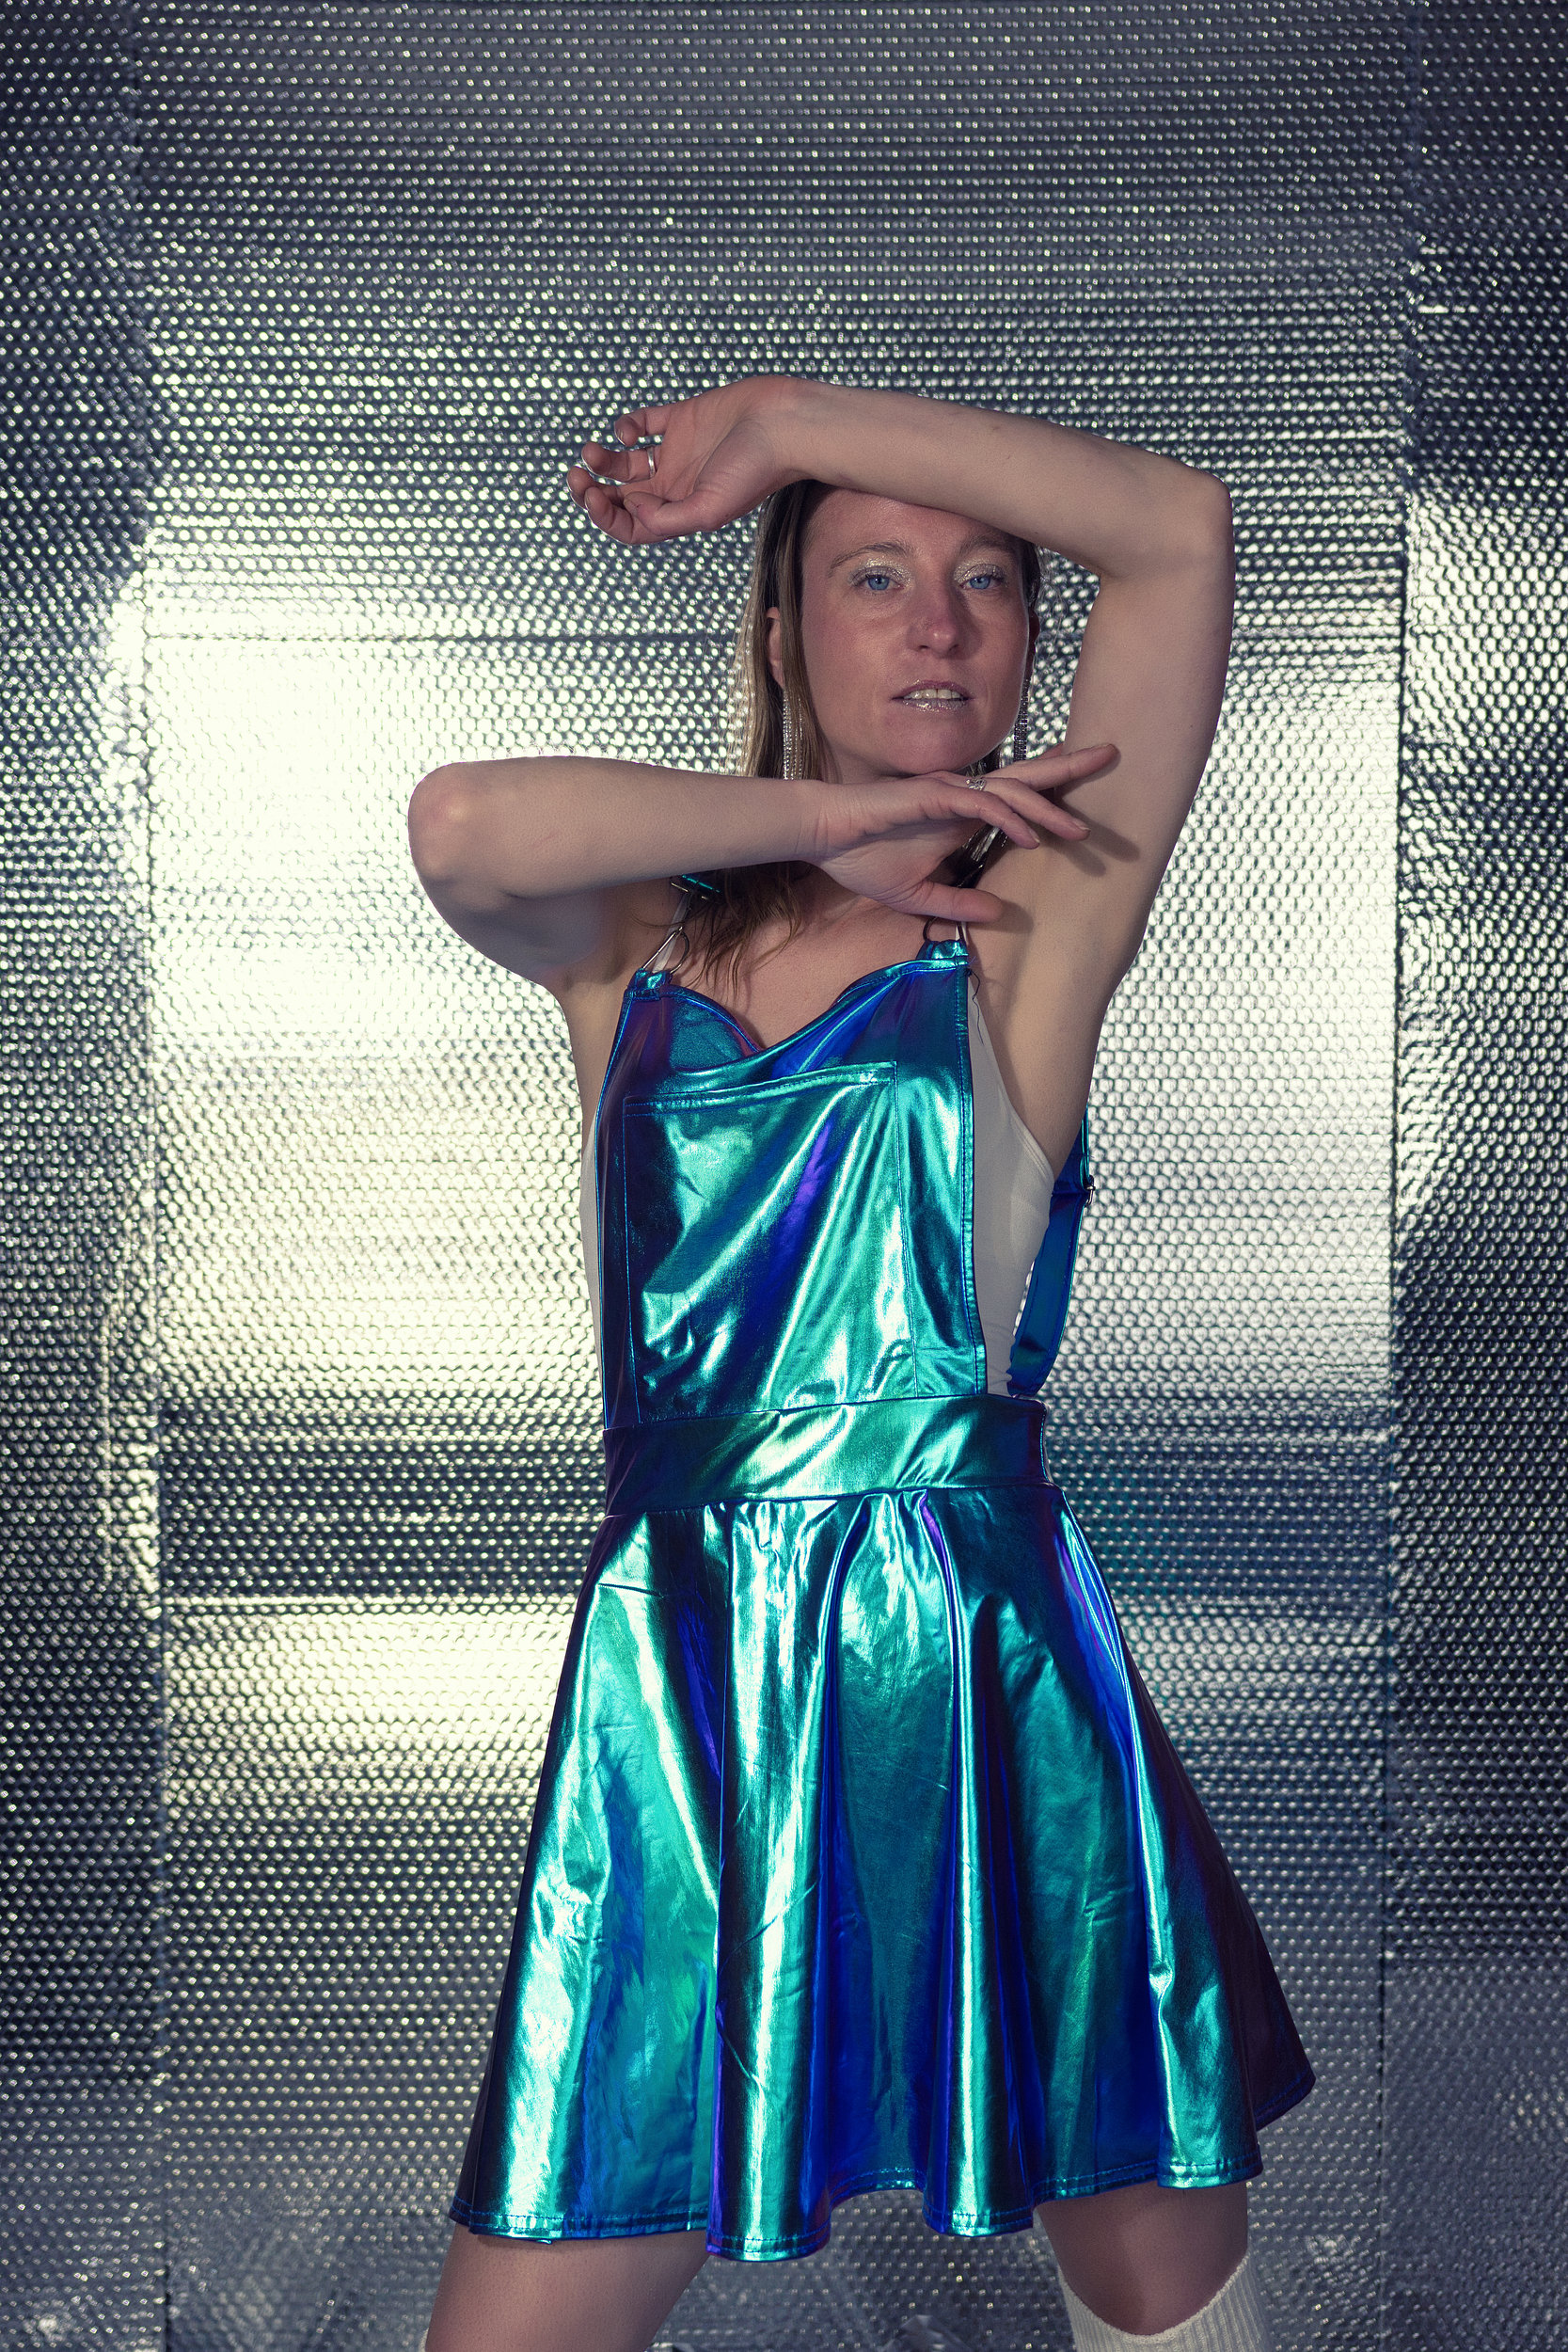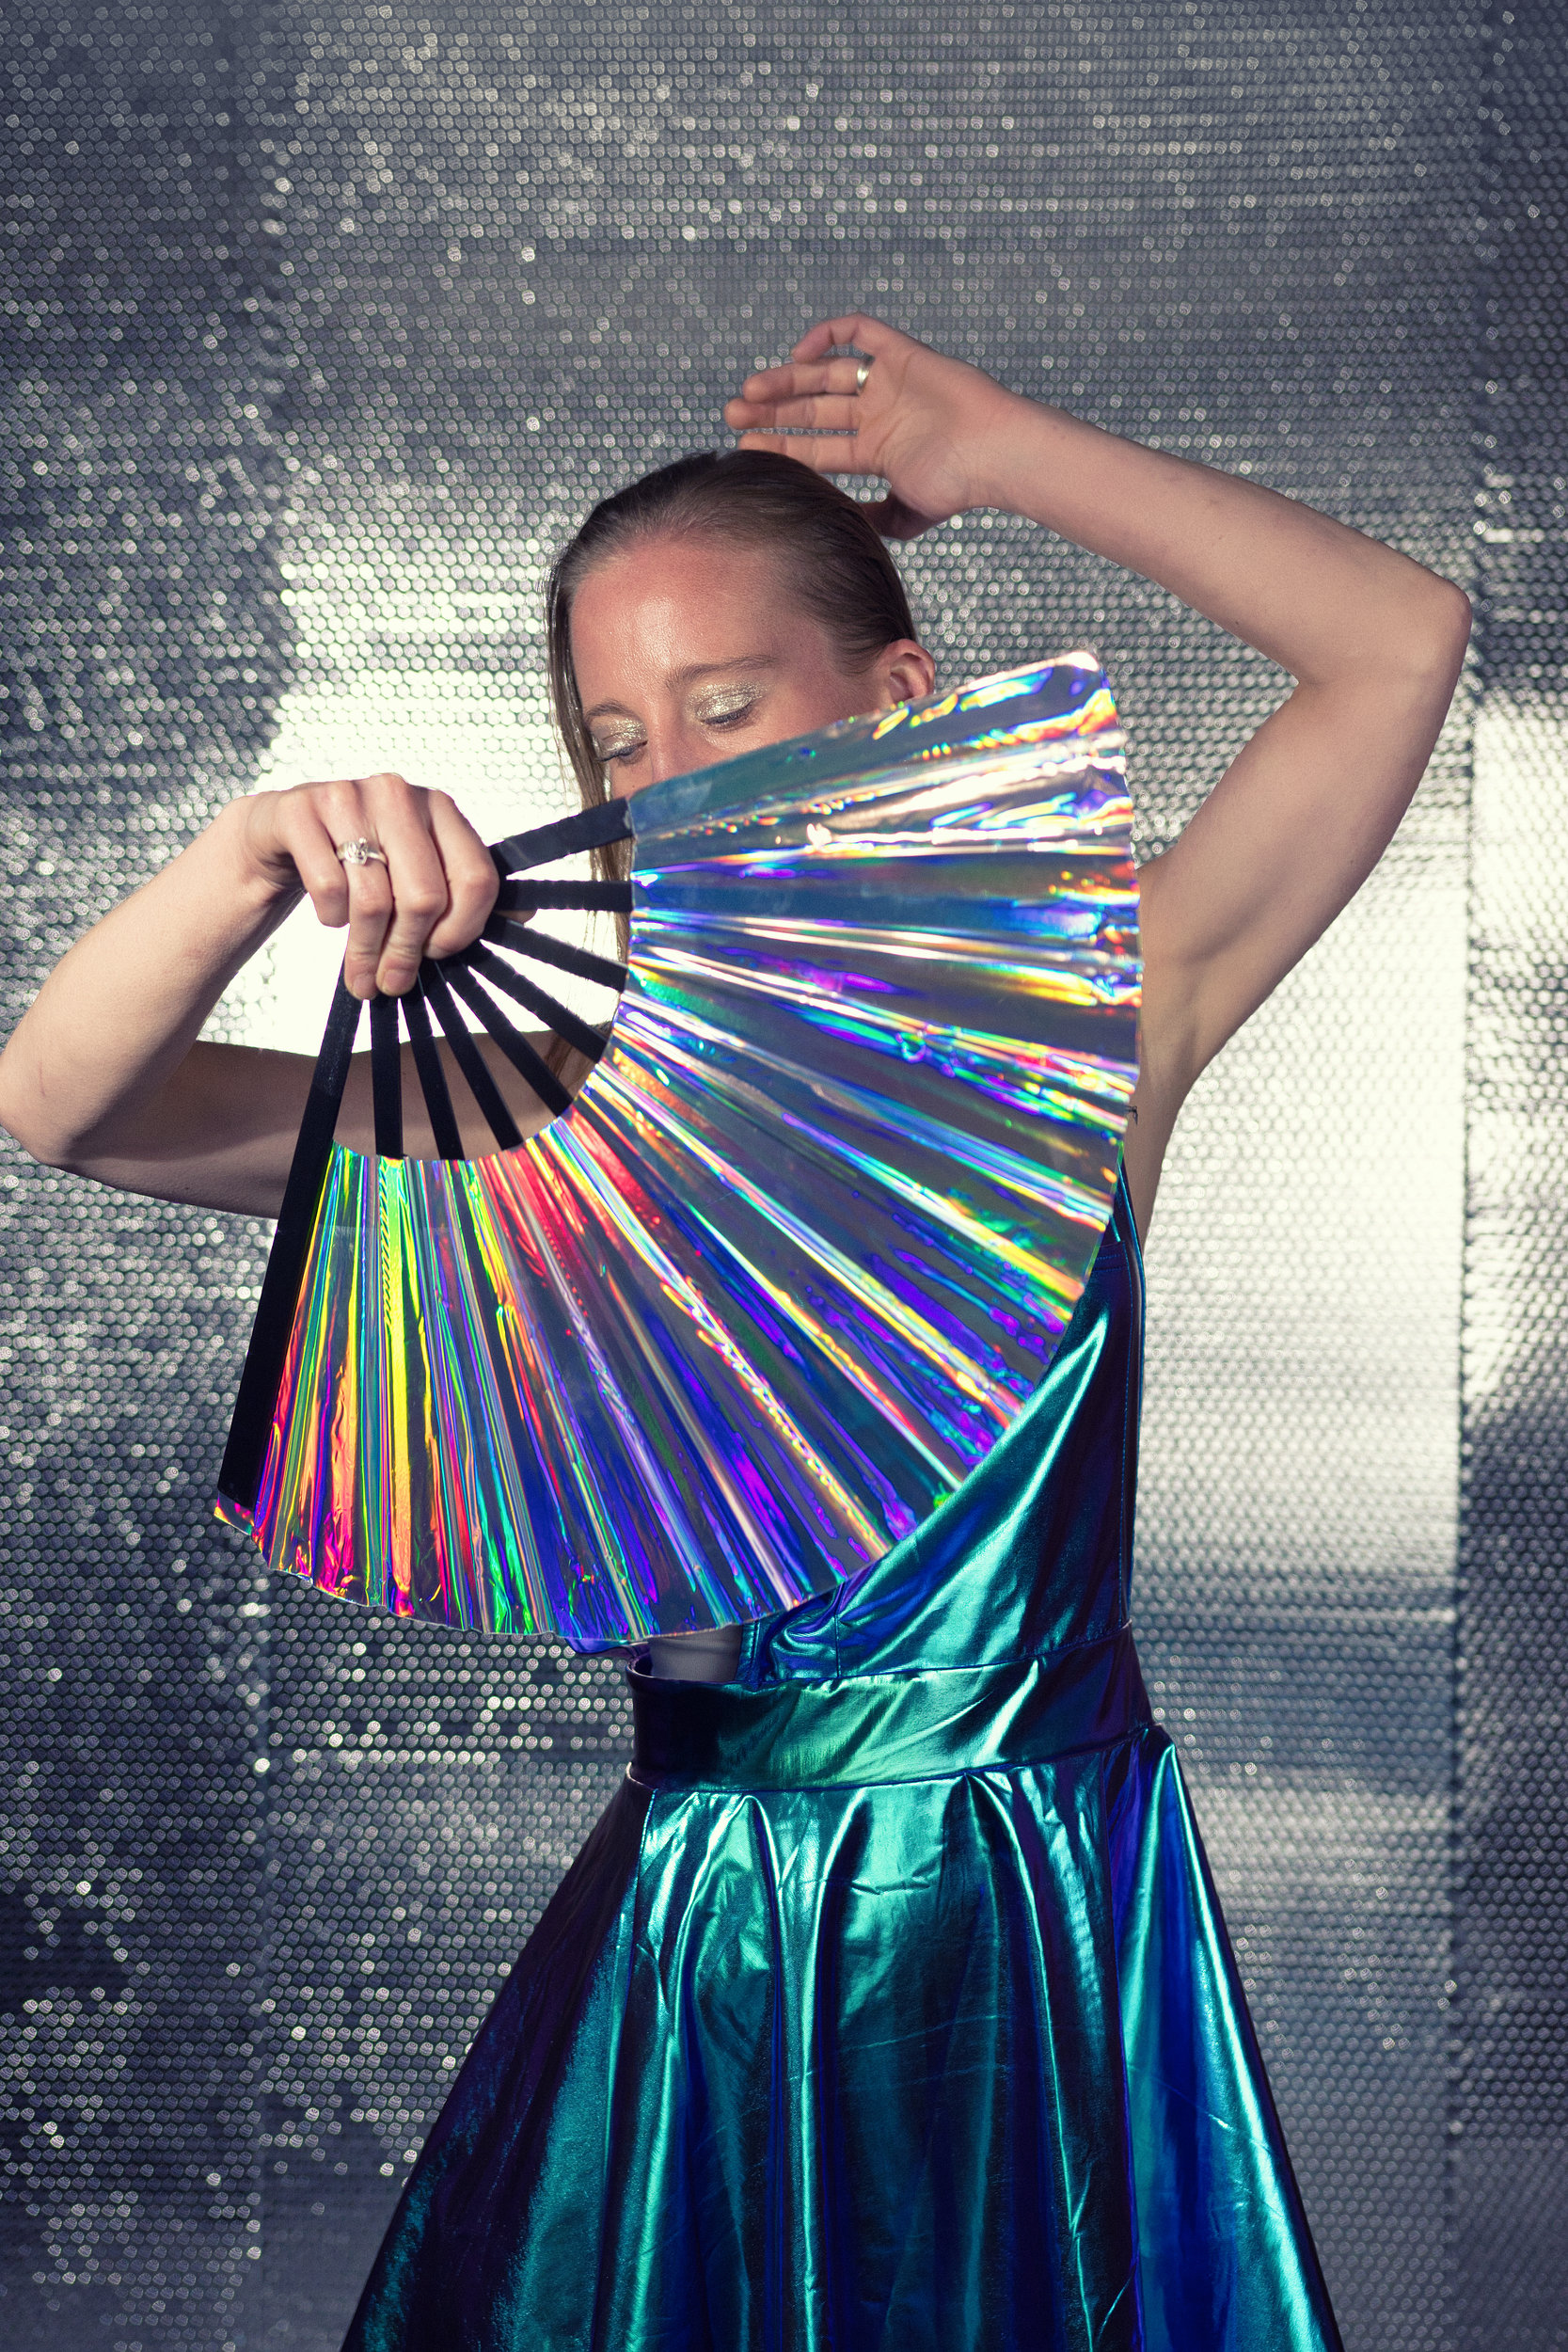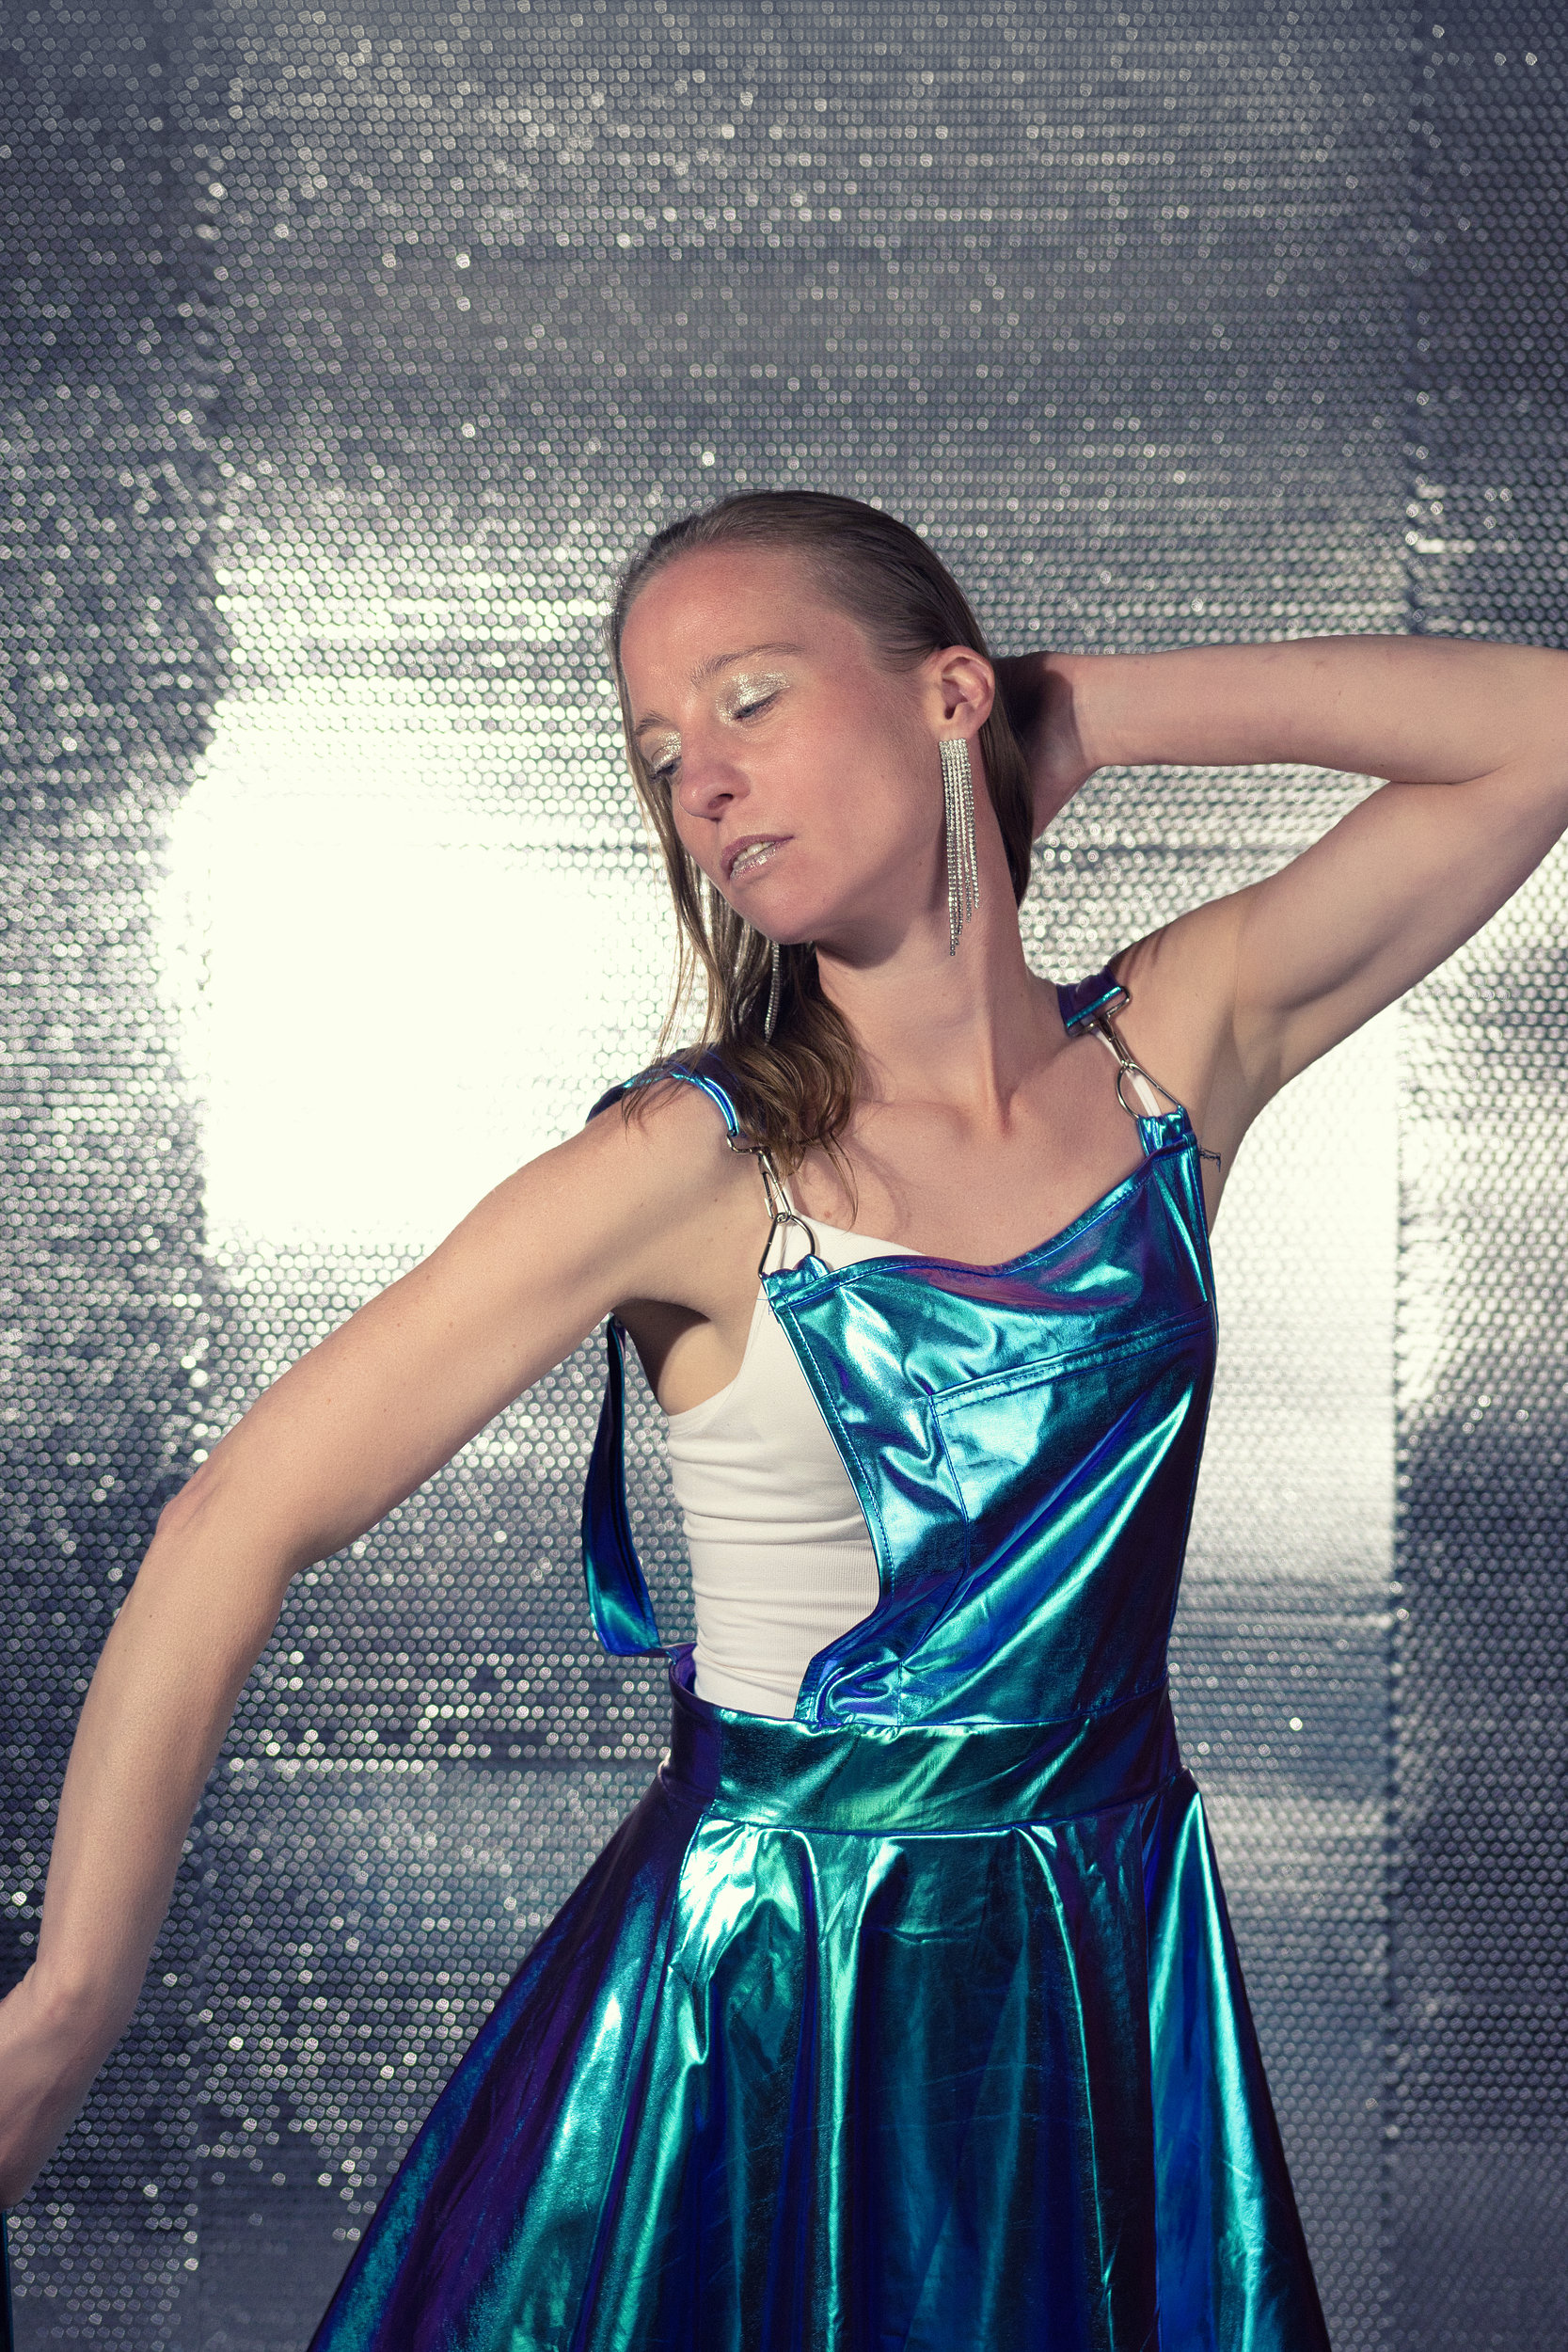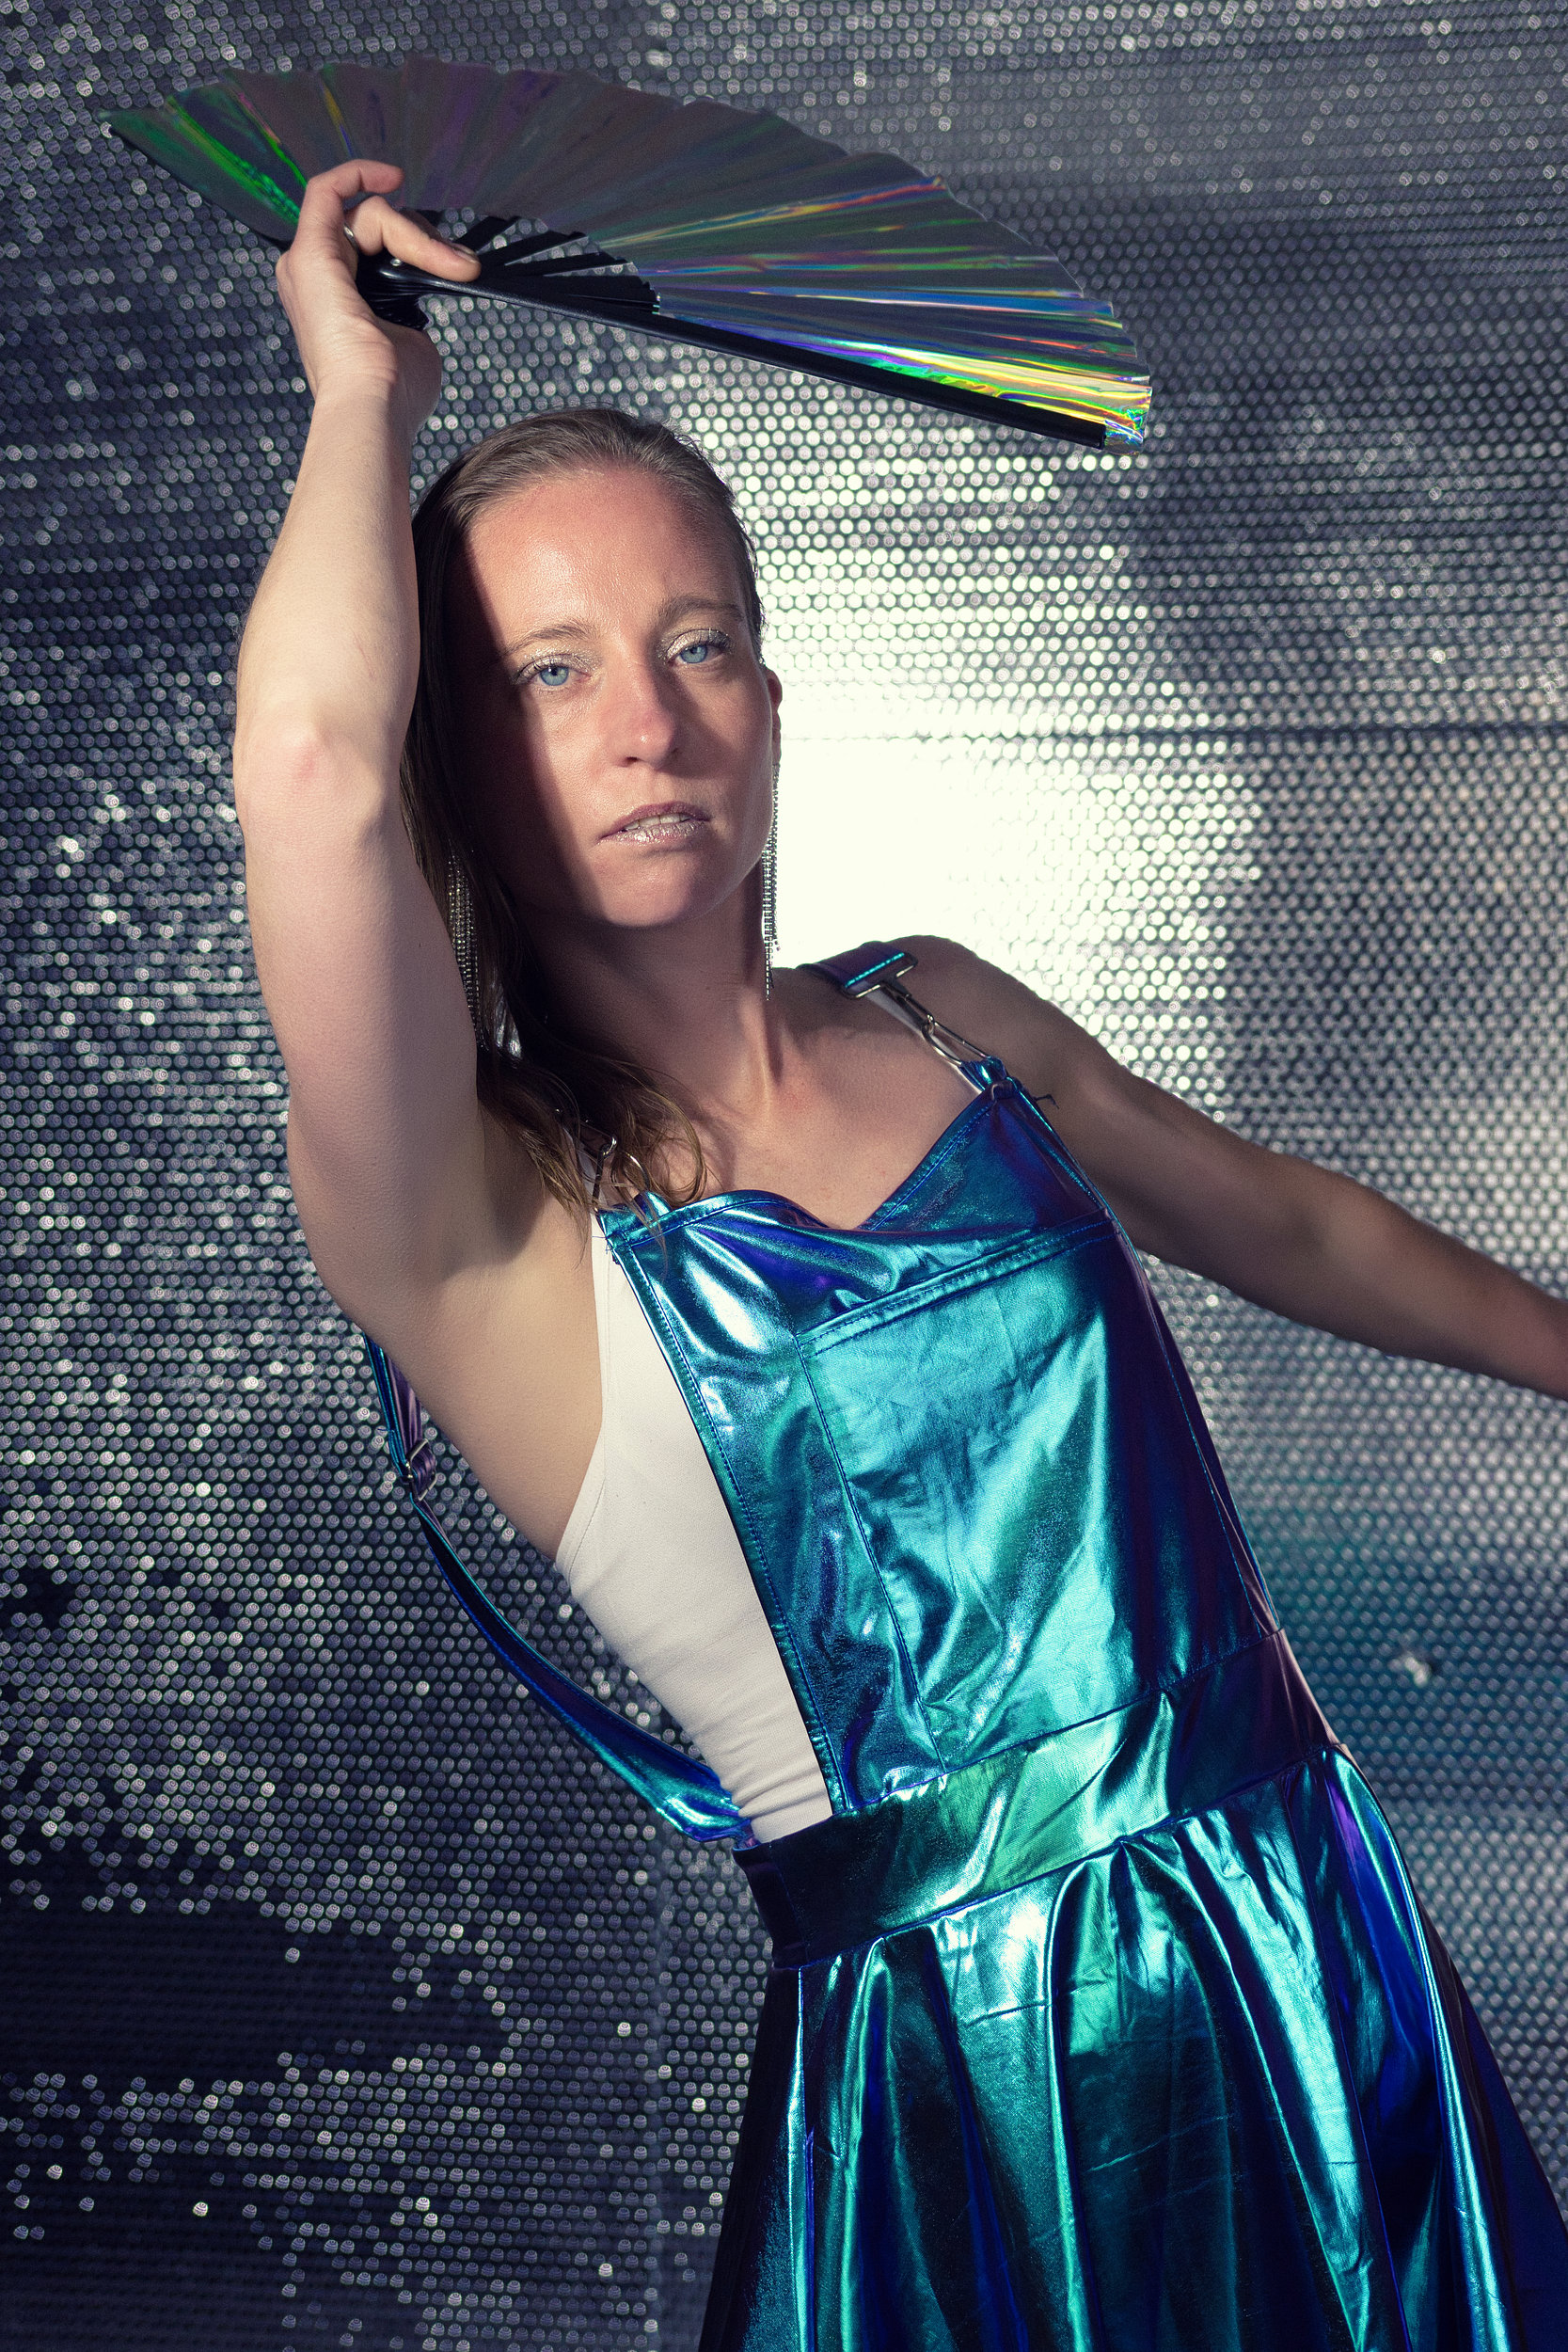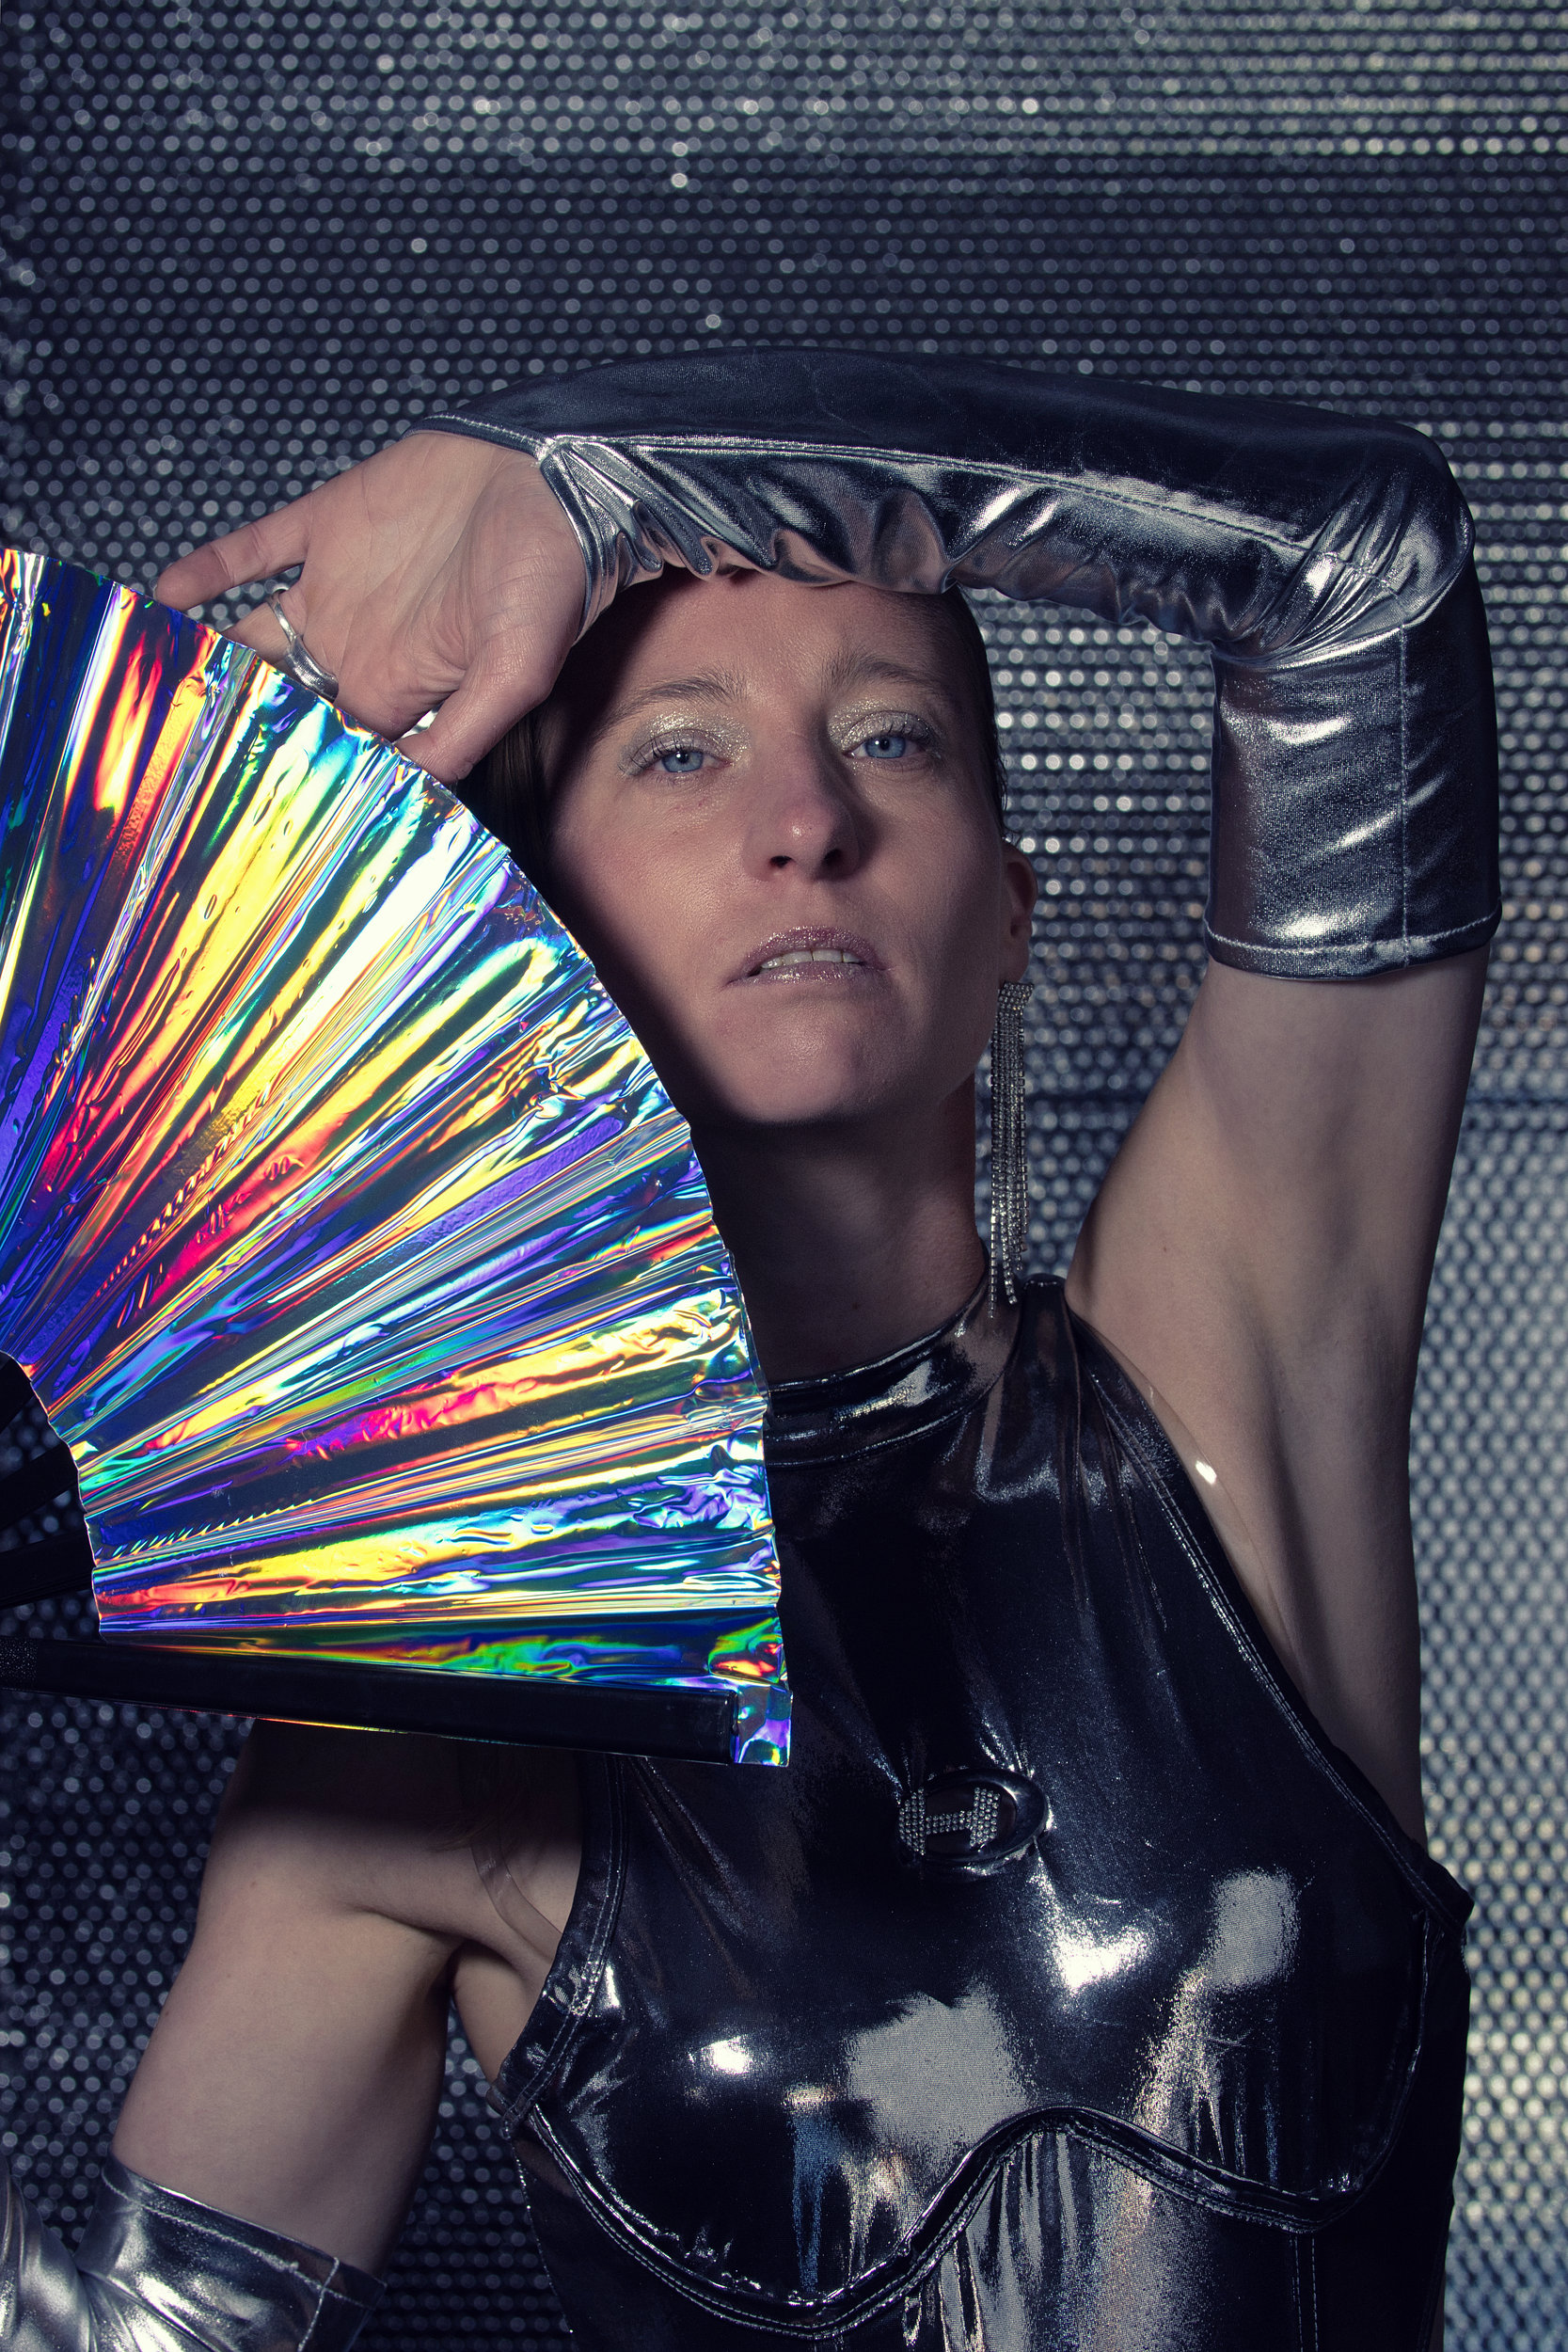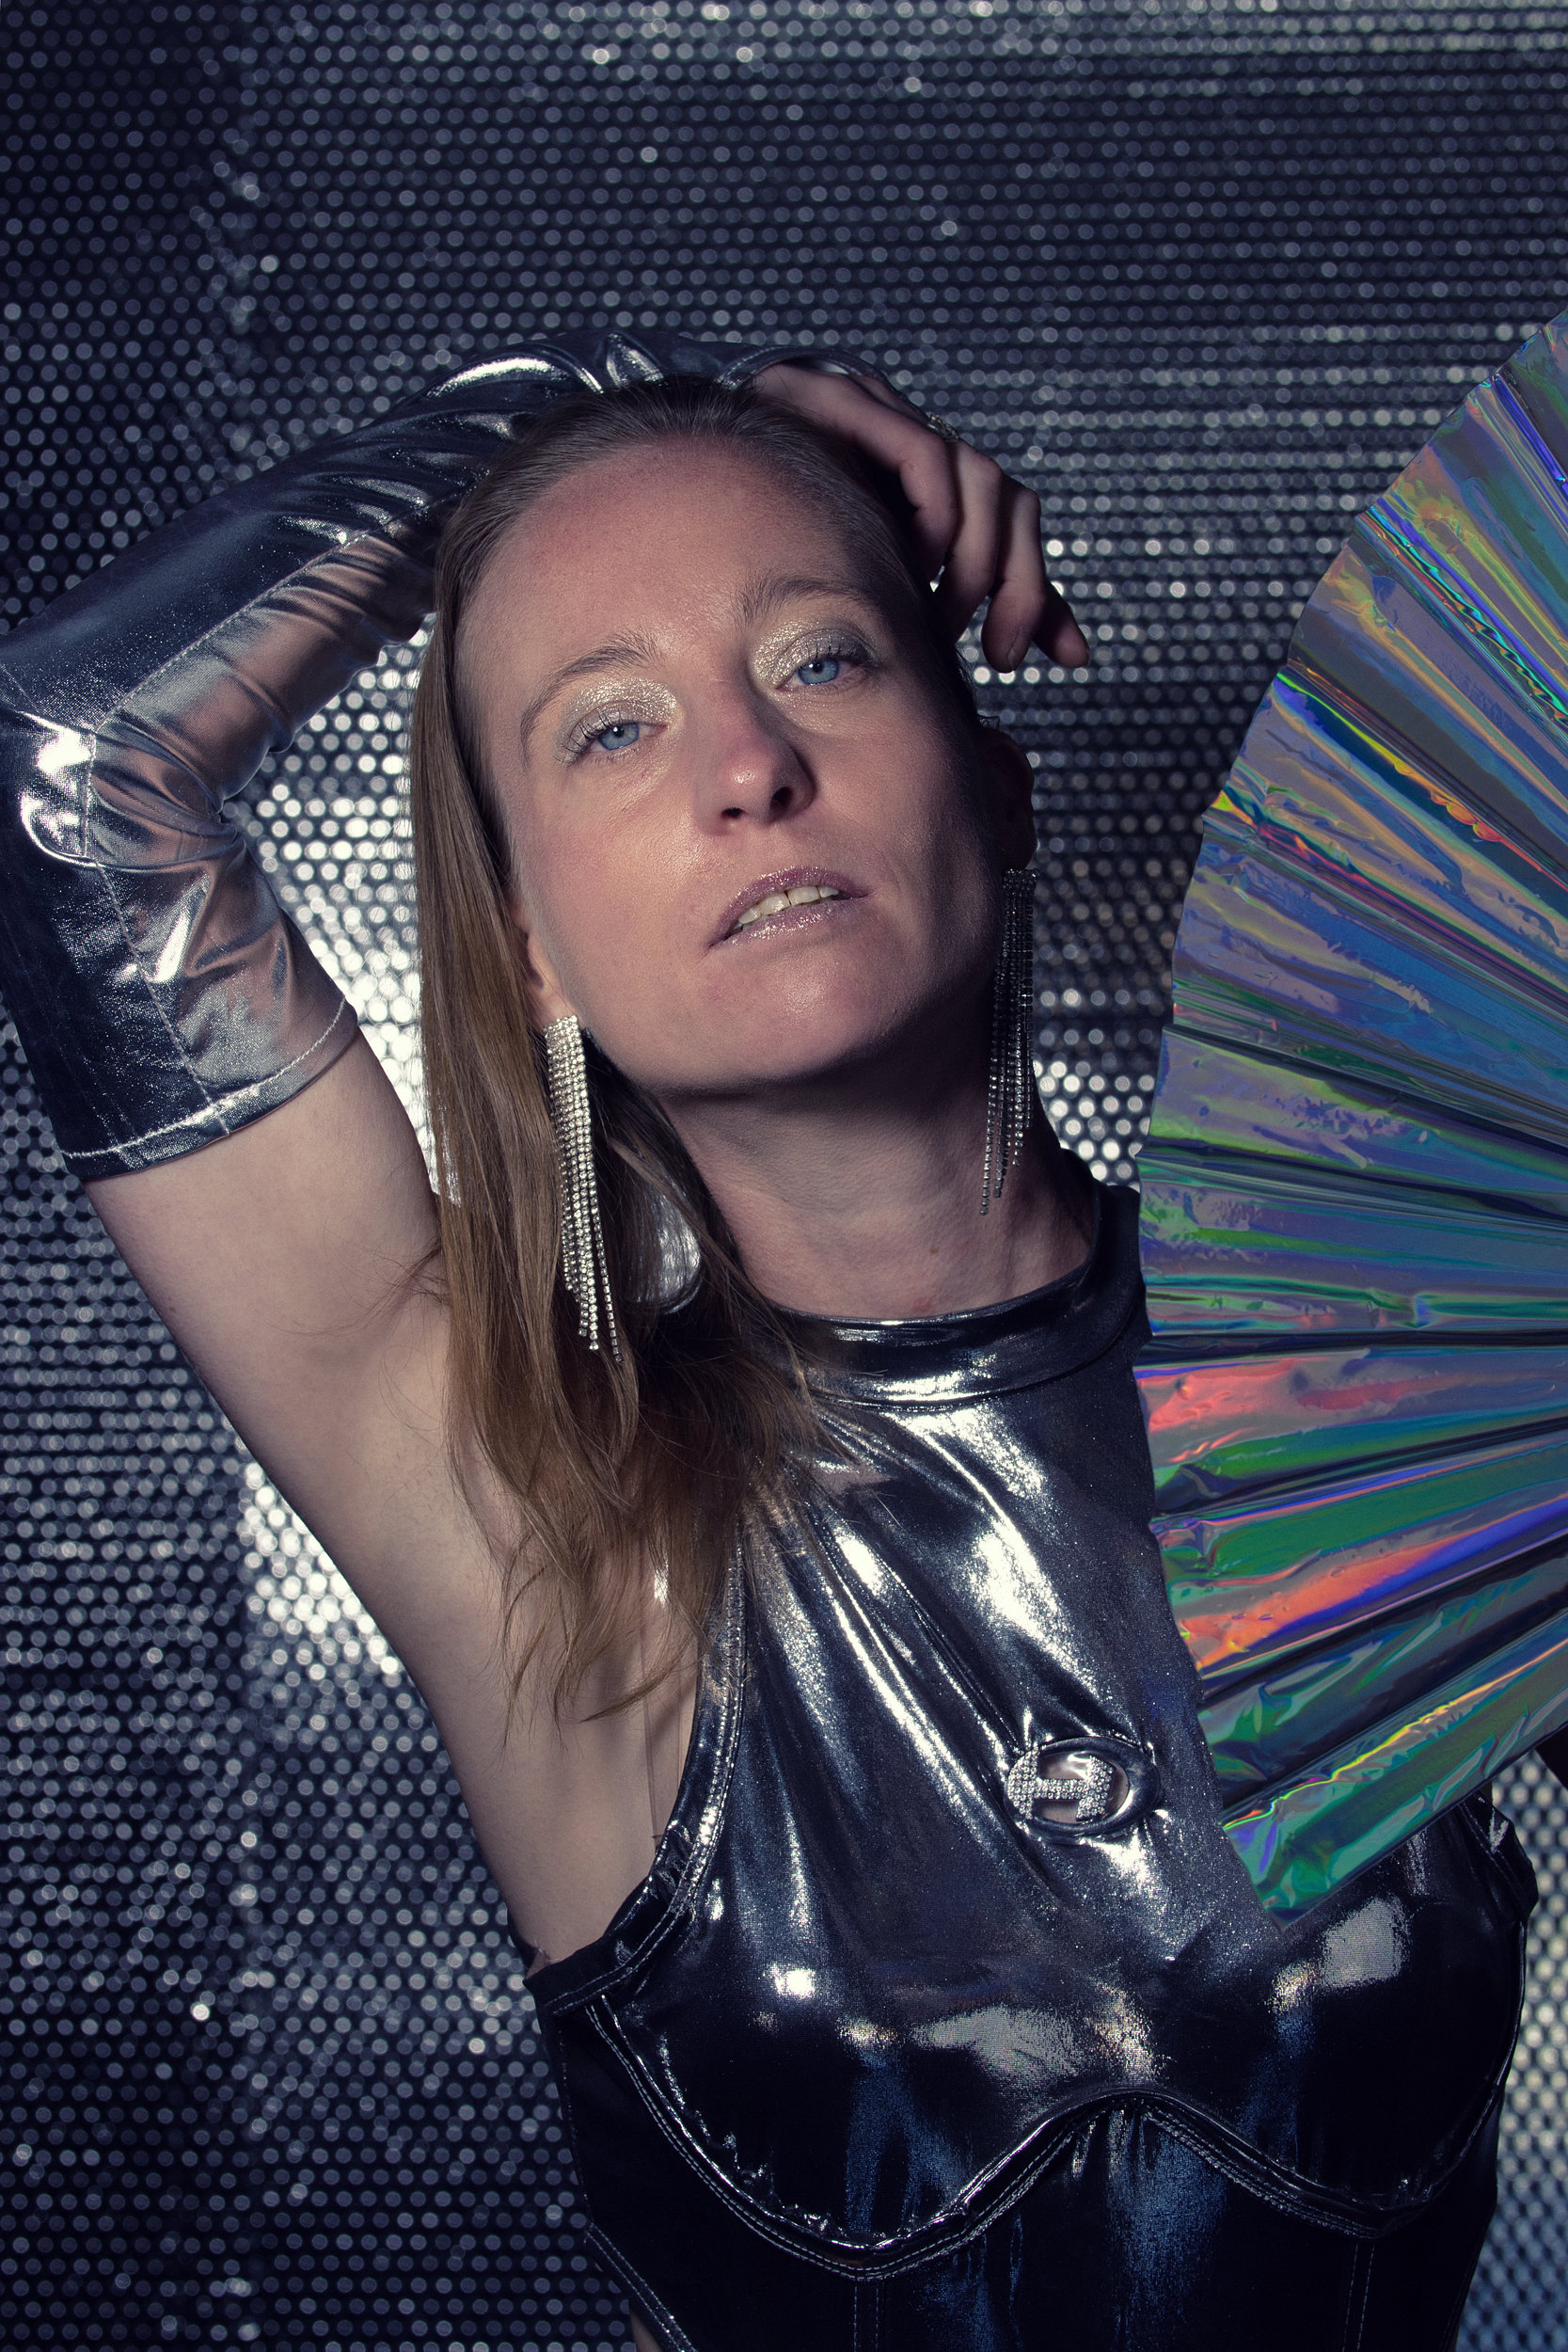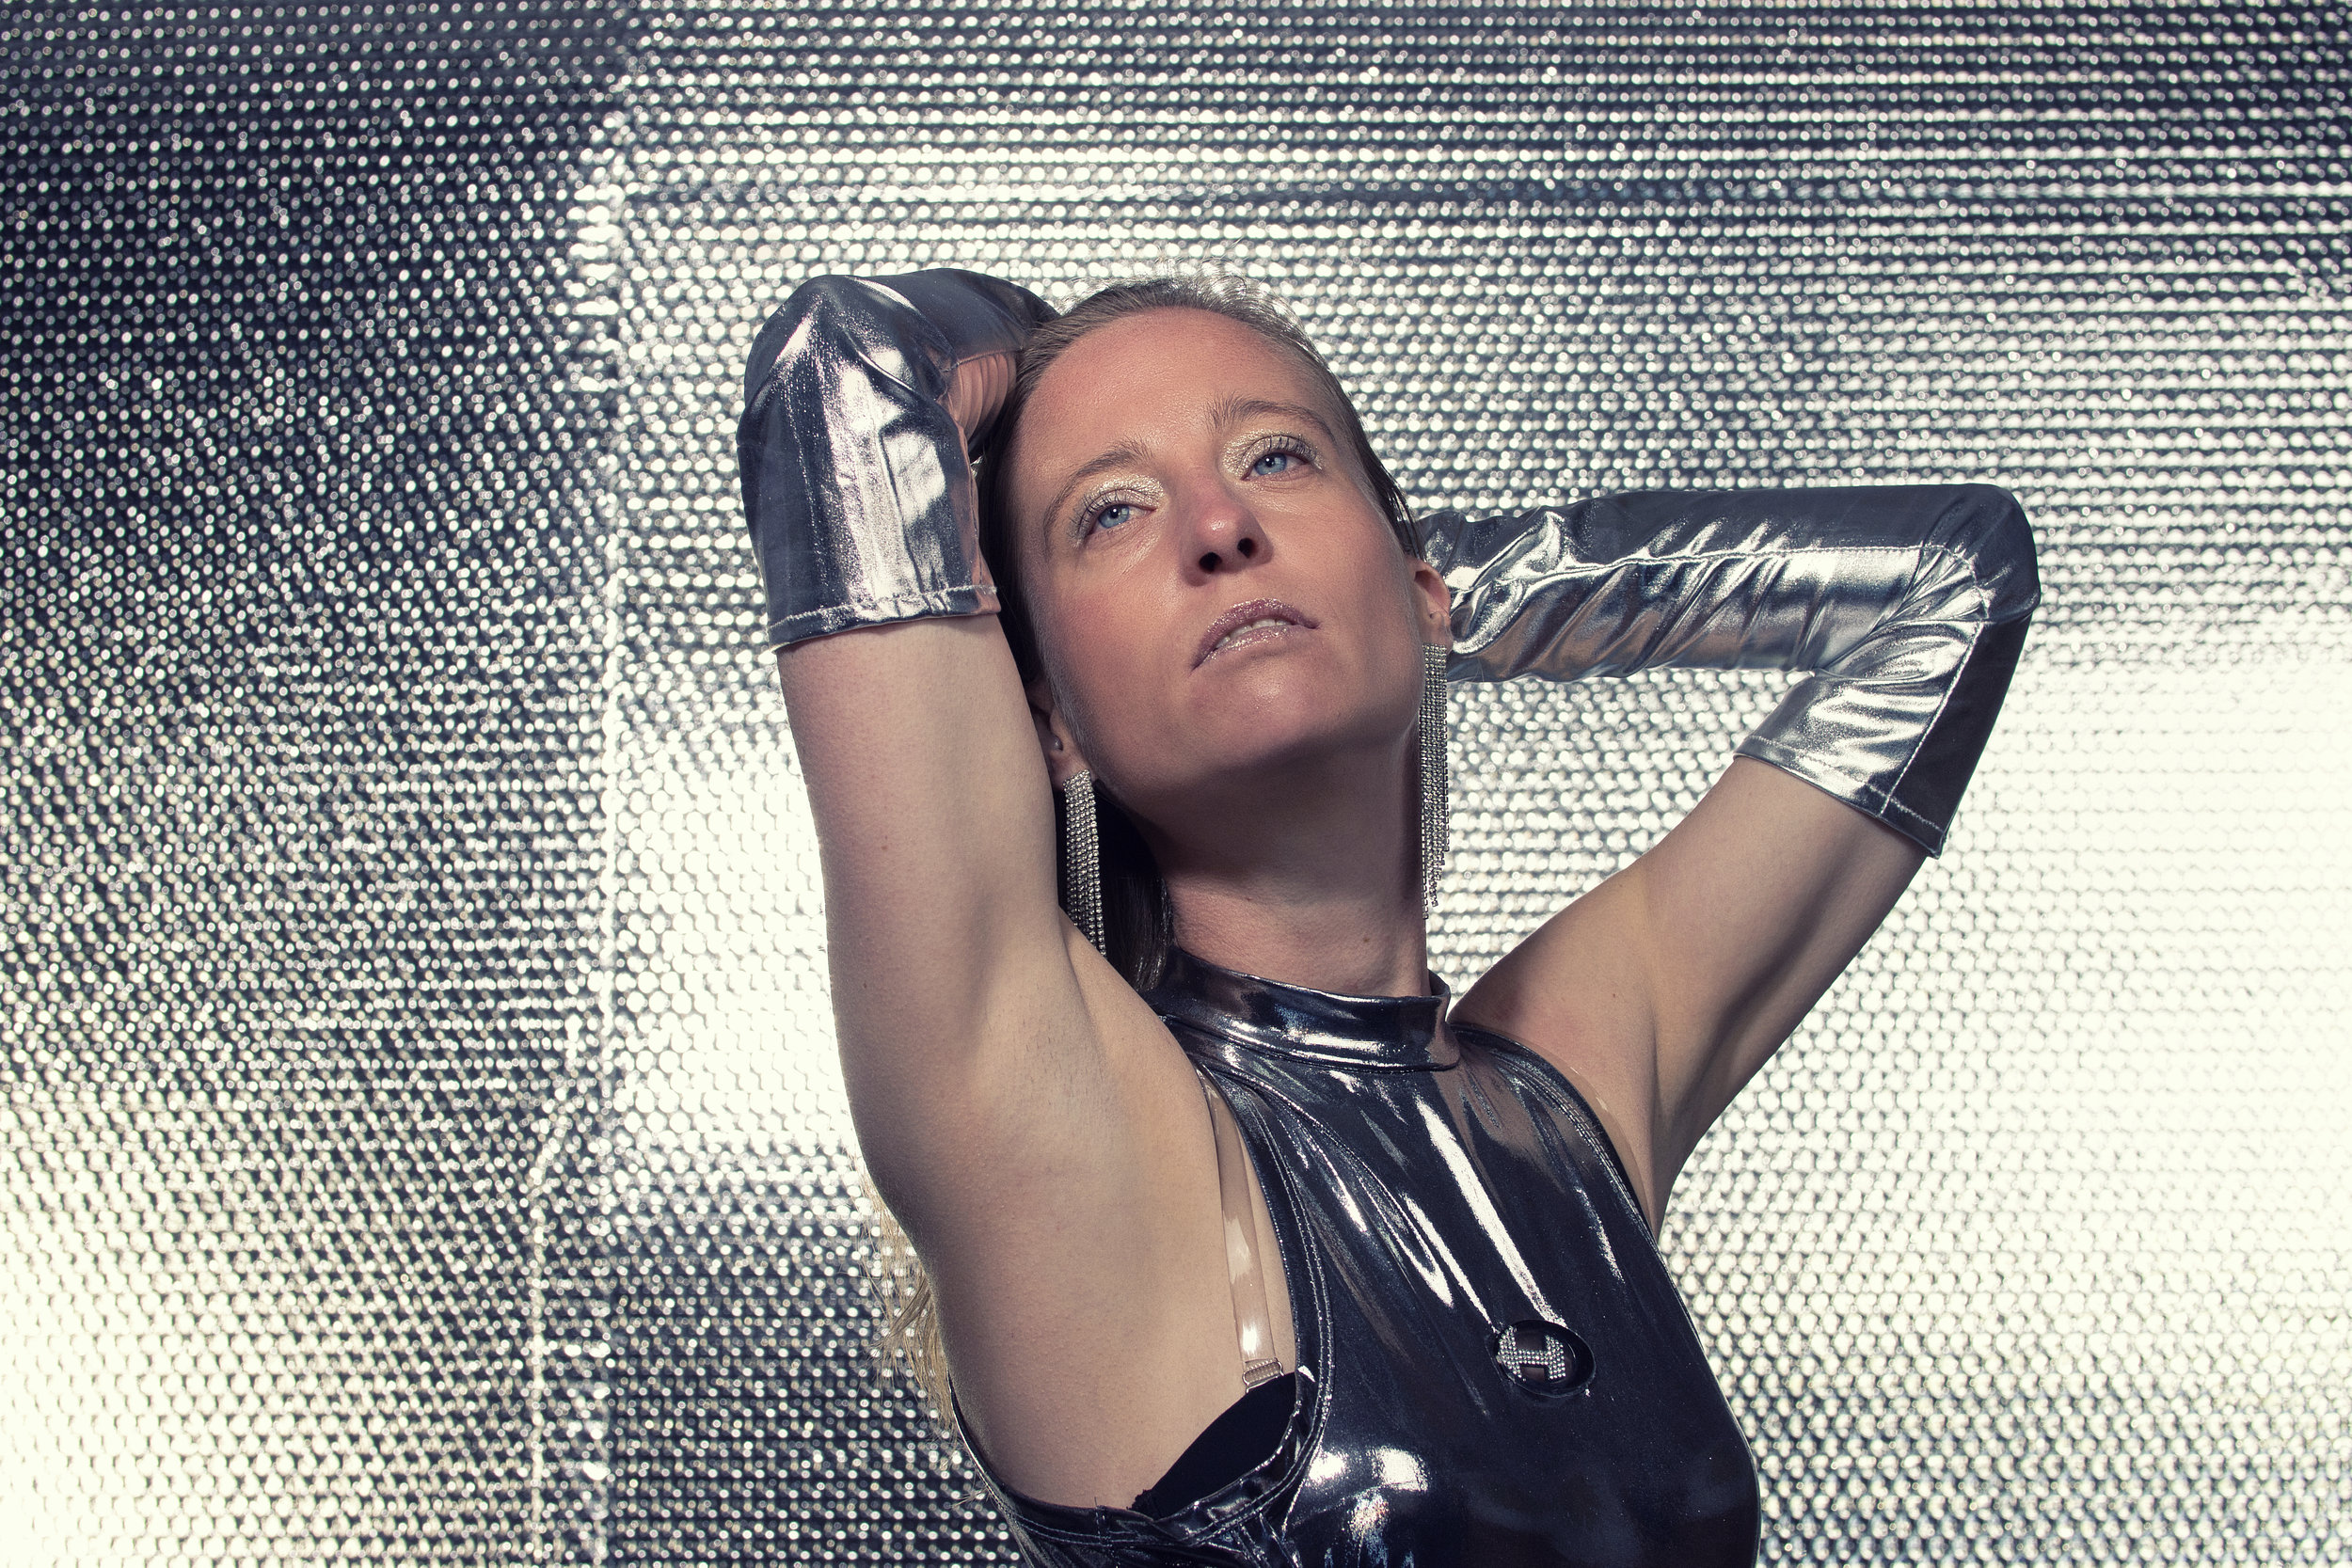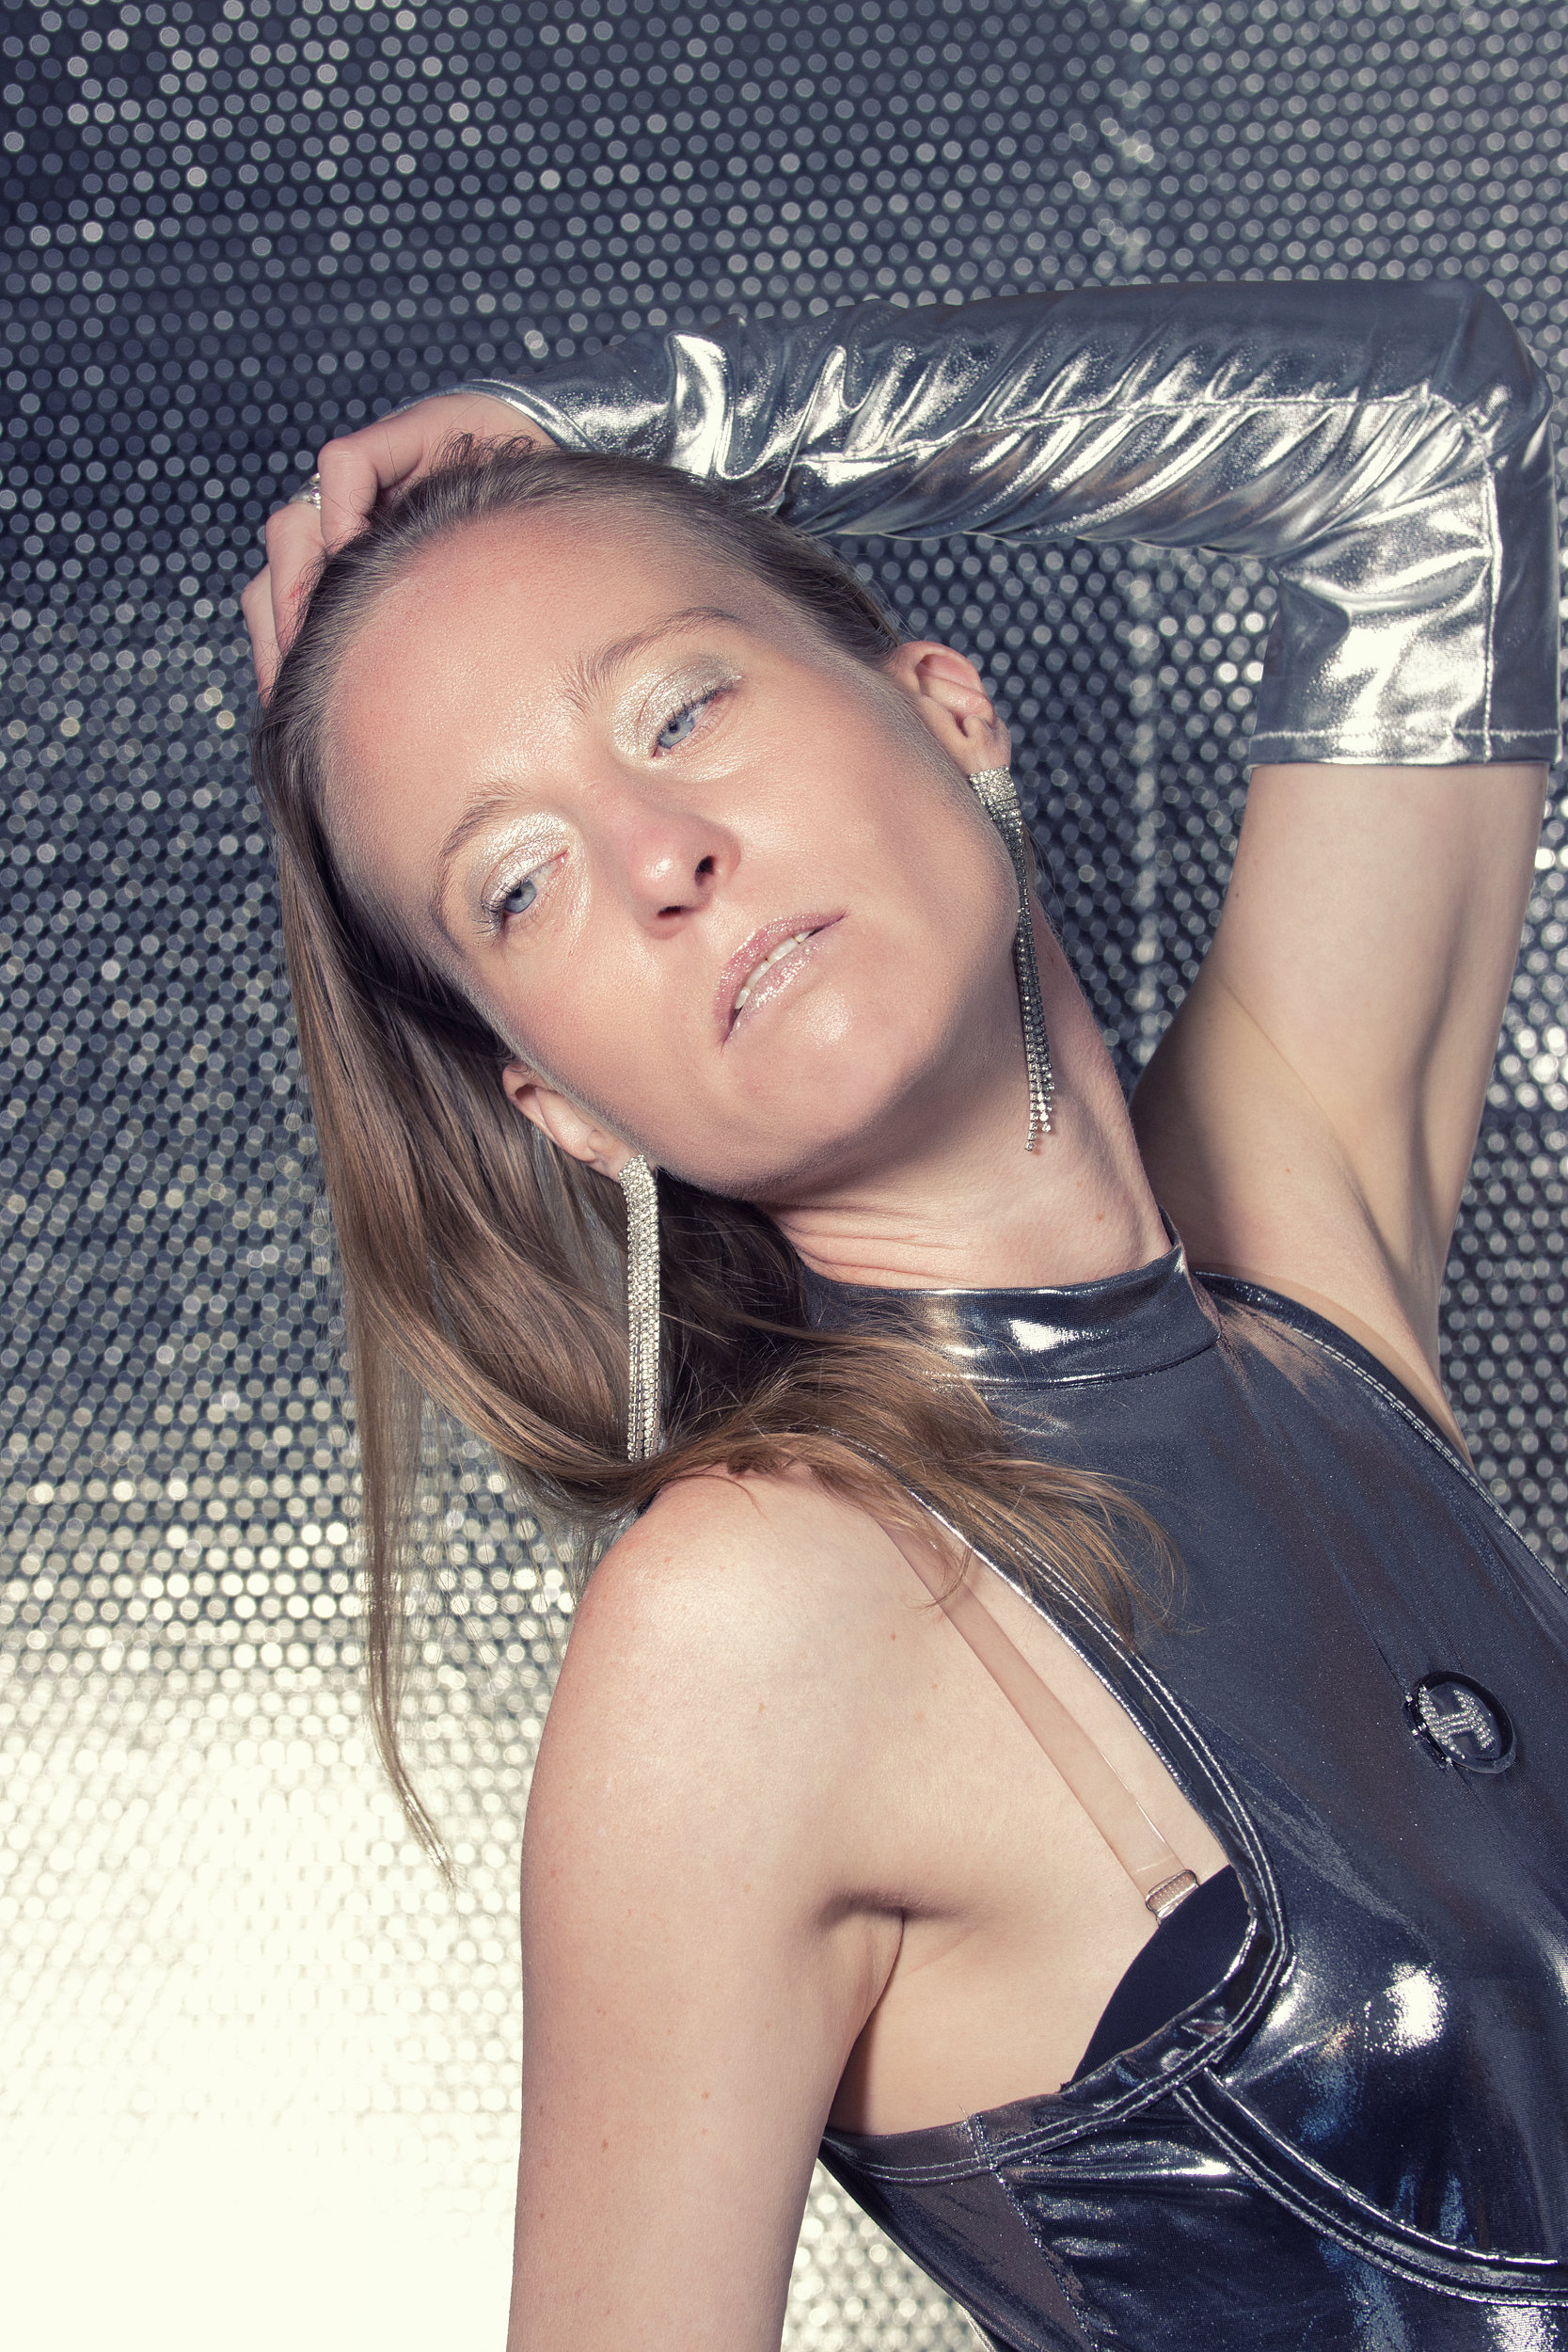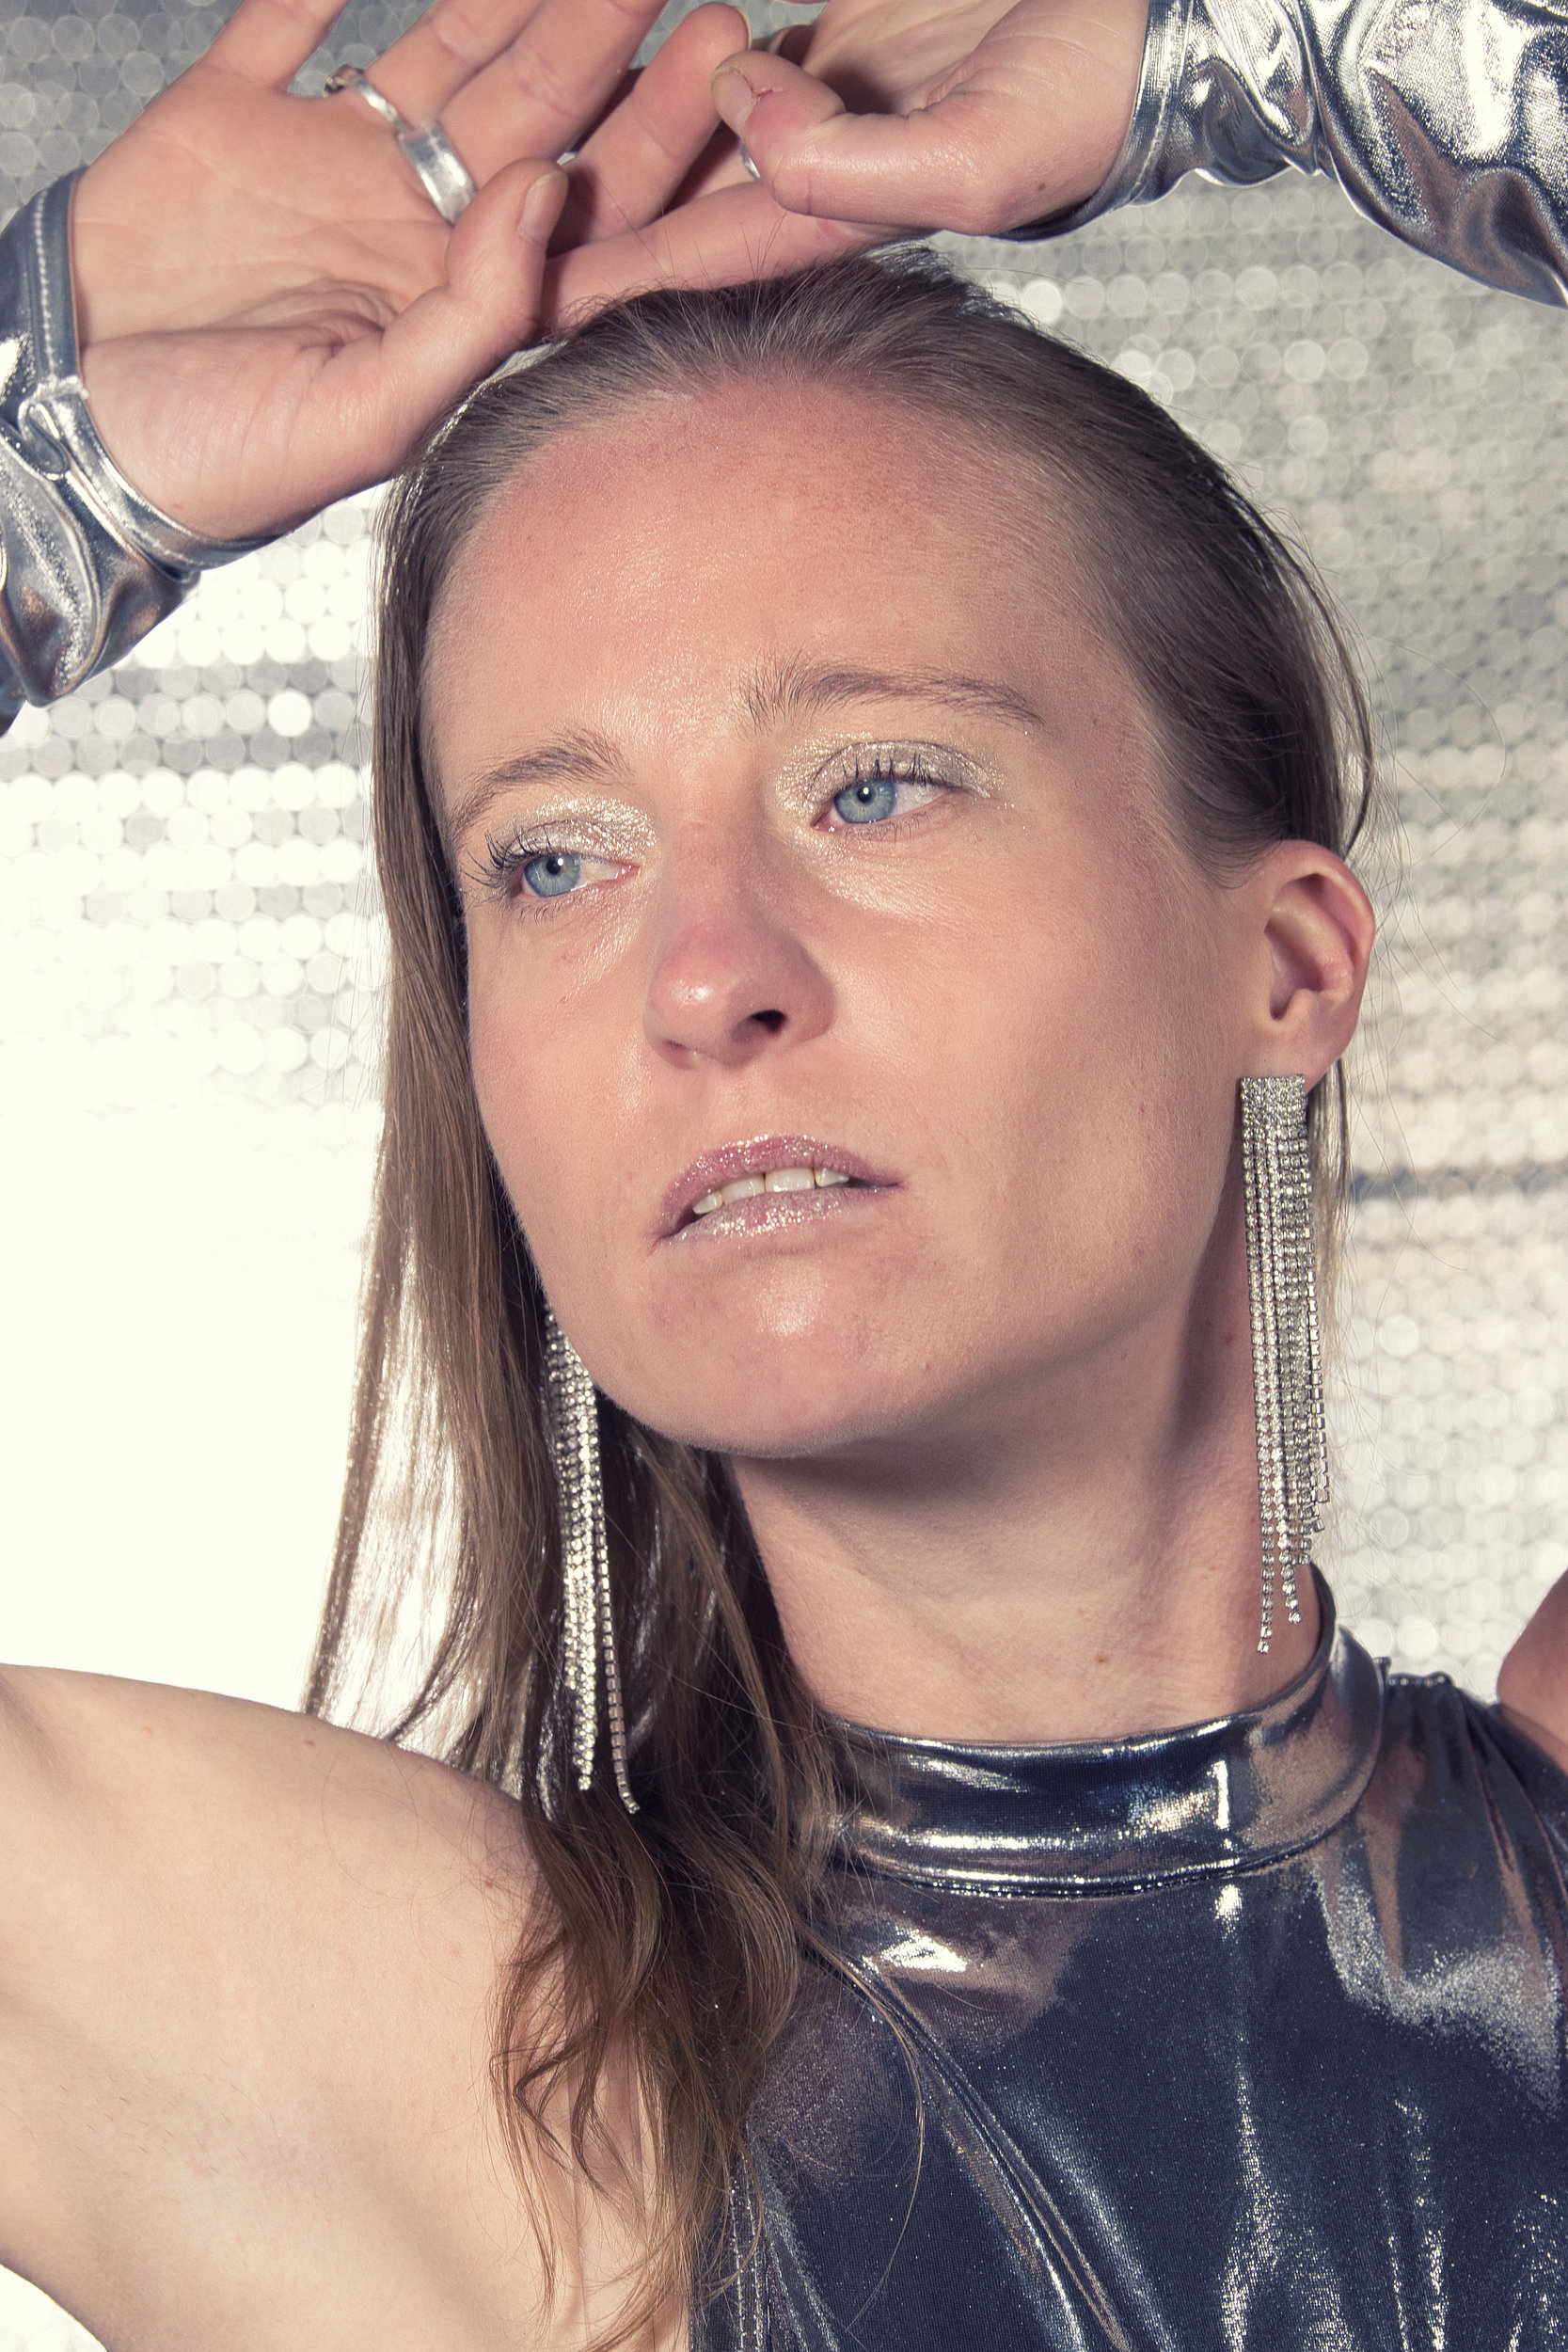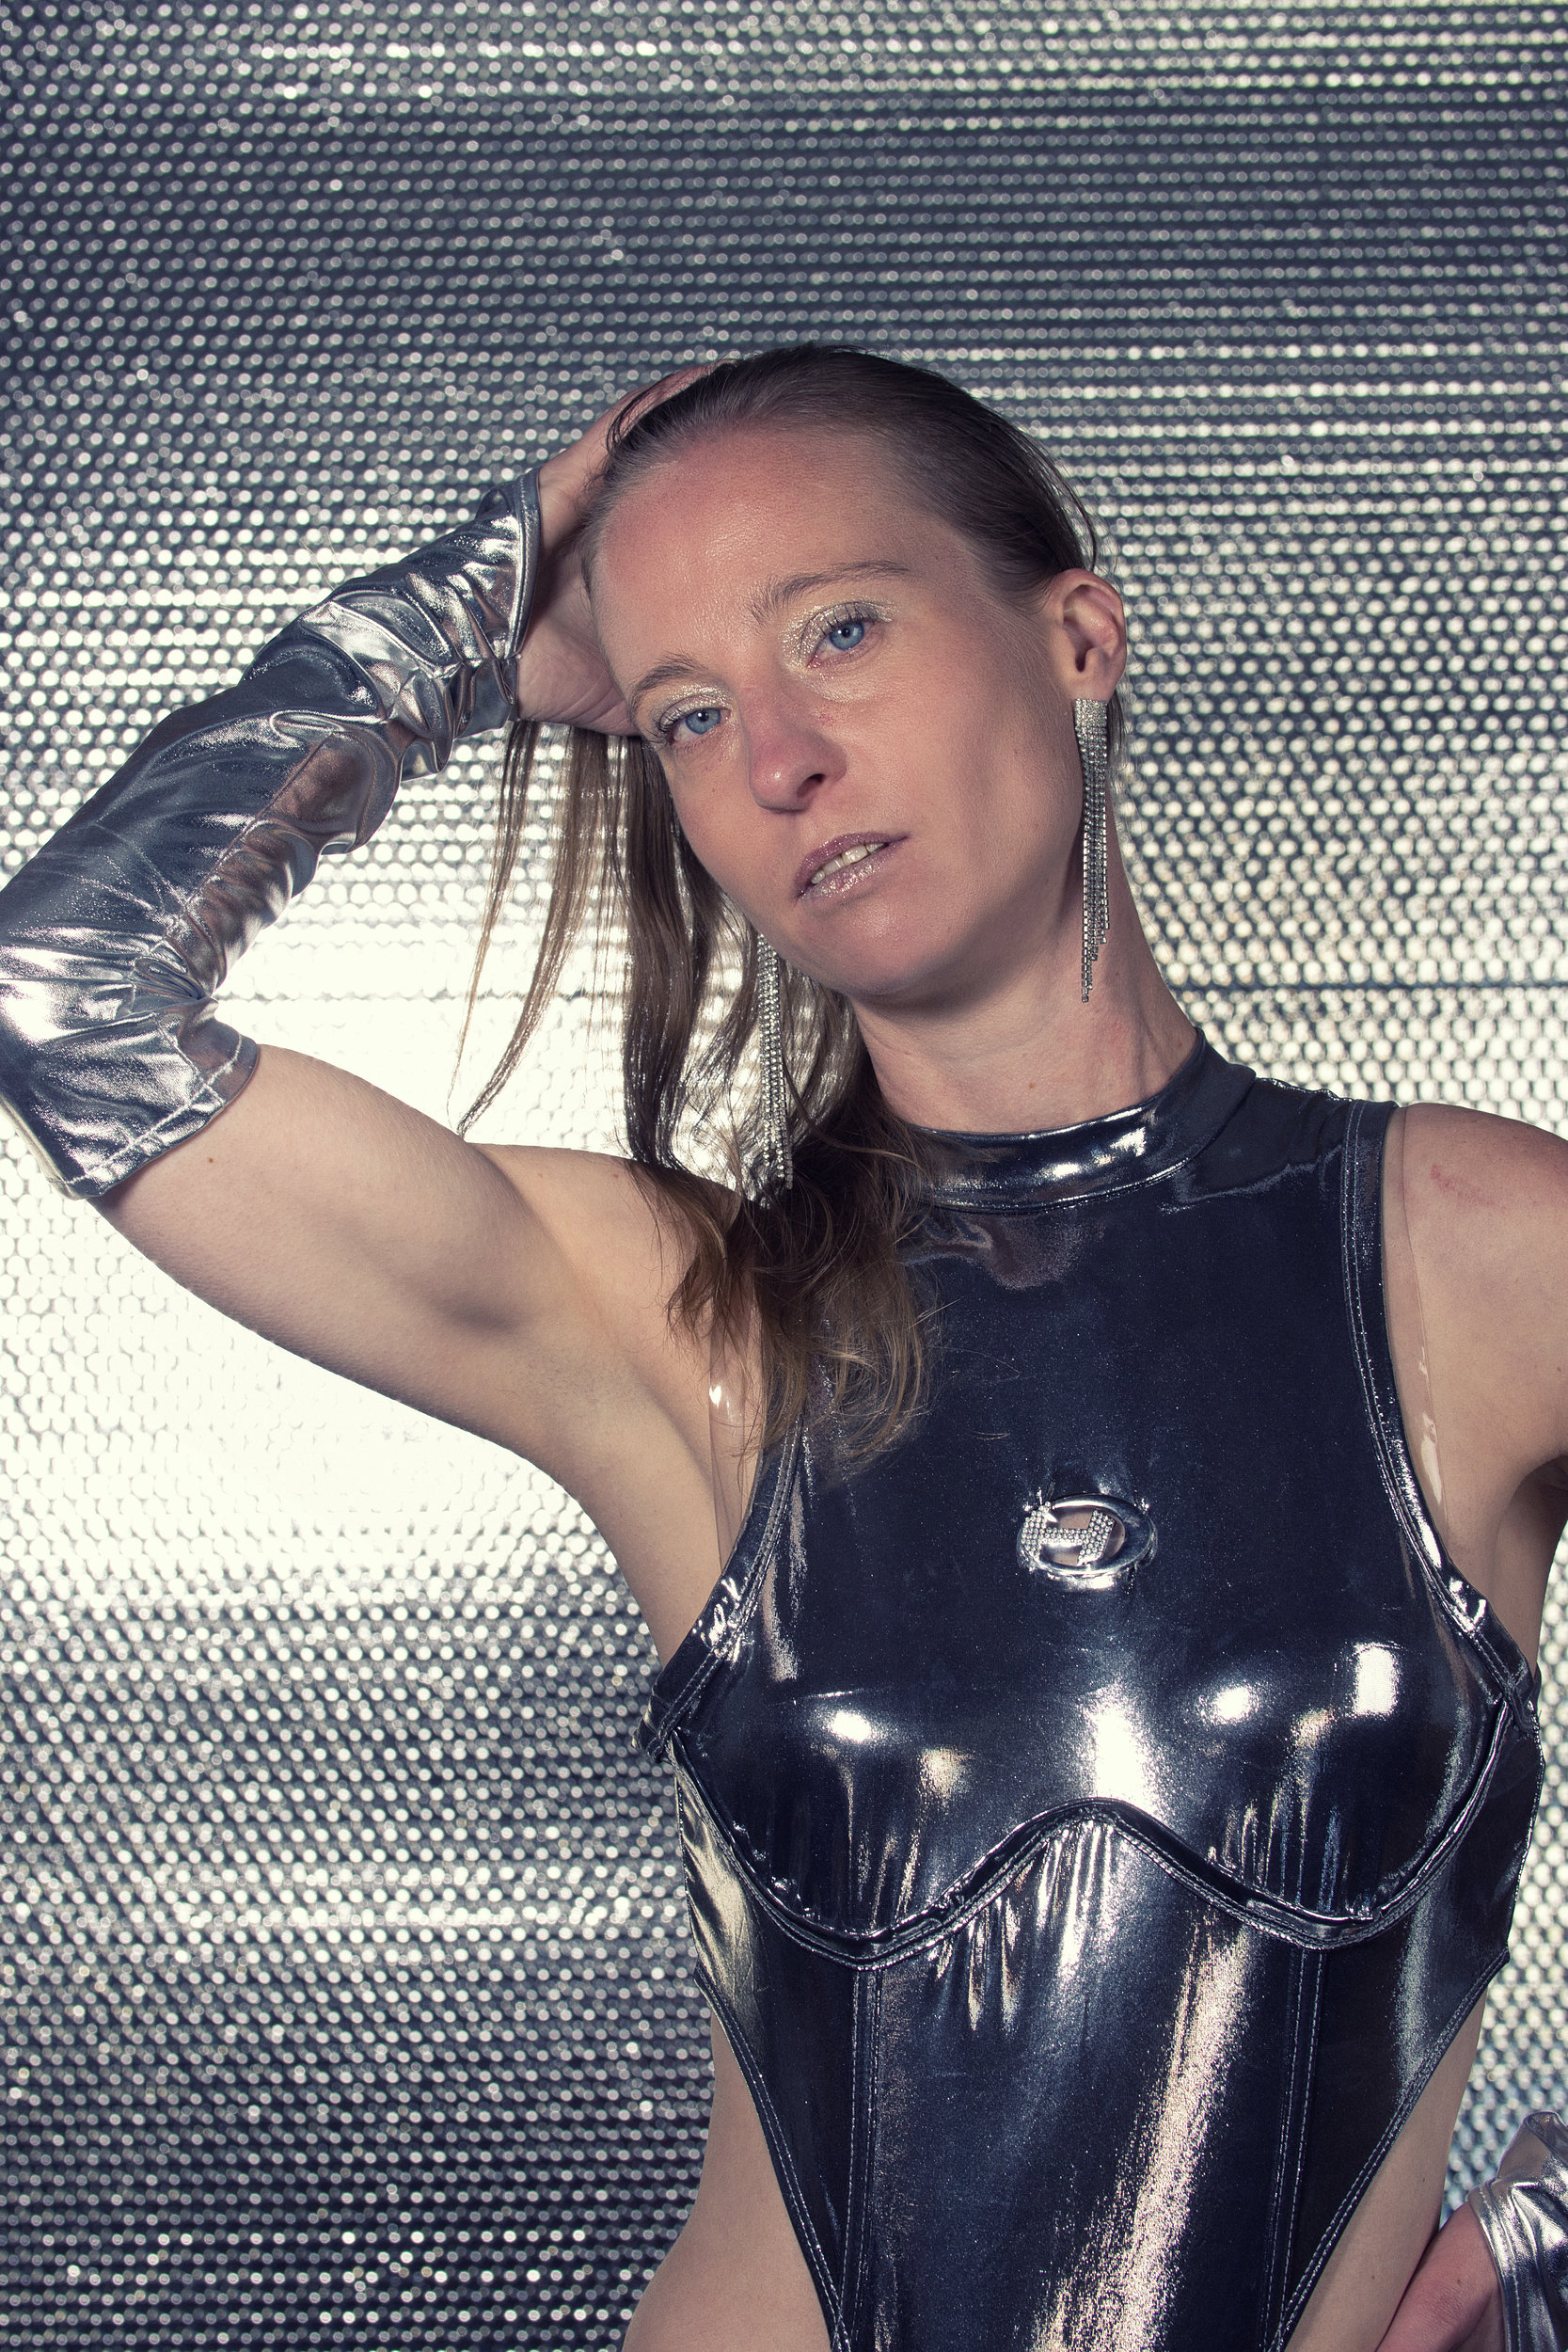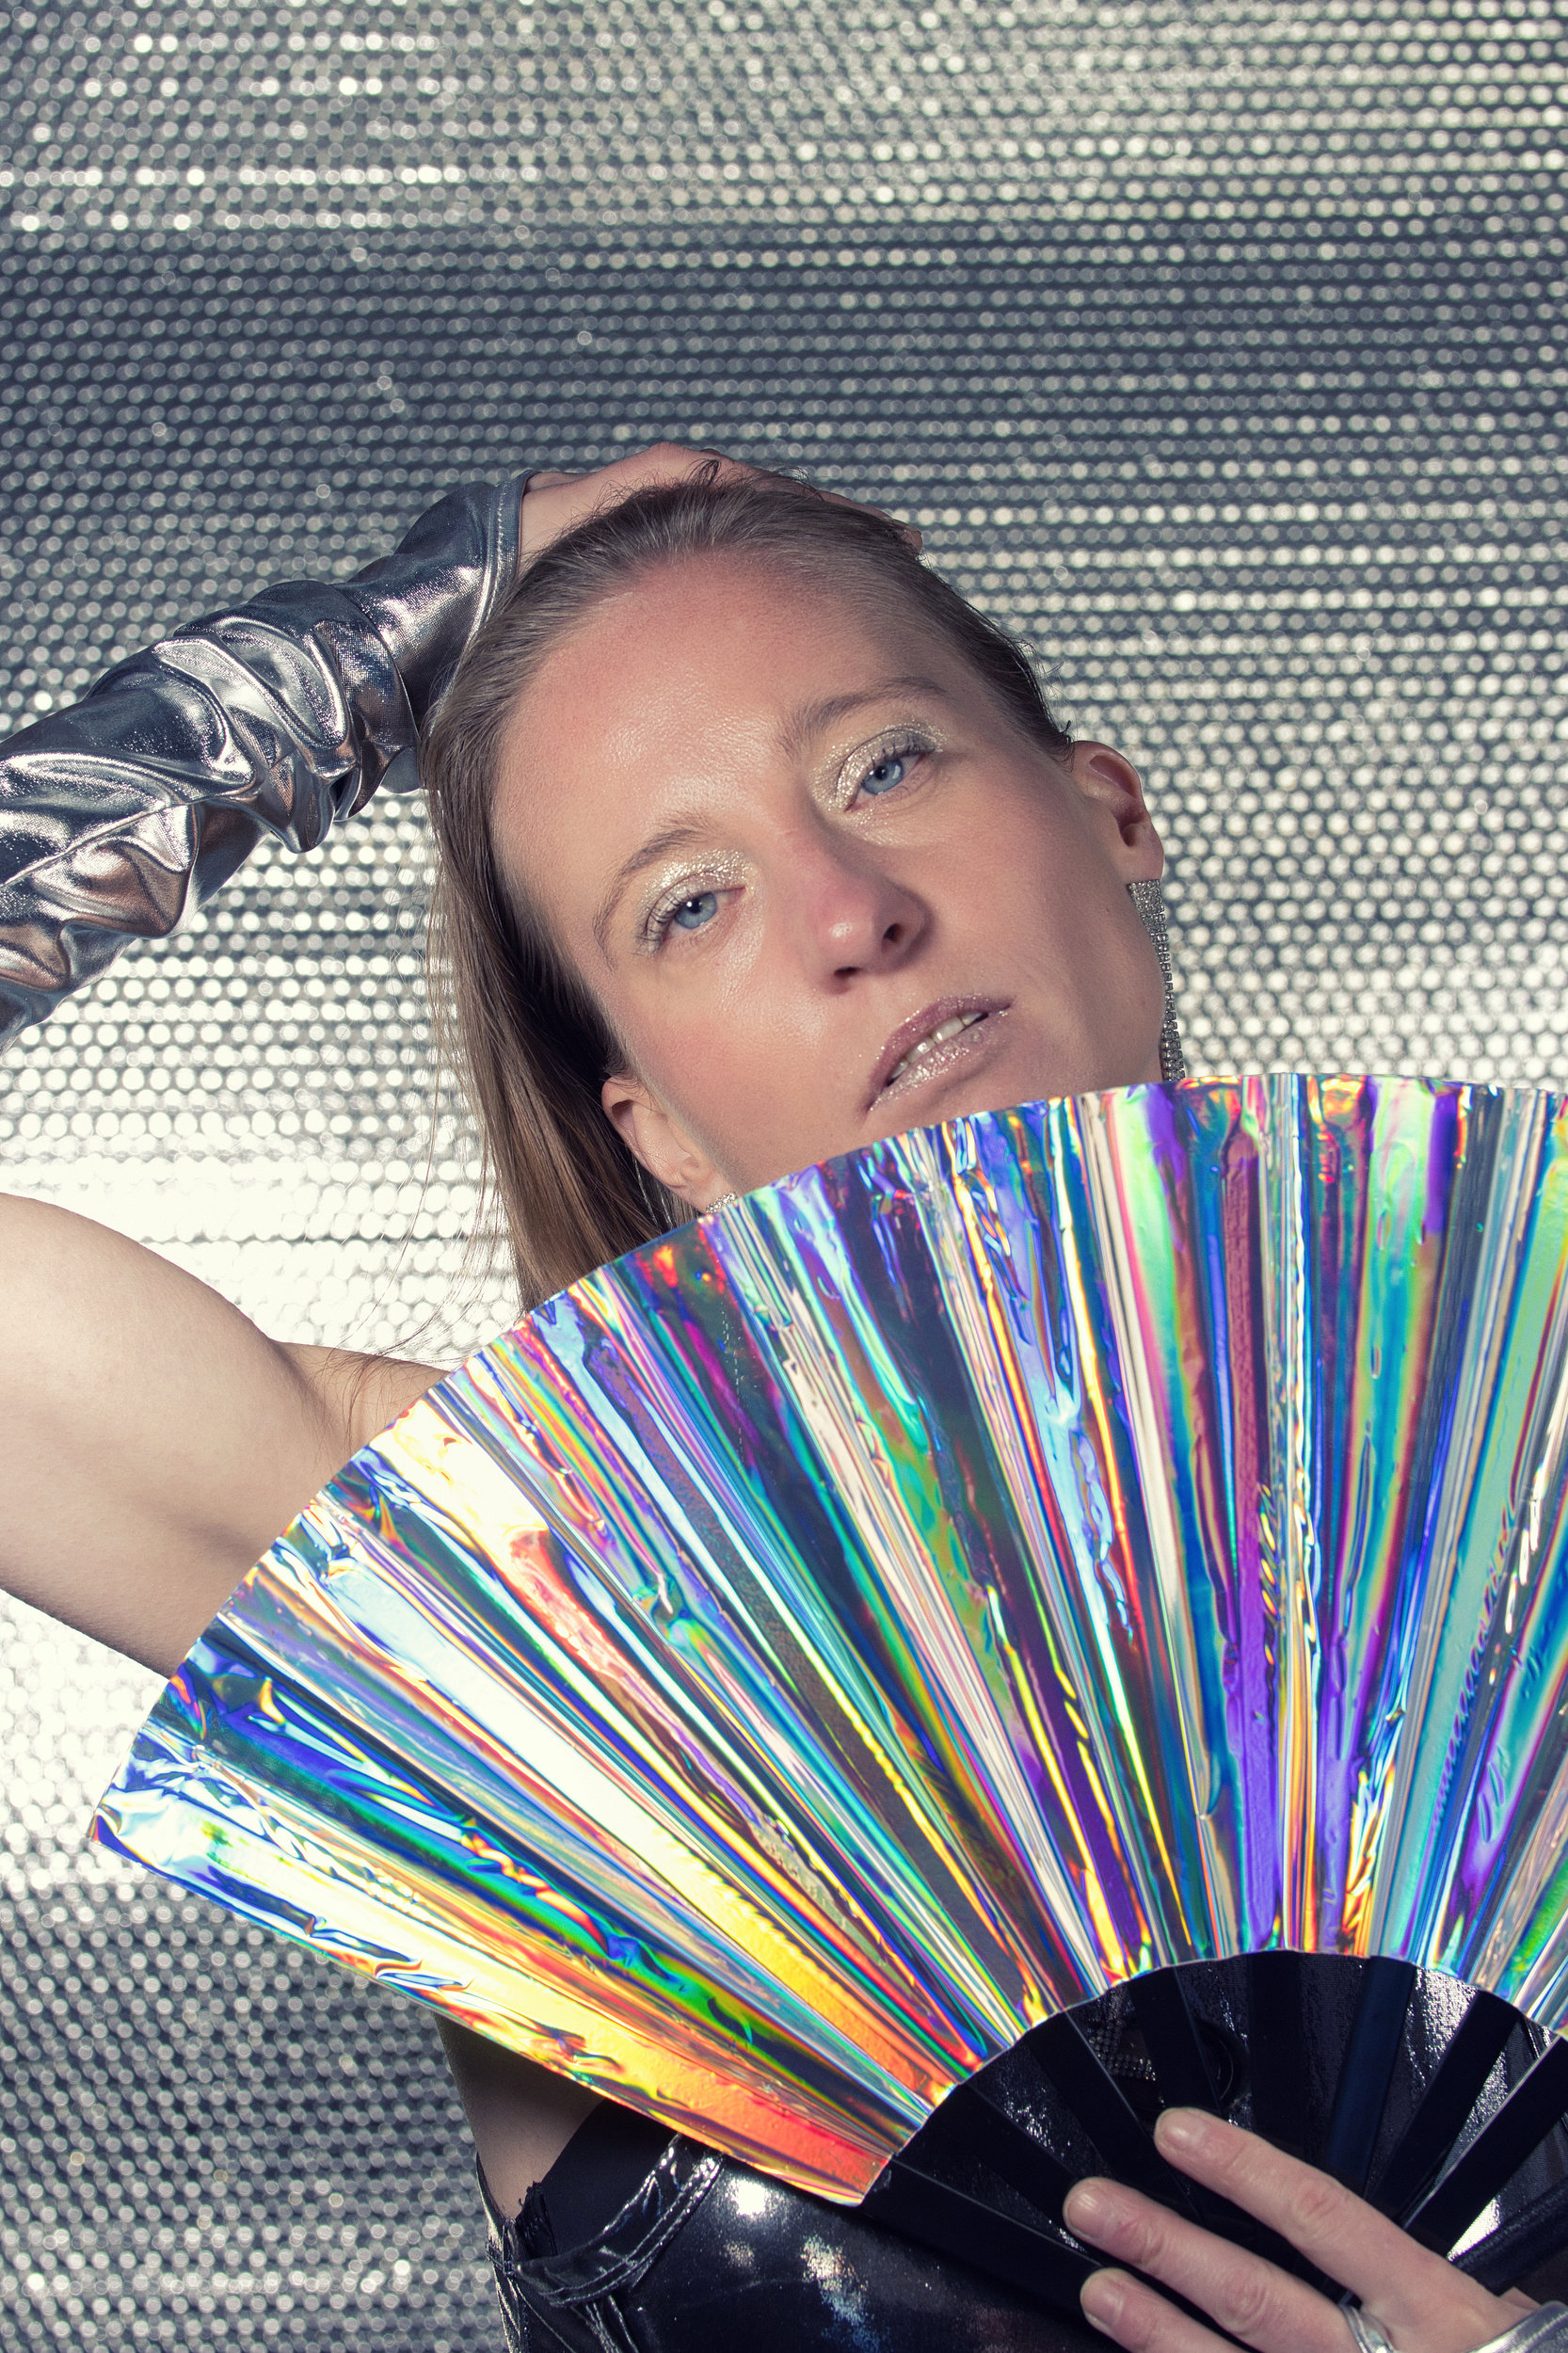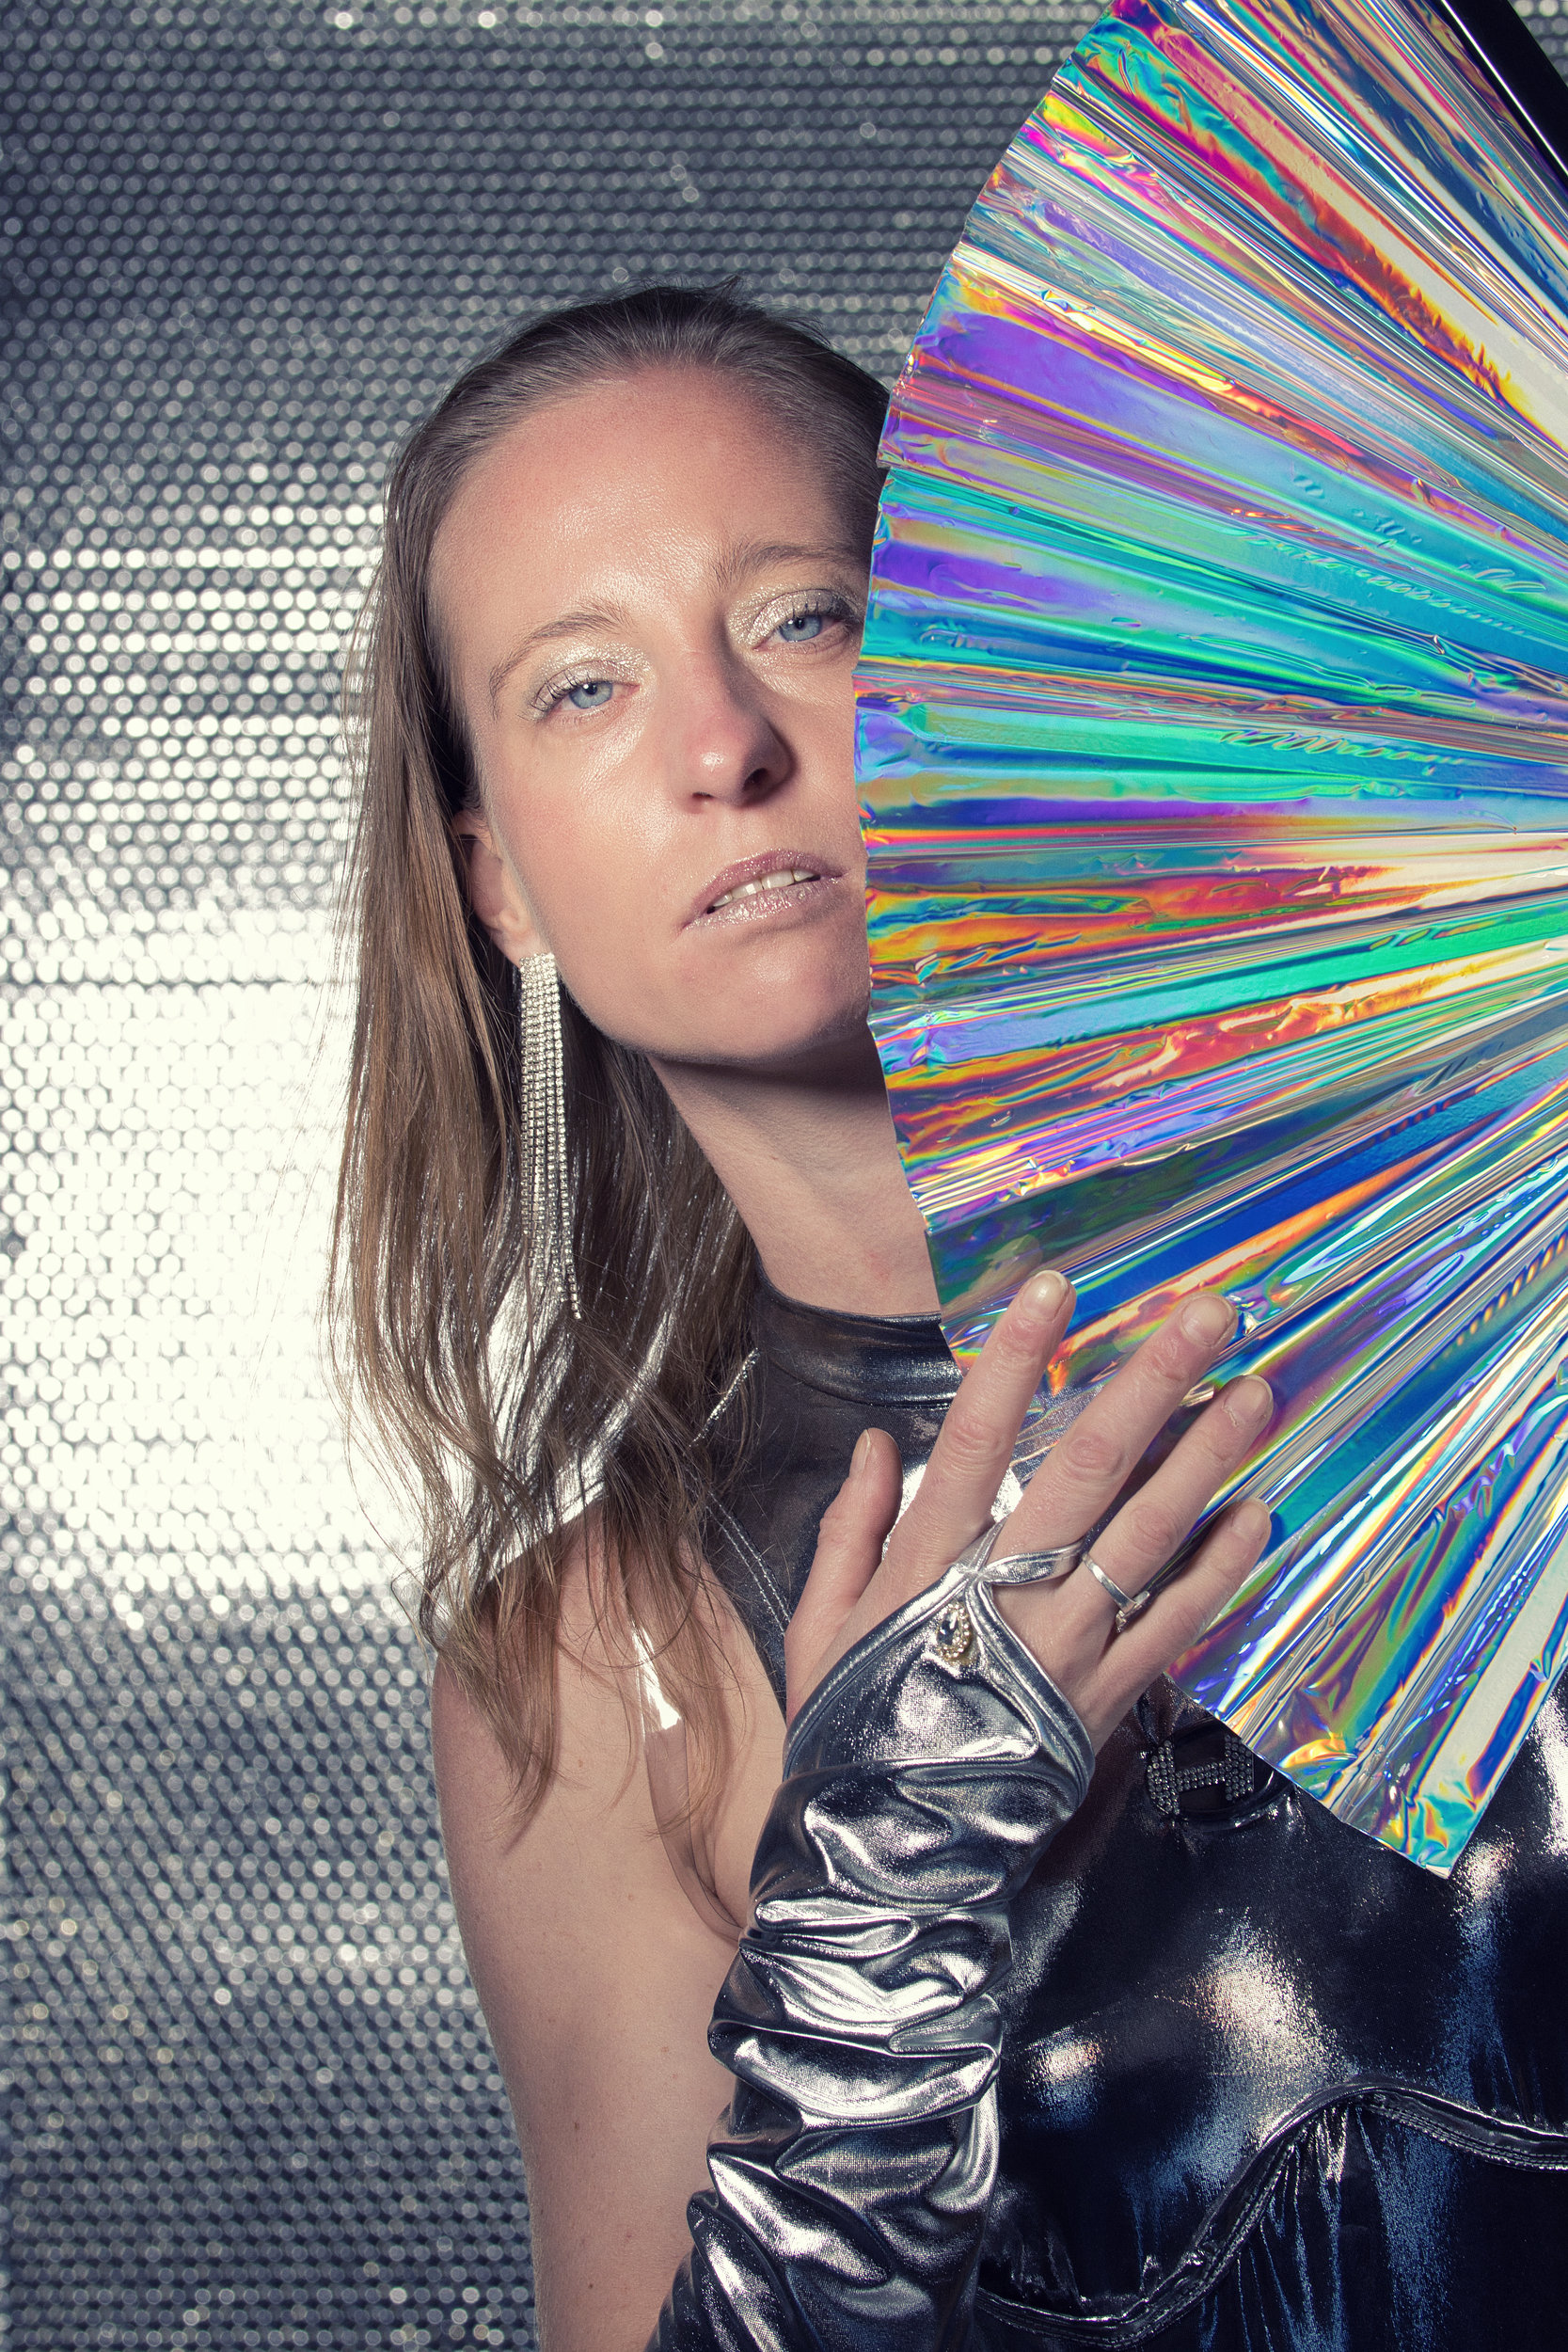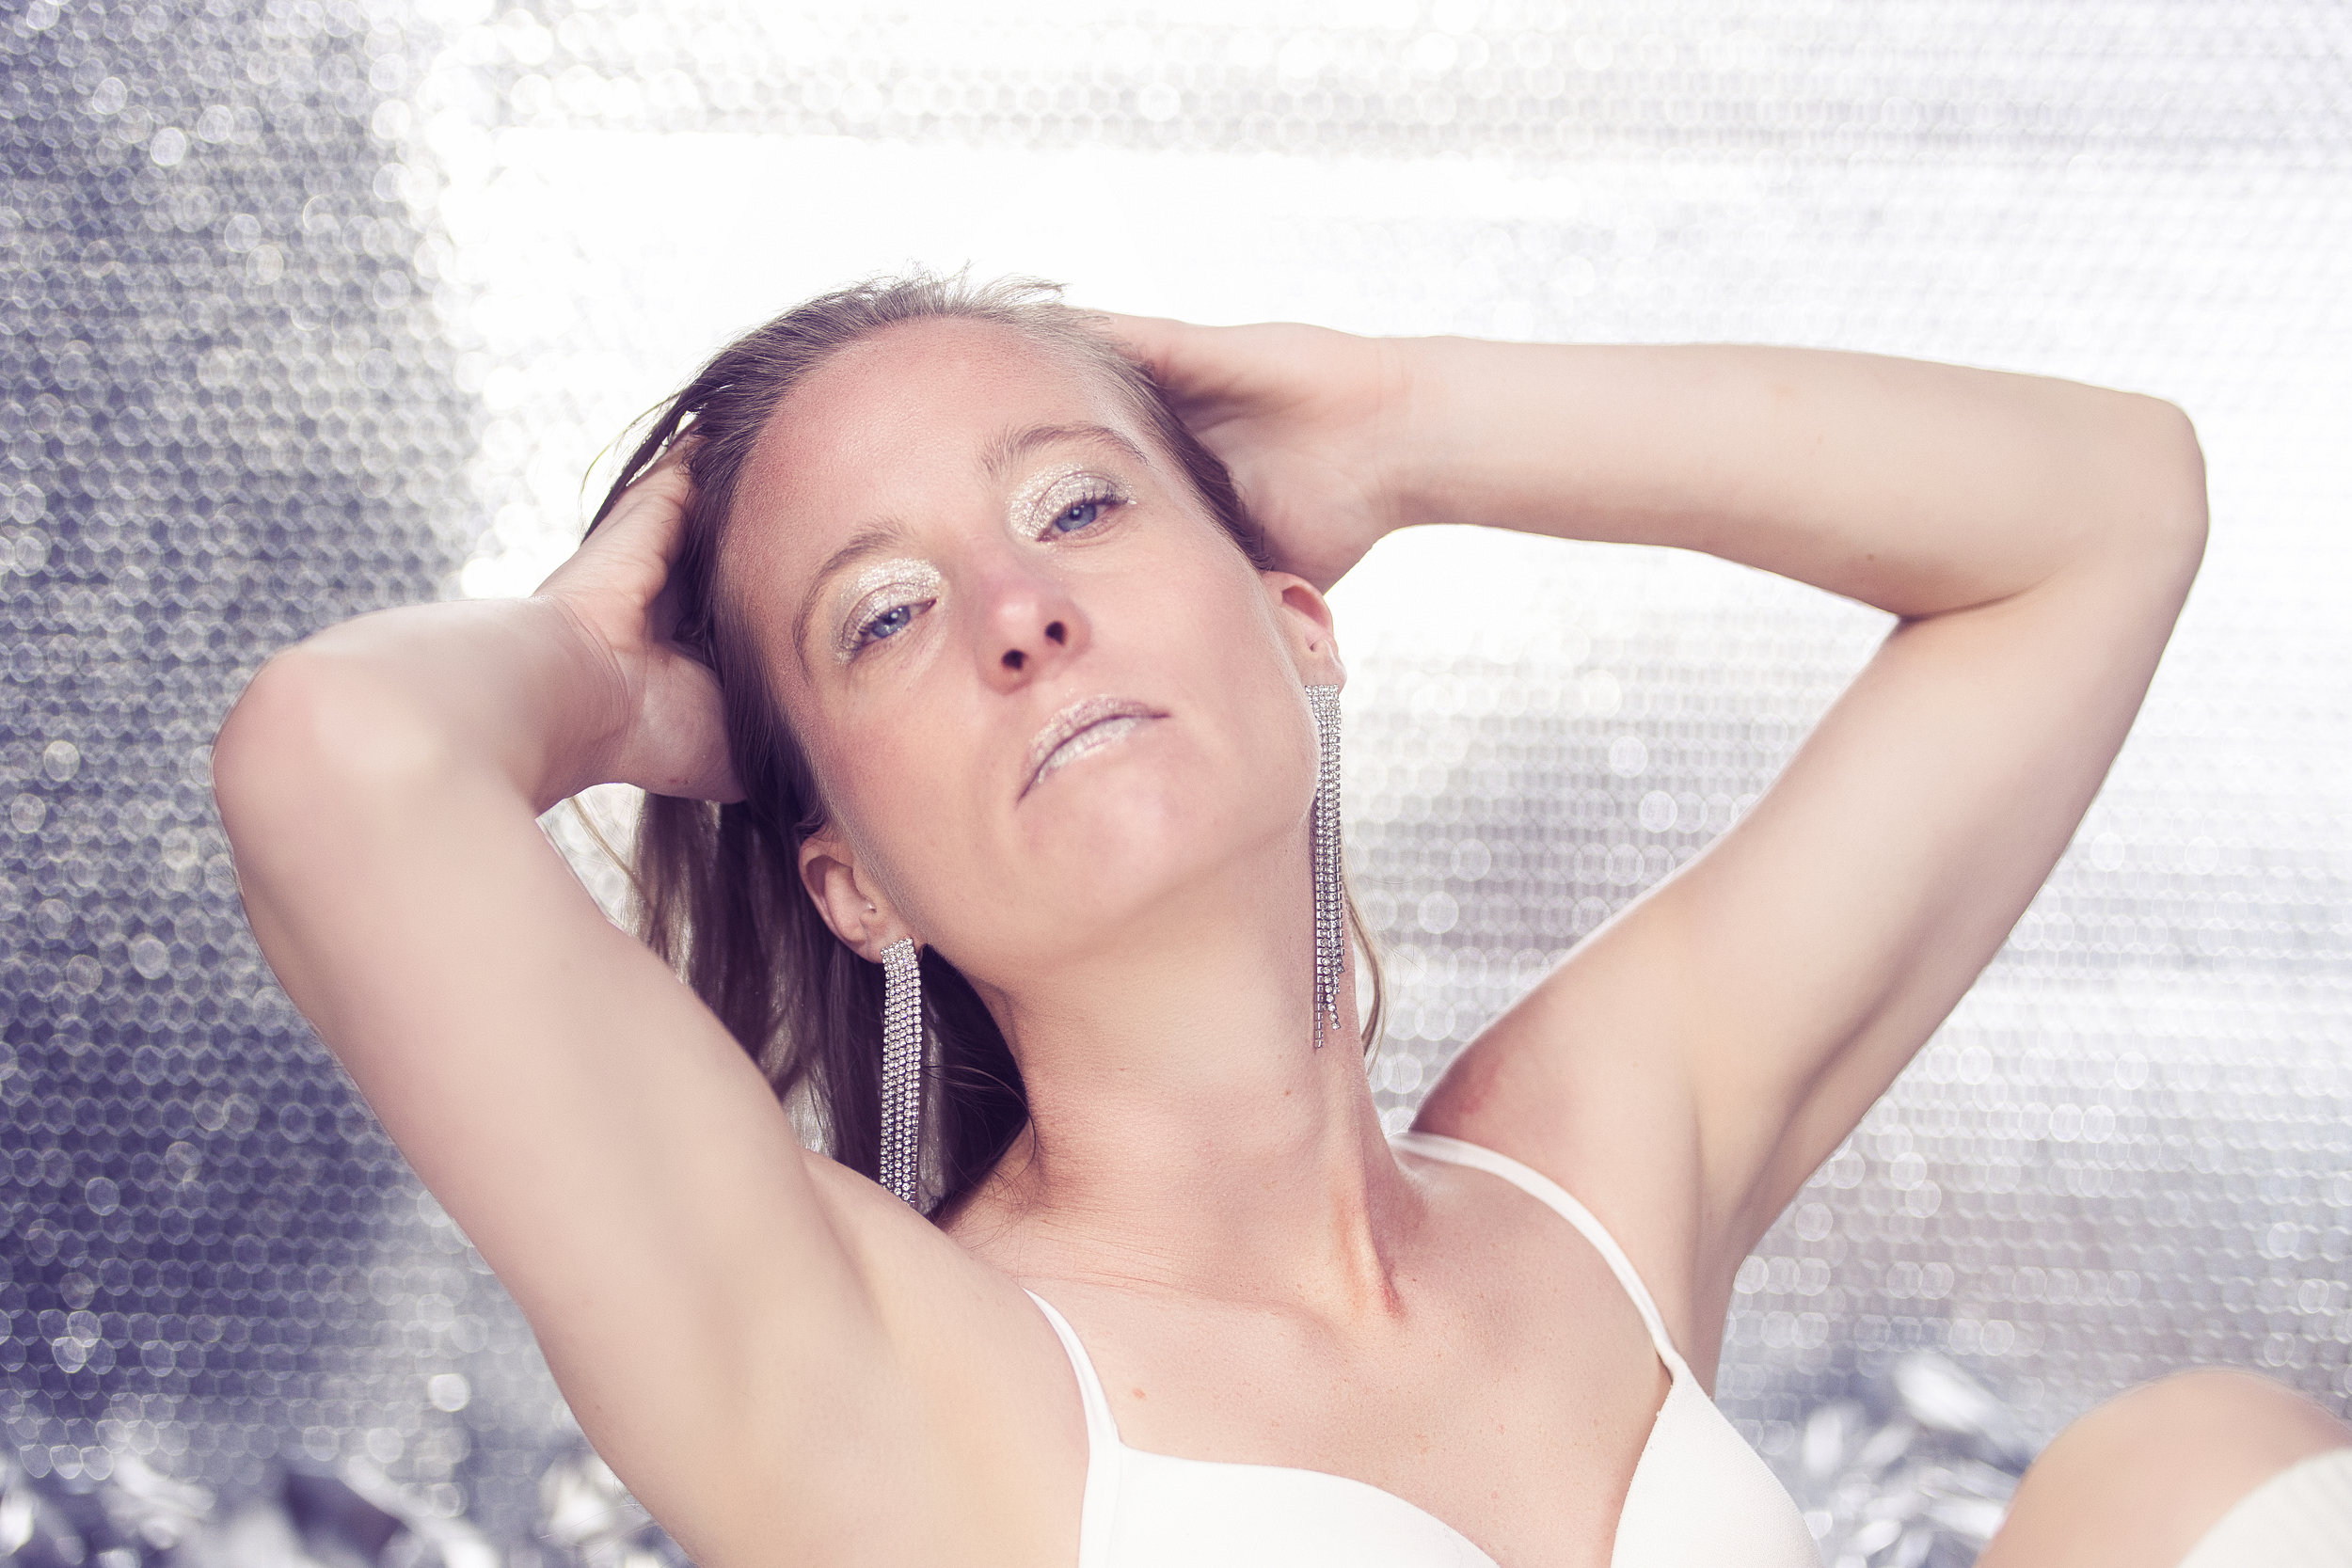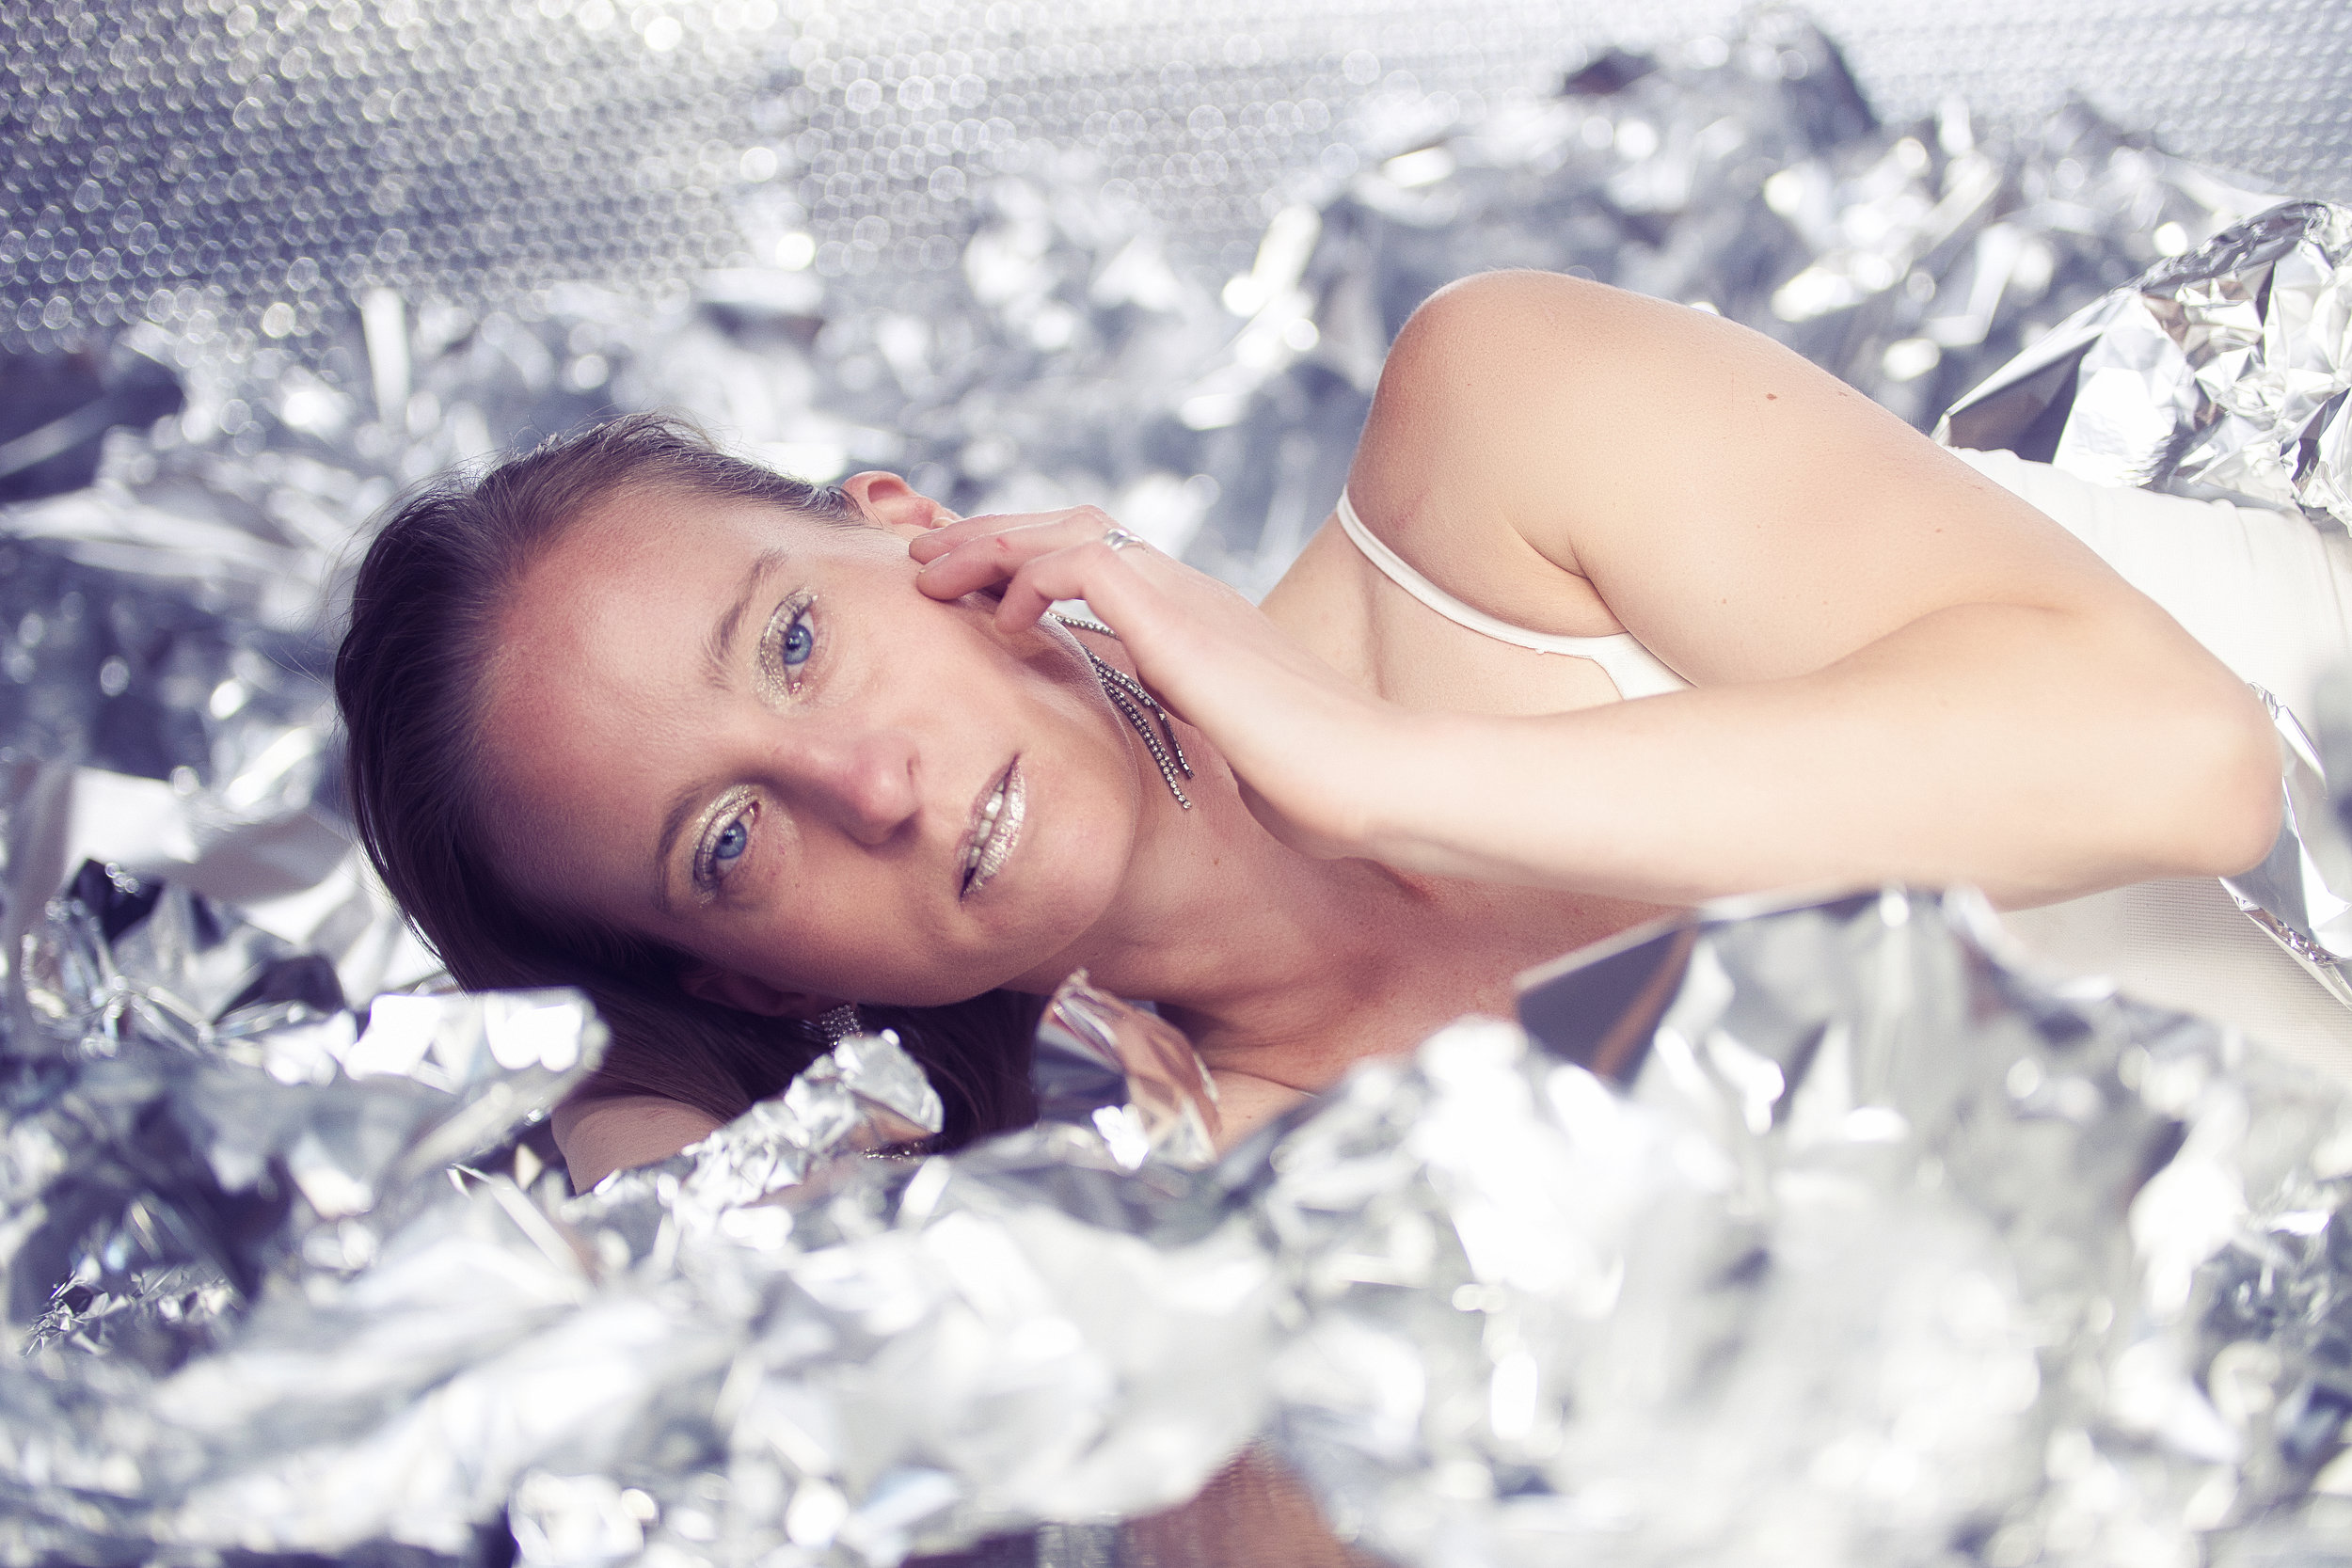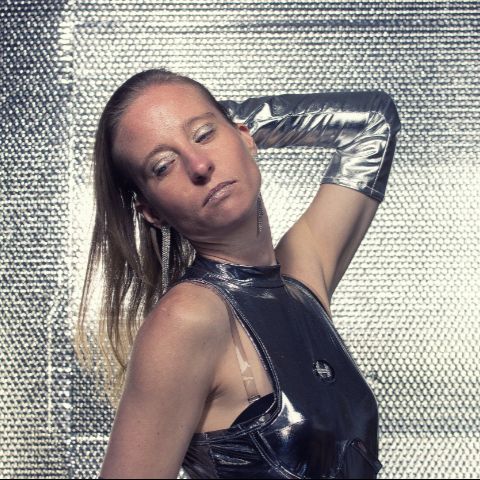
⇦ Roos Testshoot Alu
  • Deel 1 (current)
  • Deel 2
  • Deel 3
  • Image

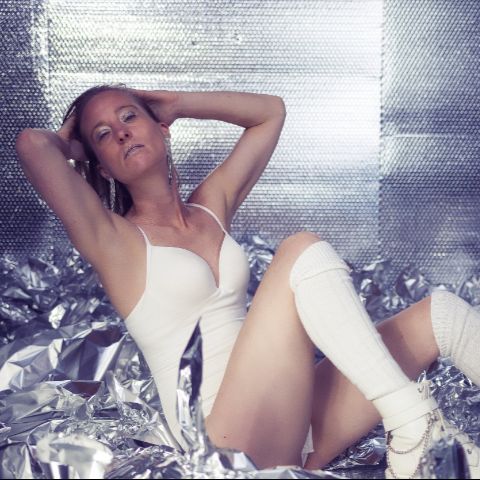
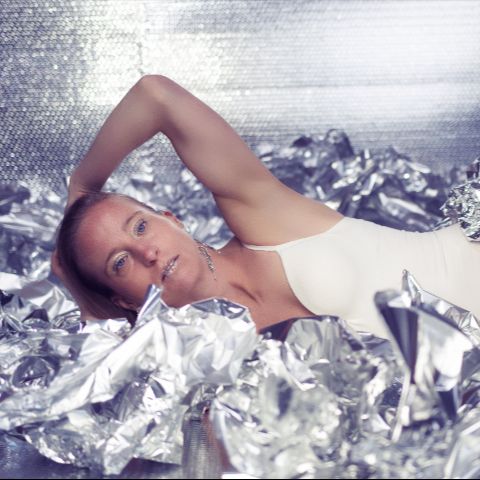
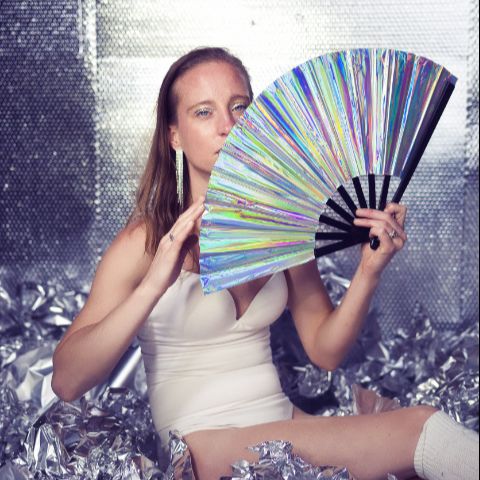
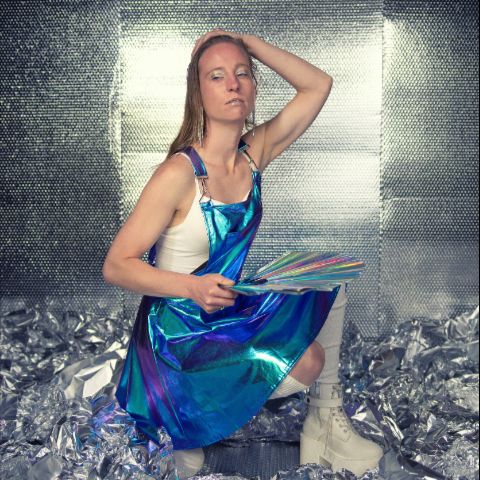
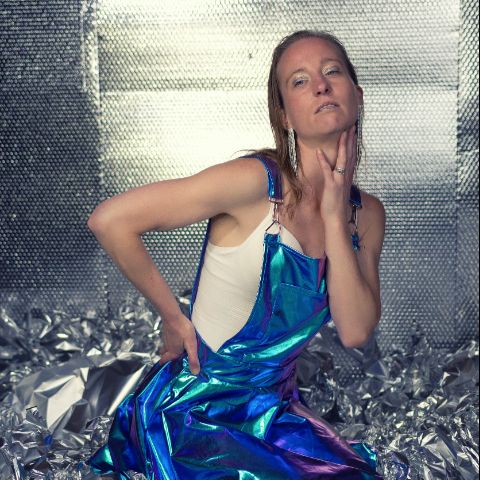
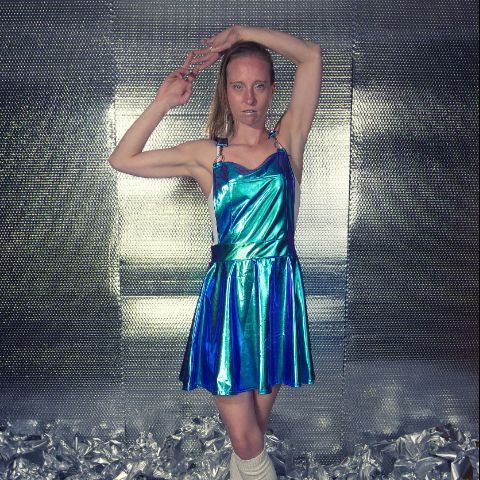
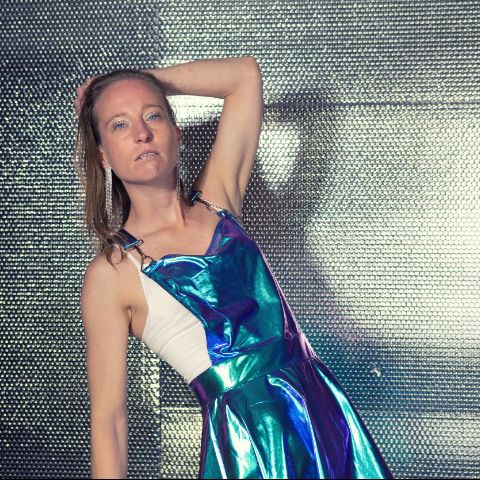
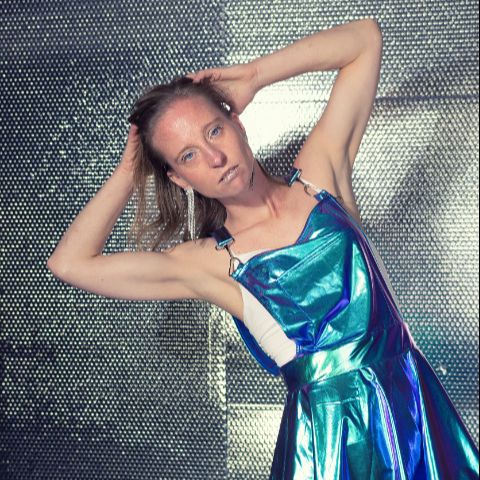
    Roos Testshoot Alu

    View more
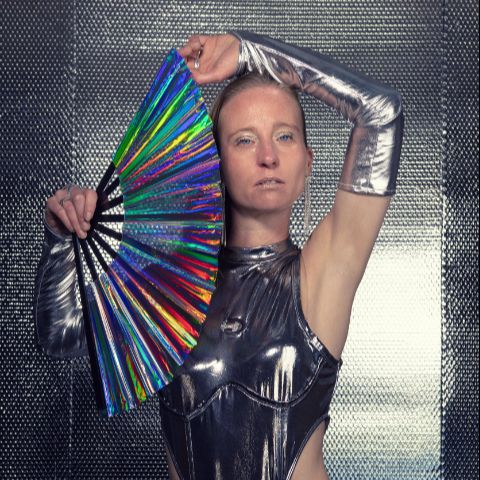
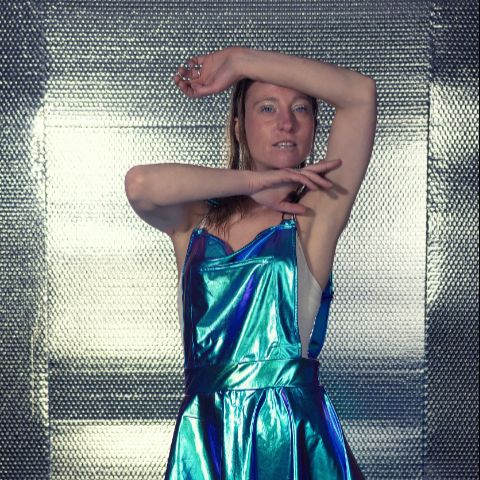
    Image

    Roos Testshoot Alu

    View more
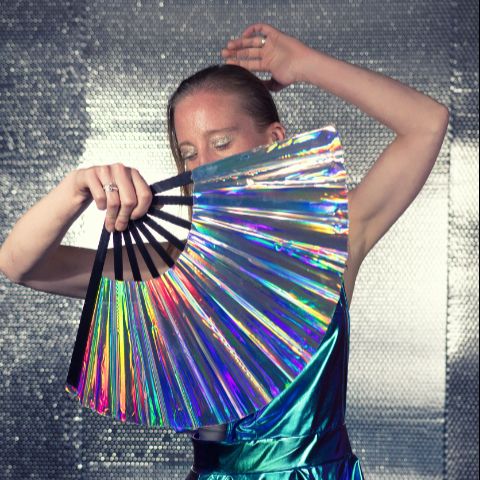
    Image

    Roos Testshoot Alu

    View more
    Image

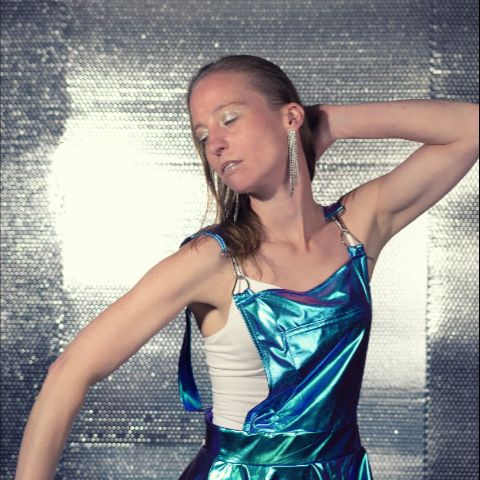
    Roos Testshoot Alu

    View more
    Image

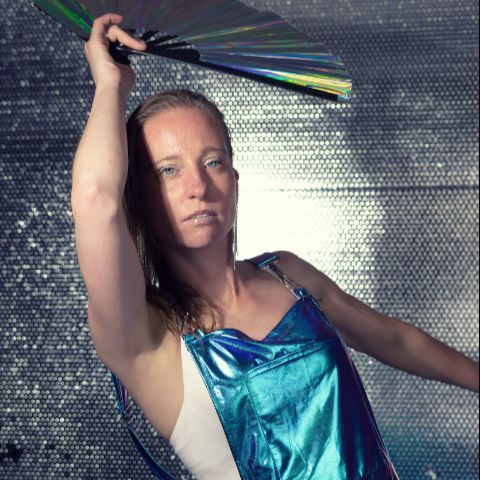
    Roos Testshoot Alu

    View more
    Image

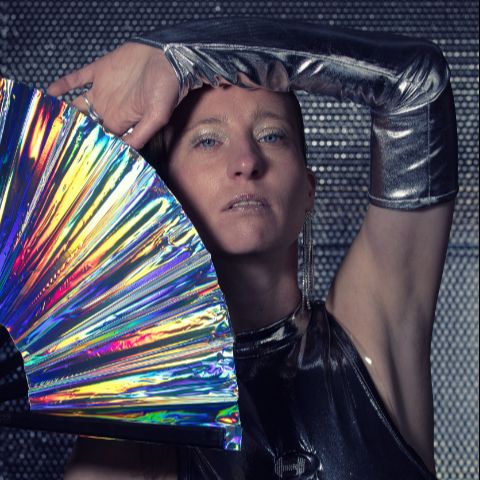
    Roos Testshoot Alu

    View more
    Image

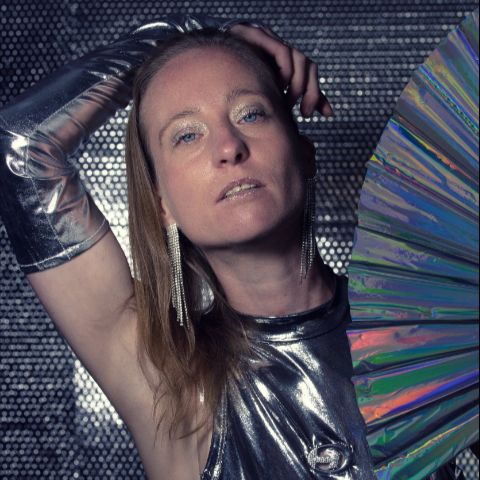
    Roos Testshoot Alu

    View more
    Image

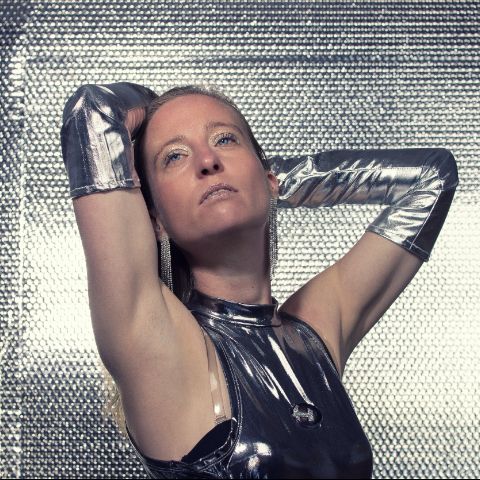
    Roos Testshoot Alu

    View more
    Image

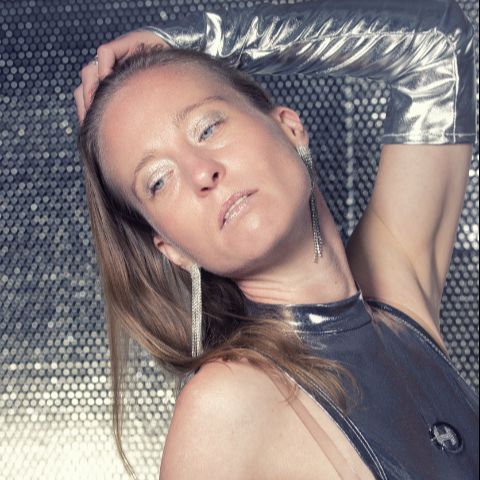
    Roos Testshoot Alu

    View more
    Image

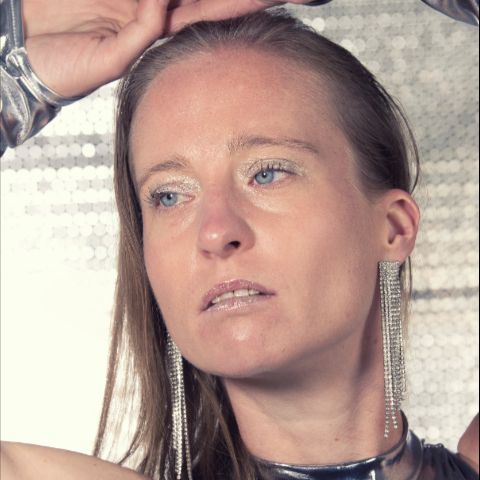
    Roos Testshoot Alu

    View more
    Image

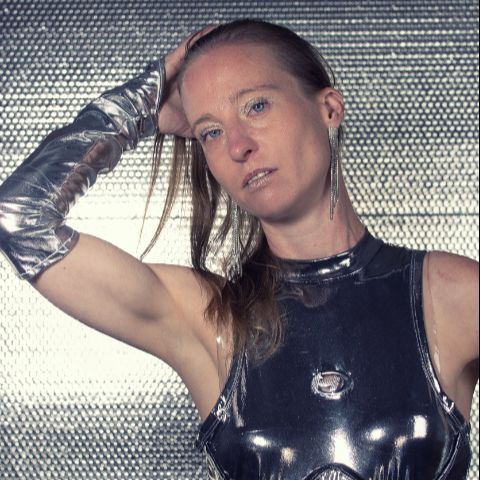
    Roos Testshoot Alu

    View more
    Image

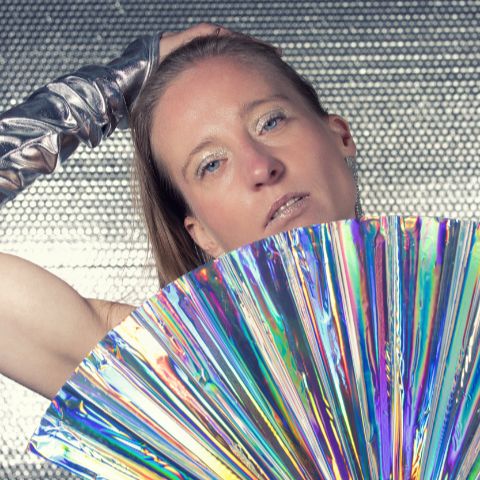
    Roos Testshoot Alu

    View more
    Image

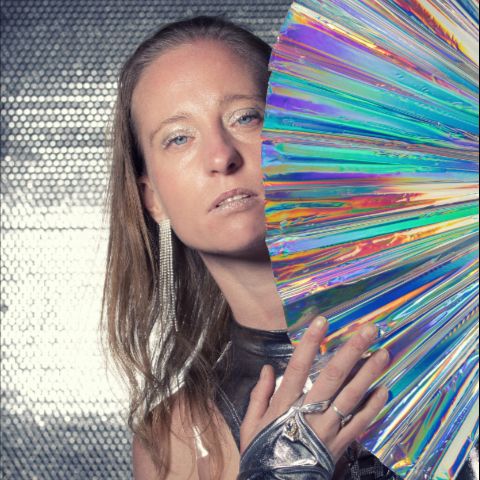
    Roos Testshoot Alu

    View more
    Image

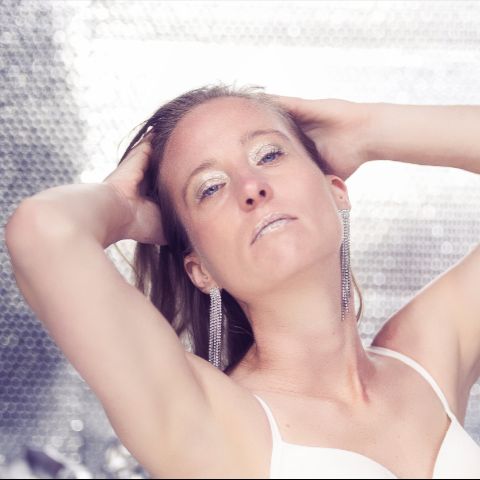
    Roos Testshoot Alu

    View more
    Image

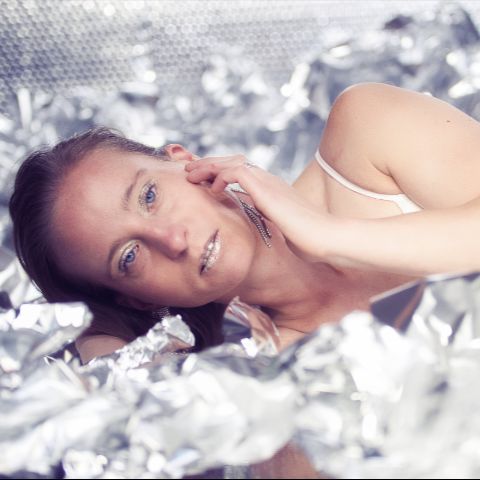
    Roos Testshoot Alu

    View more

    Image

    Roos Testshoot Alu

    View more
  • Image

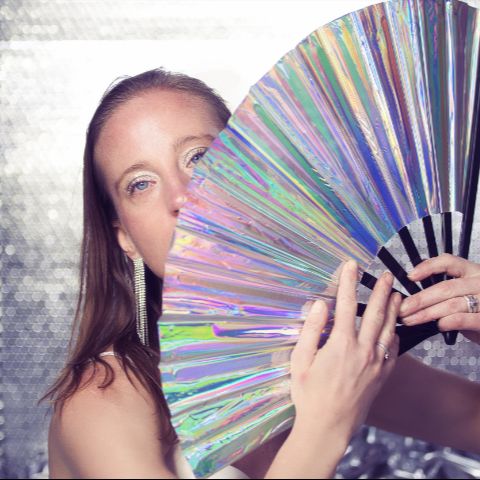
    Roos Testshoot Alu

    View more

    Image

    Roos Testshoot Alu

    View more
    Image

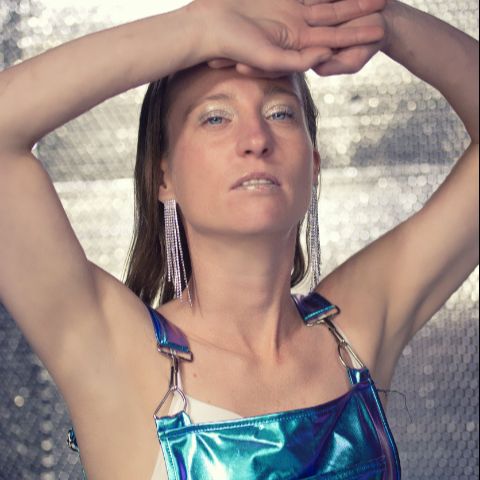
    Roos Testshoot Alu

    View more
    Image

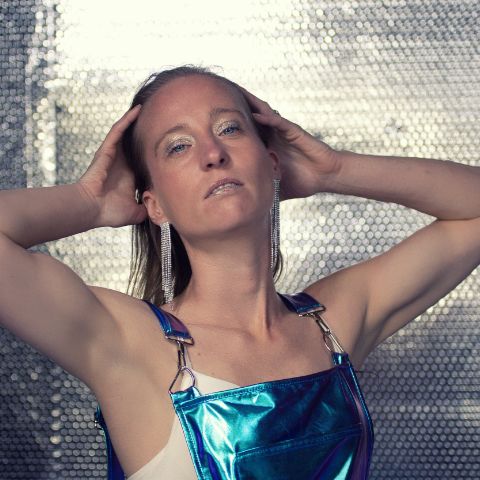
    Roos Testshoot Alu

    View more
    Image

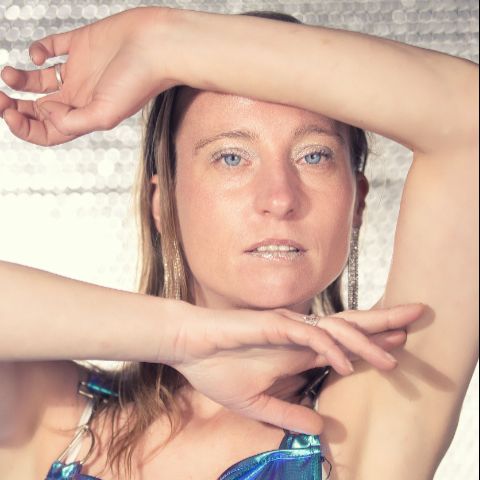
    Roos Testshoot Alu

    View more
    Image

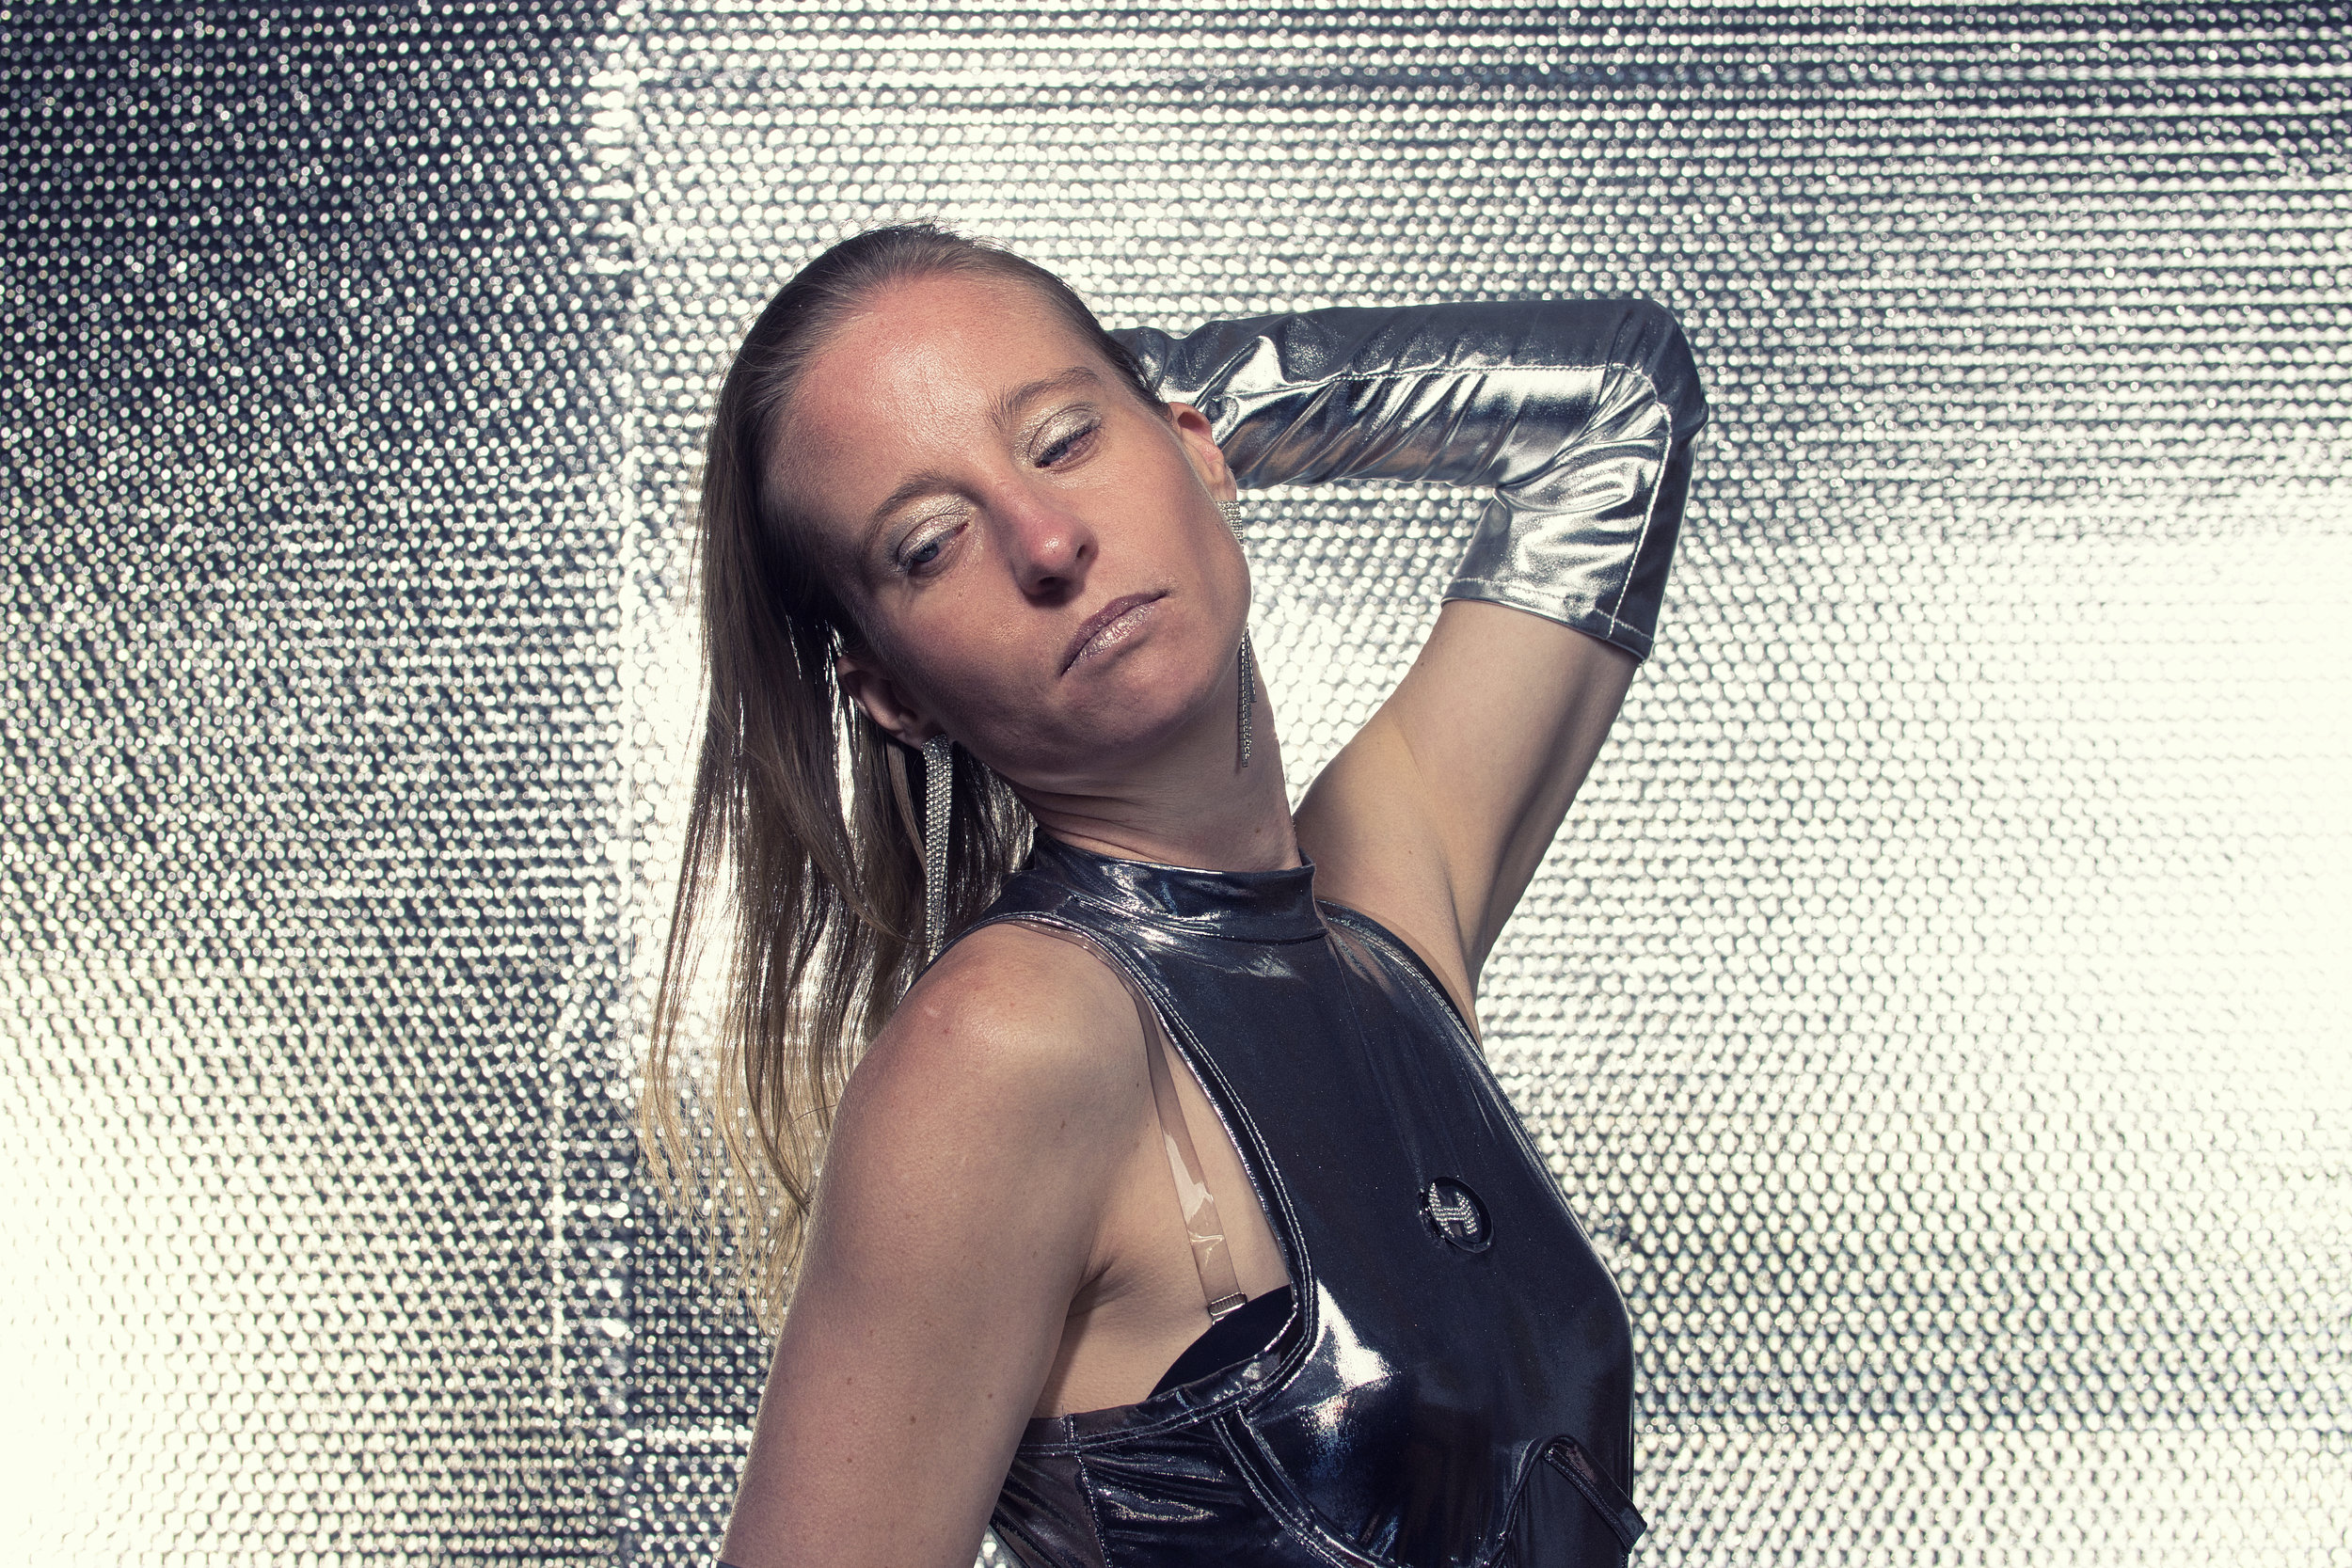
    Roos Testshoot Alu

    View more
    Image

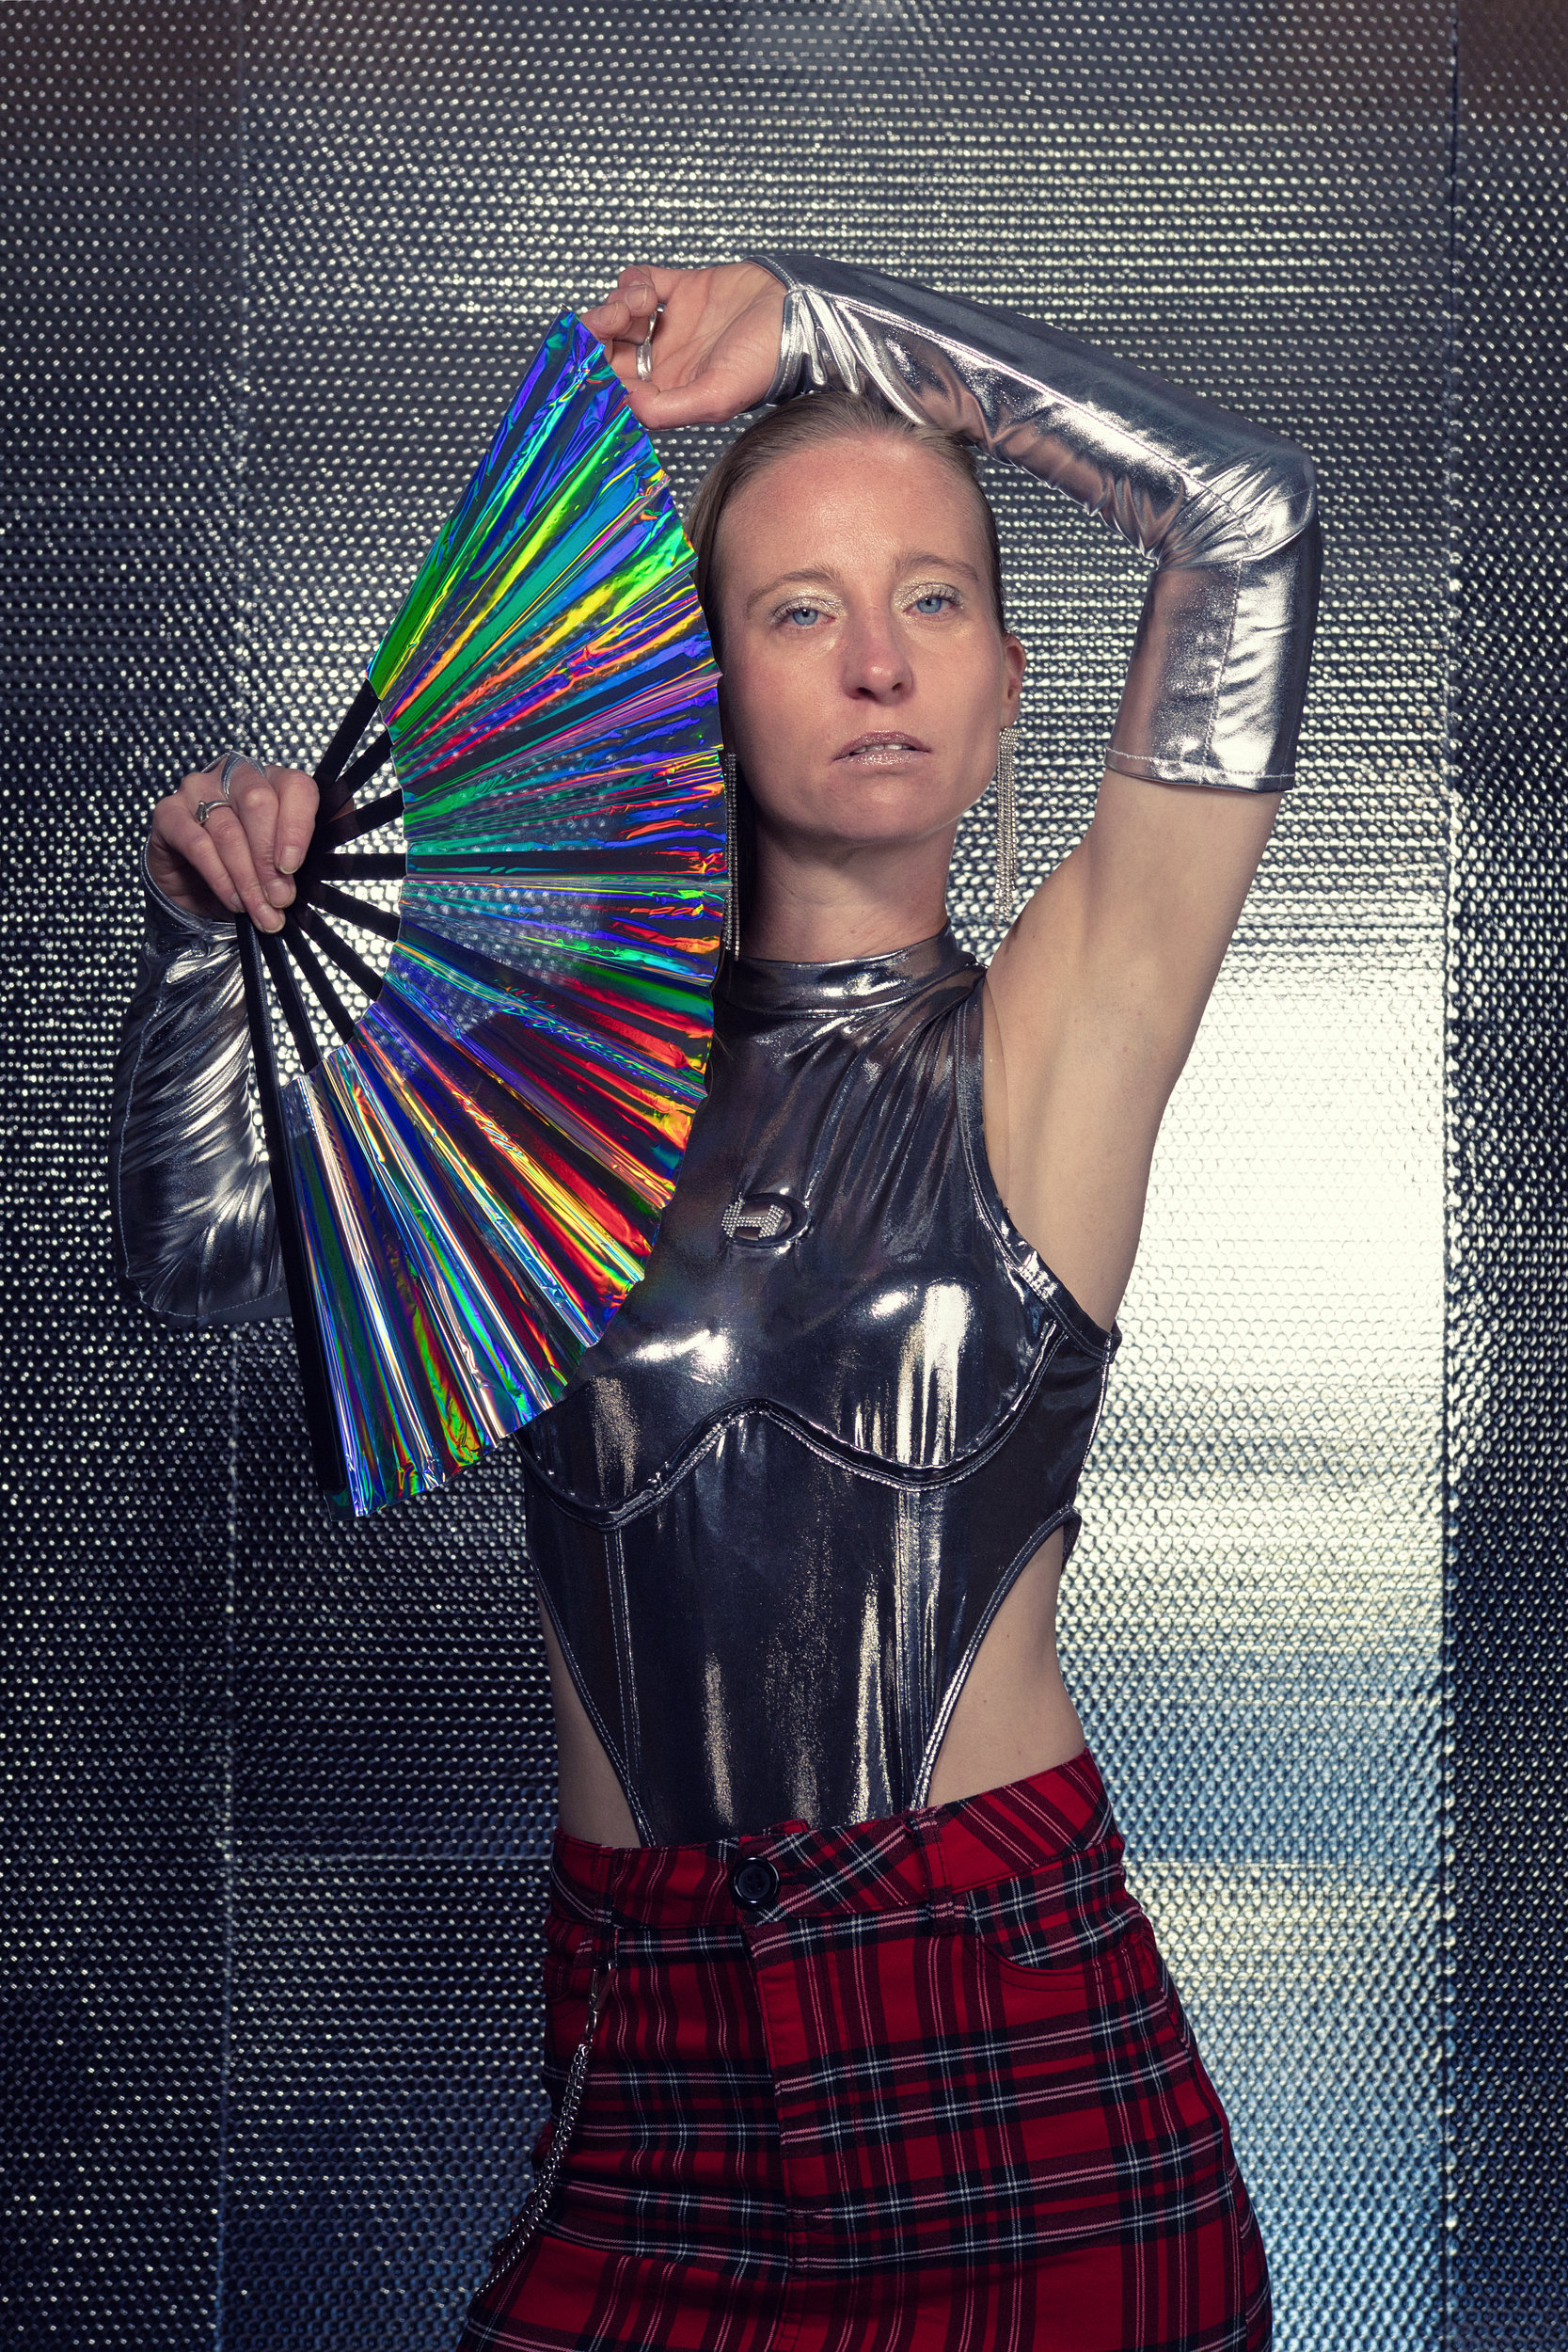
    Roos Testshoot Alu

    View more
    Image

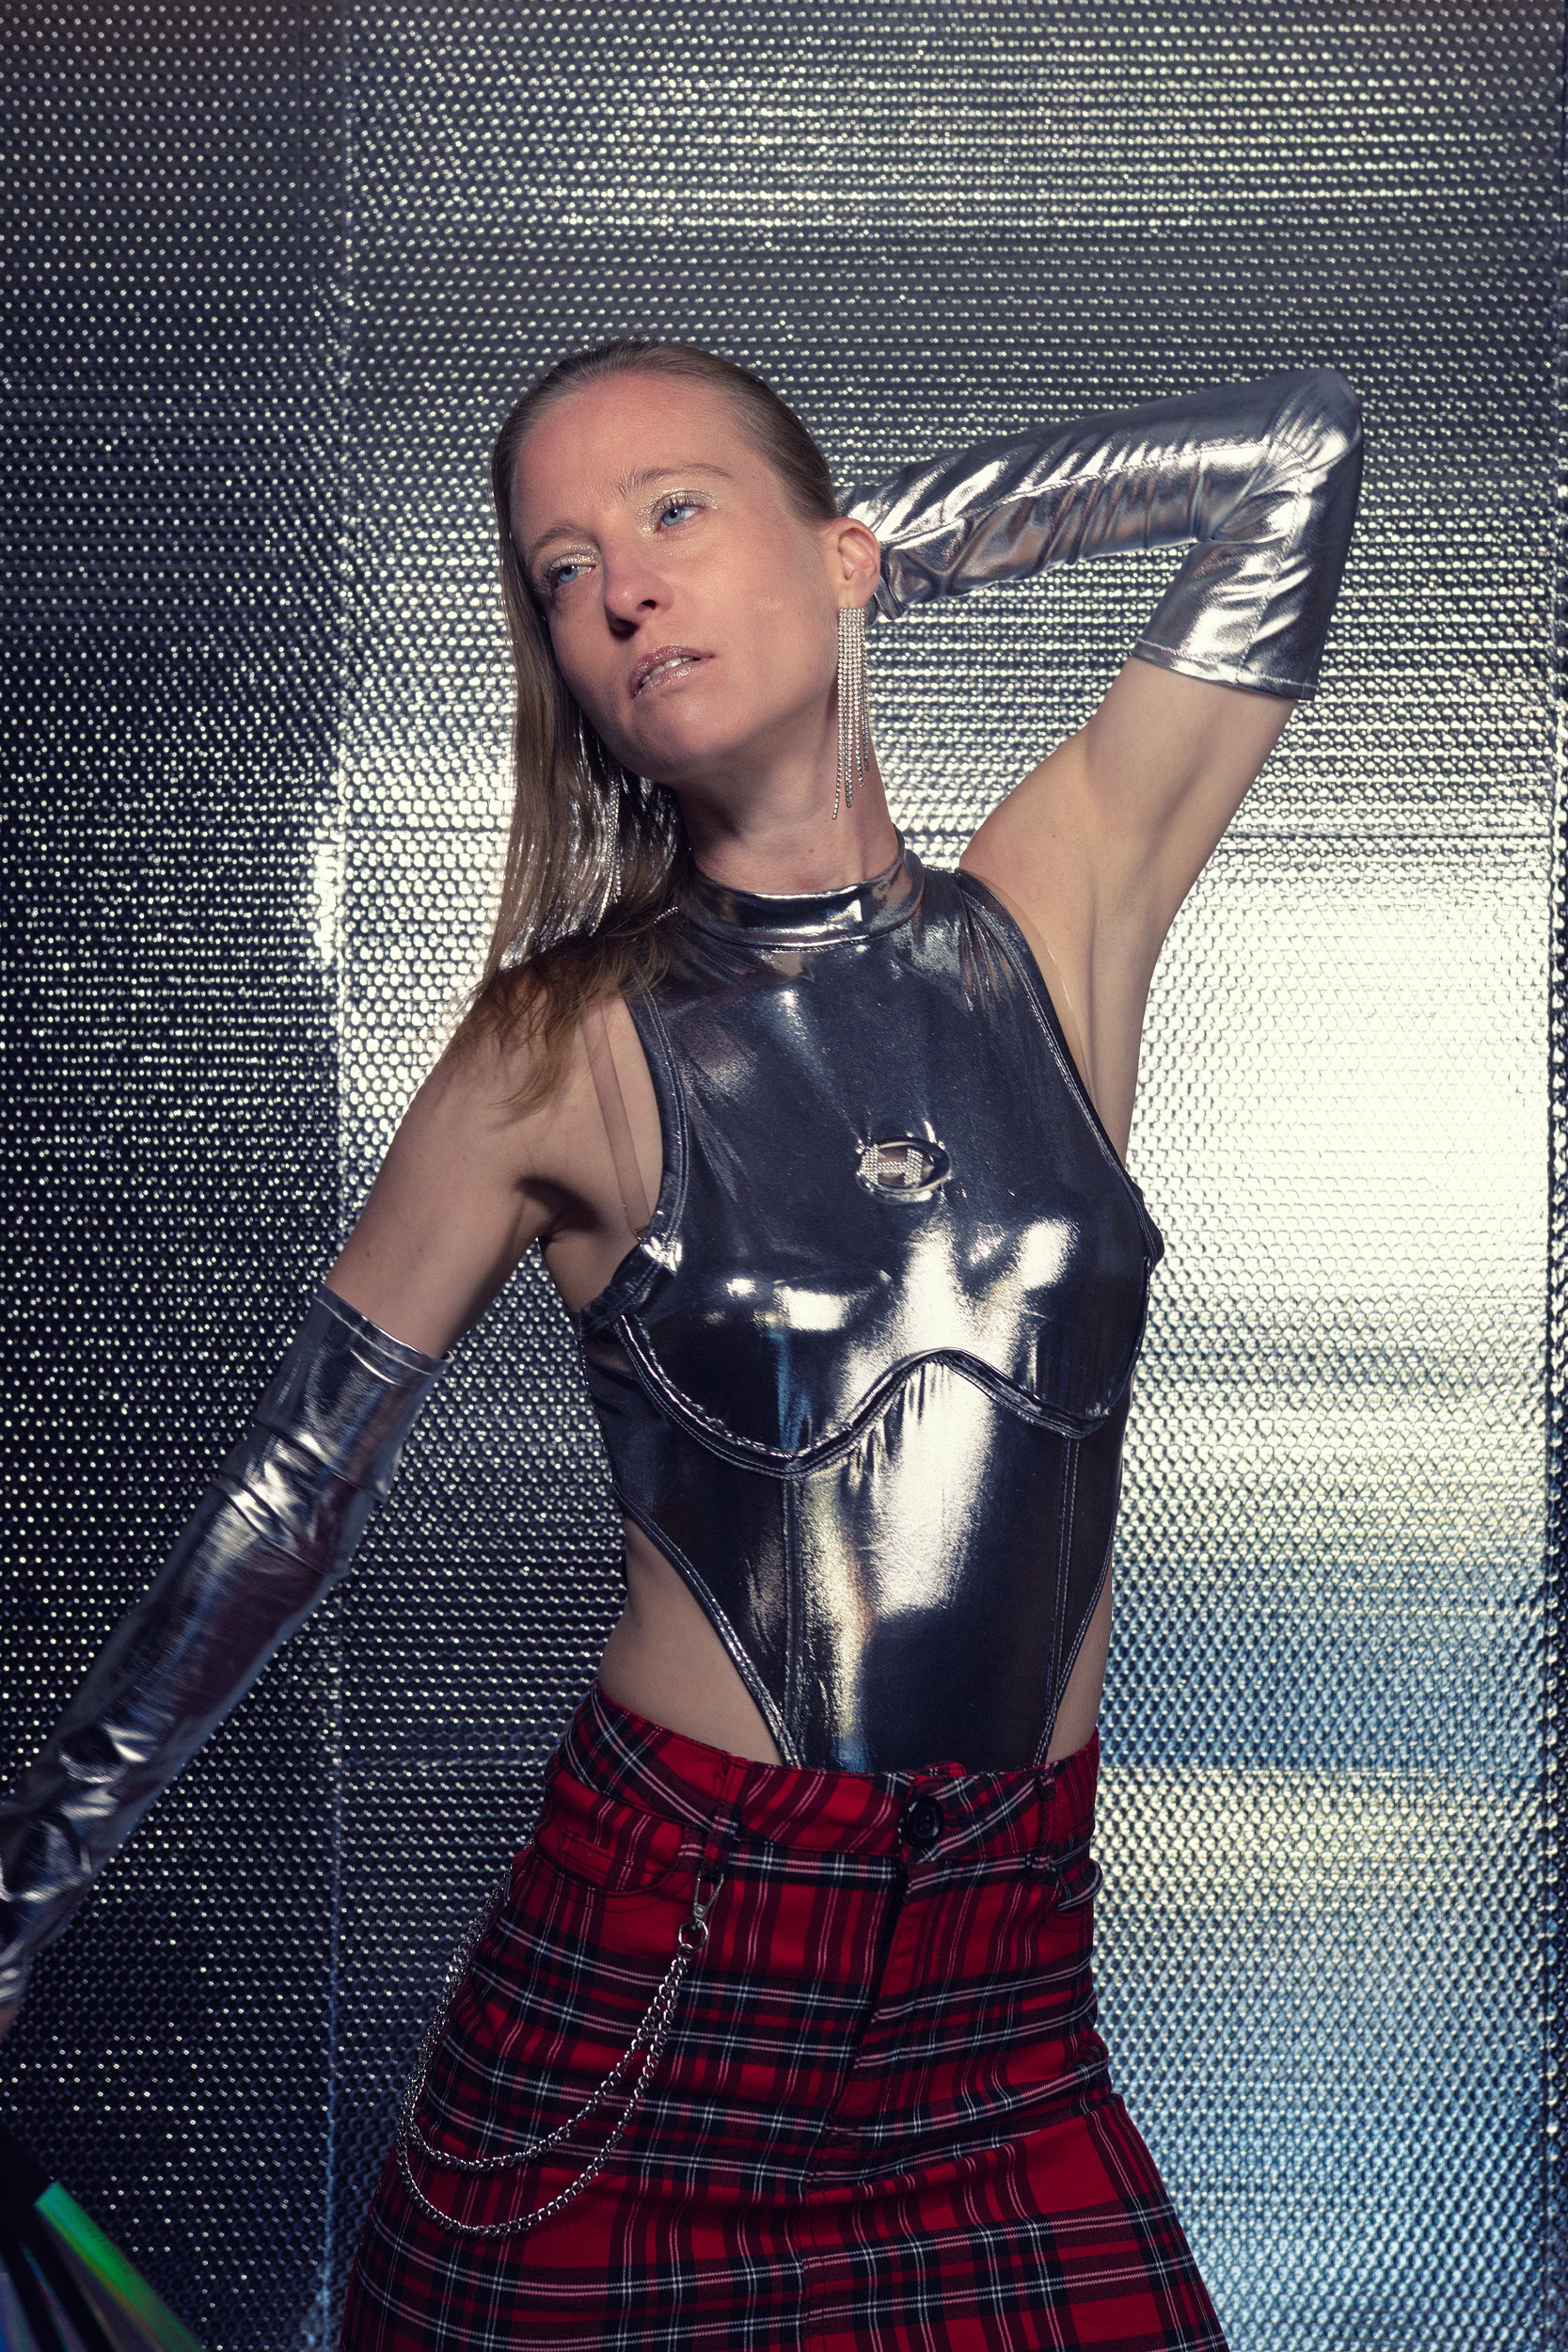
    Roos Testshoot Alu

    View more
    Image

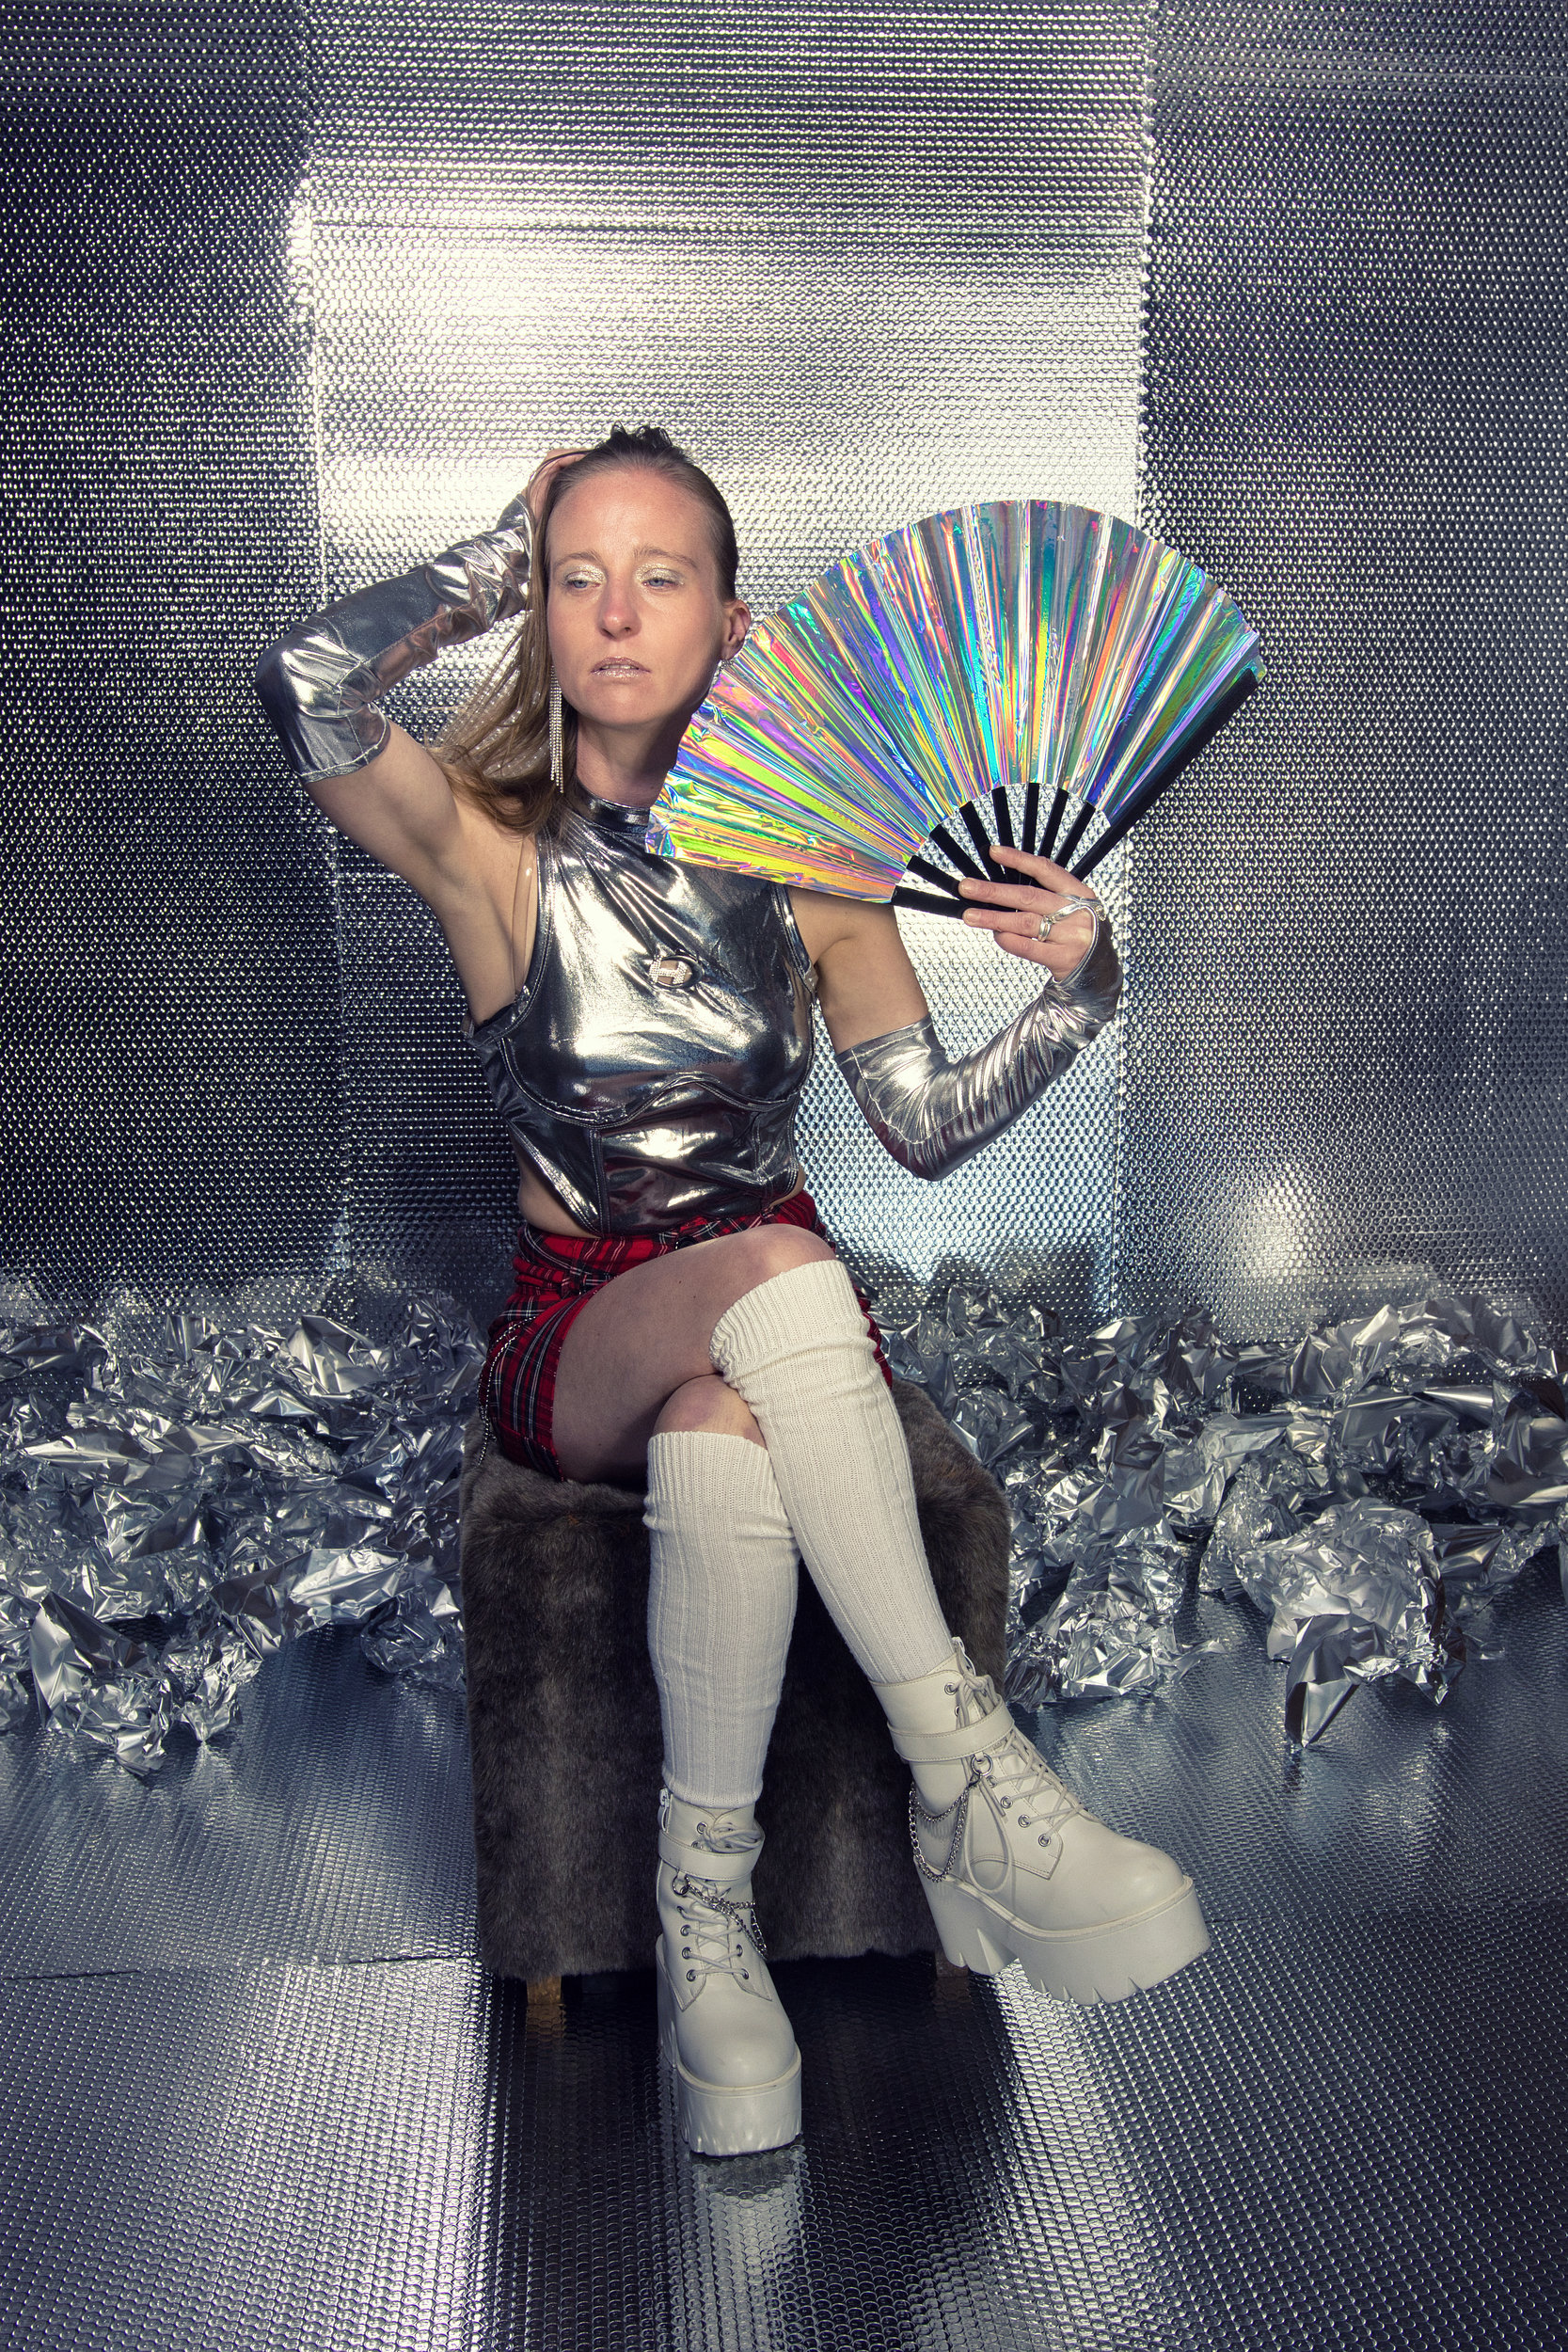
    Roos Testshoot Alu

    View more
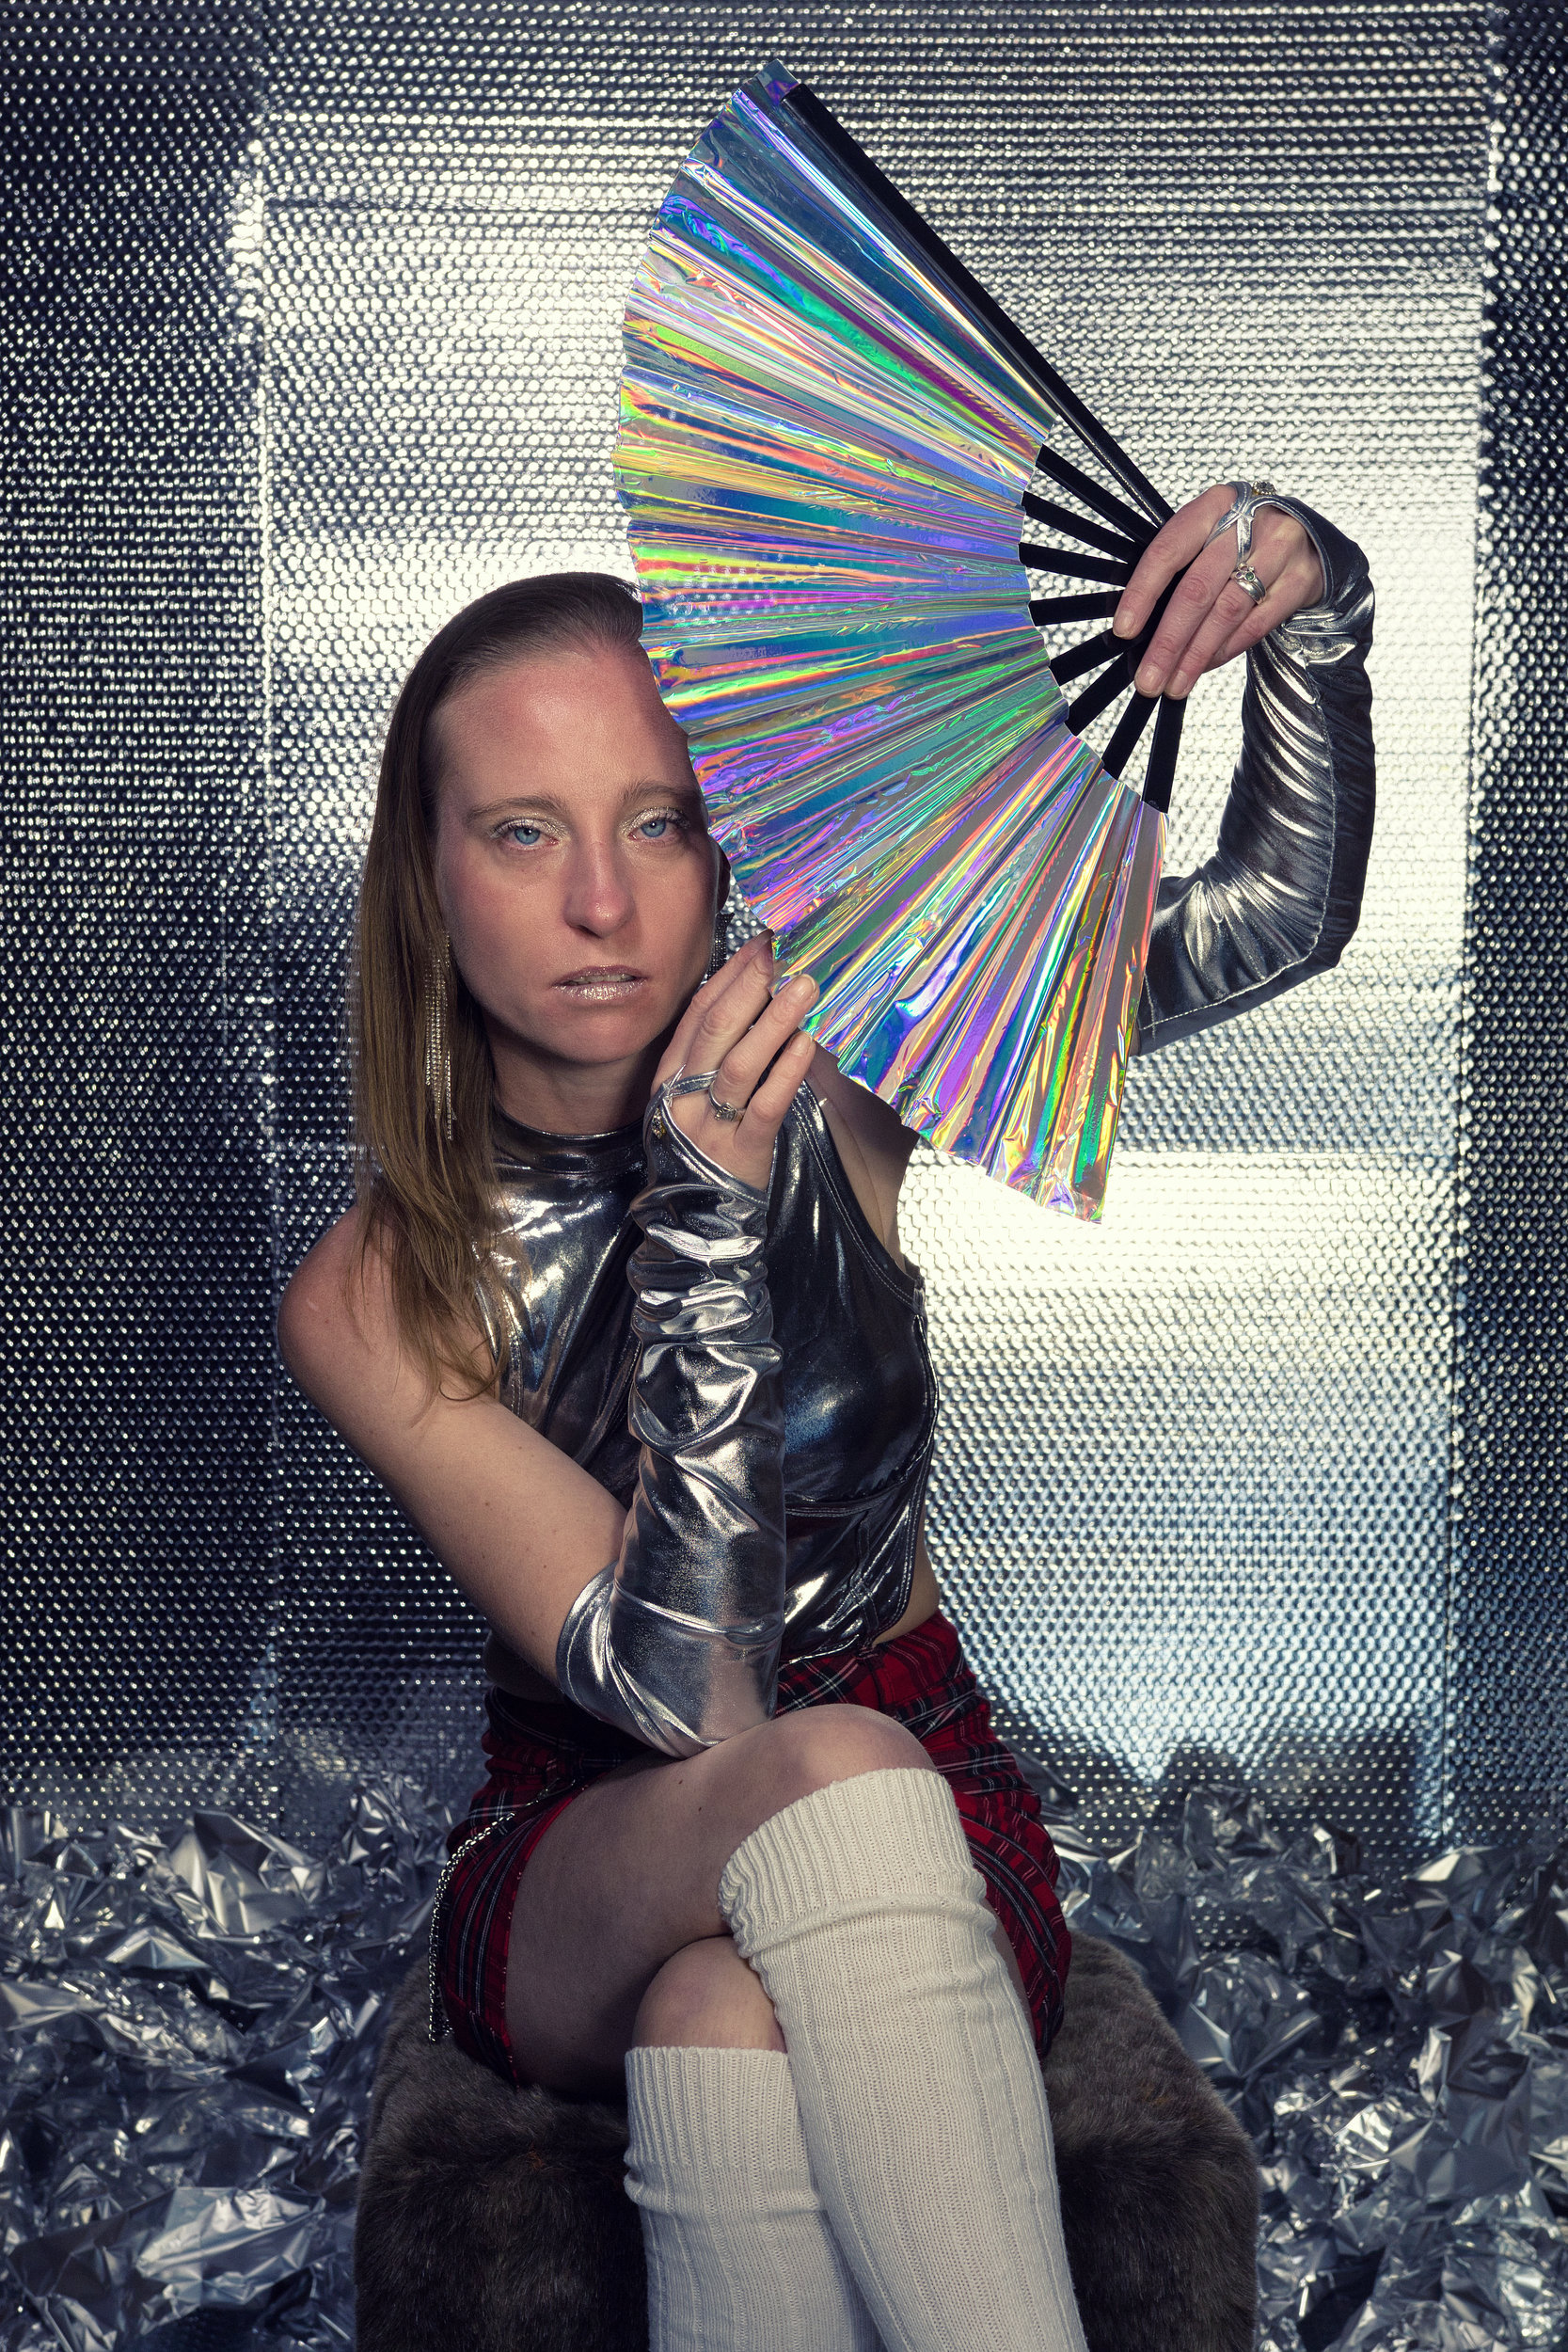
    Image

    Roos Testshoot Alu

    View more
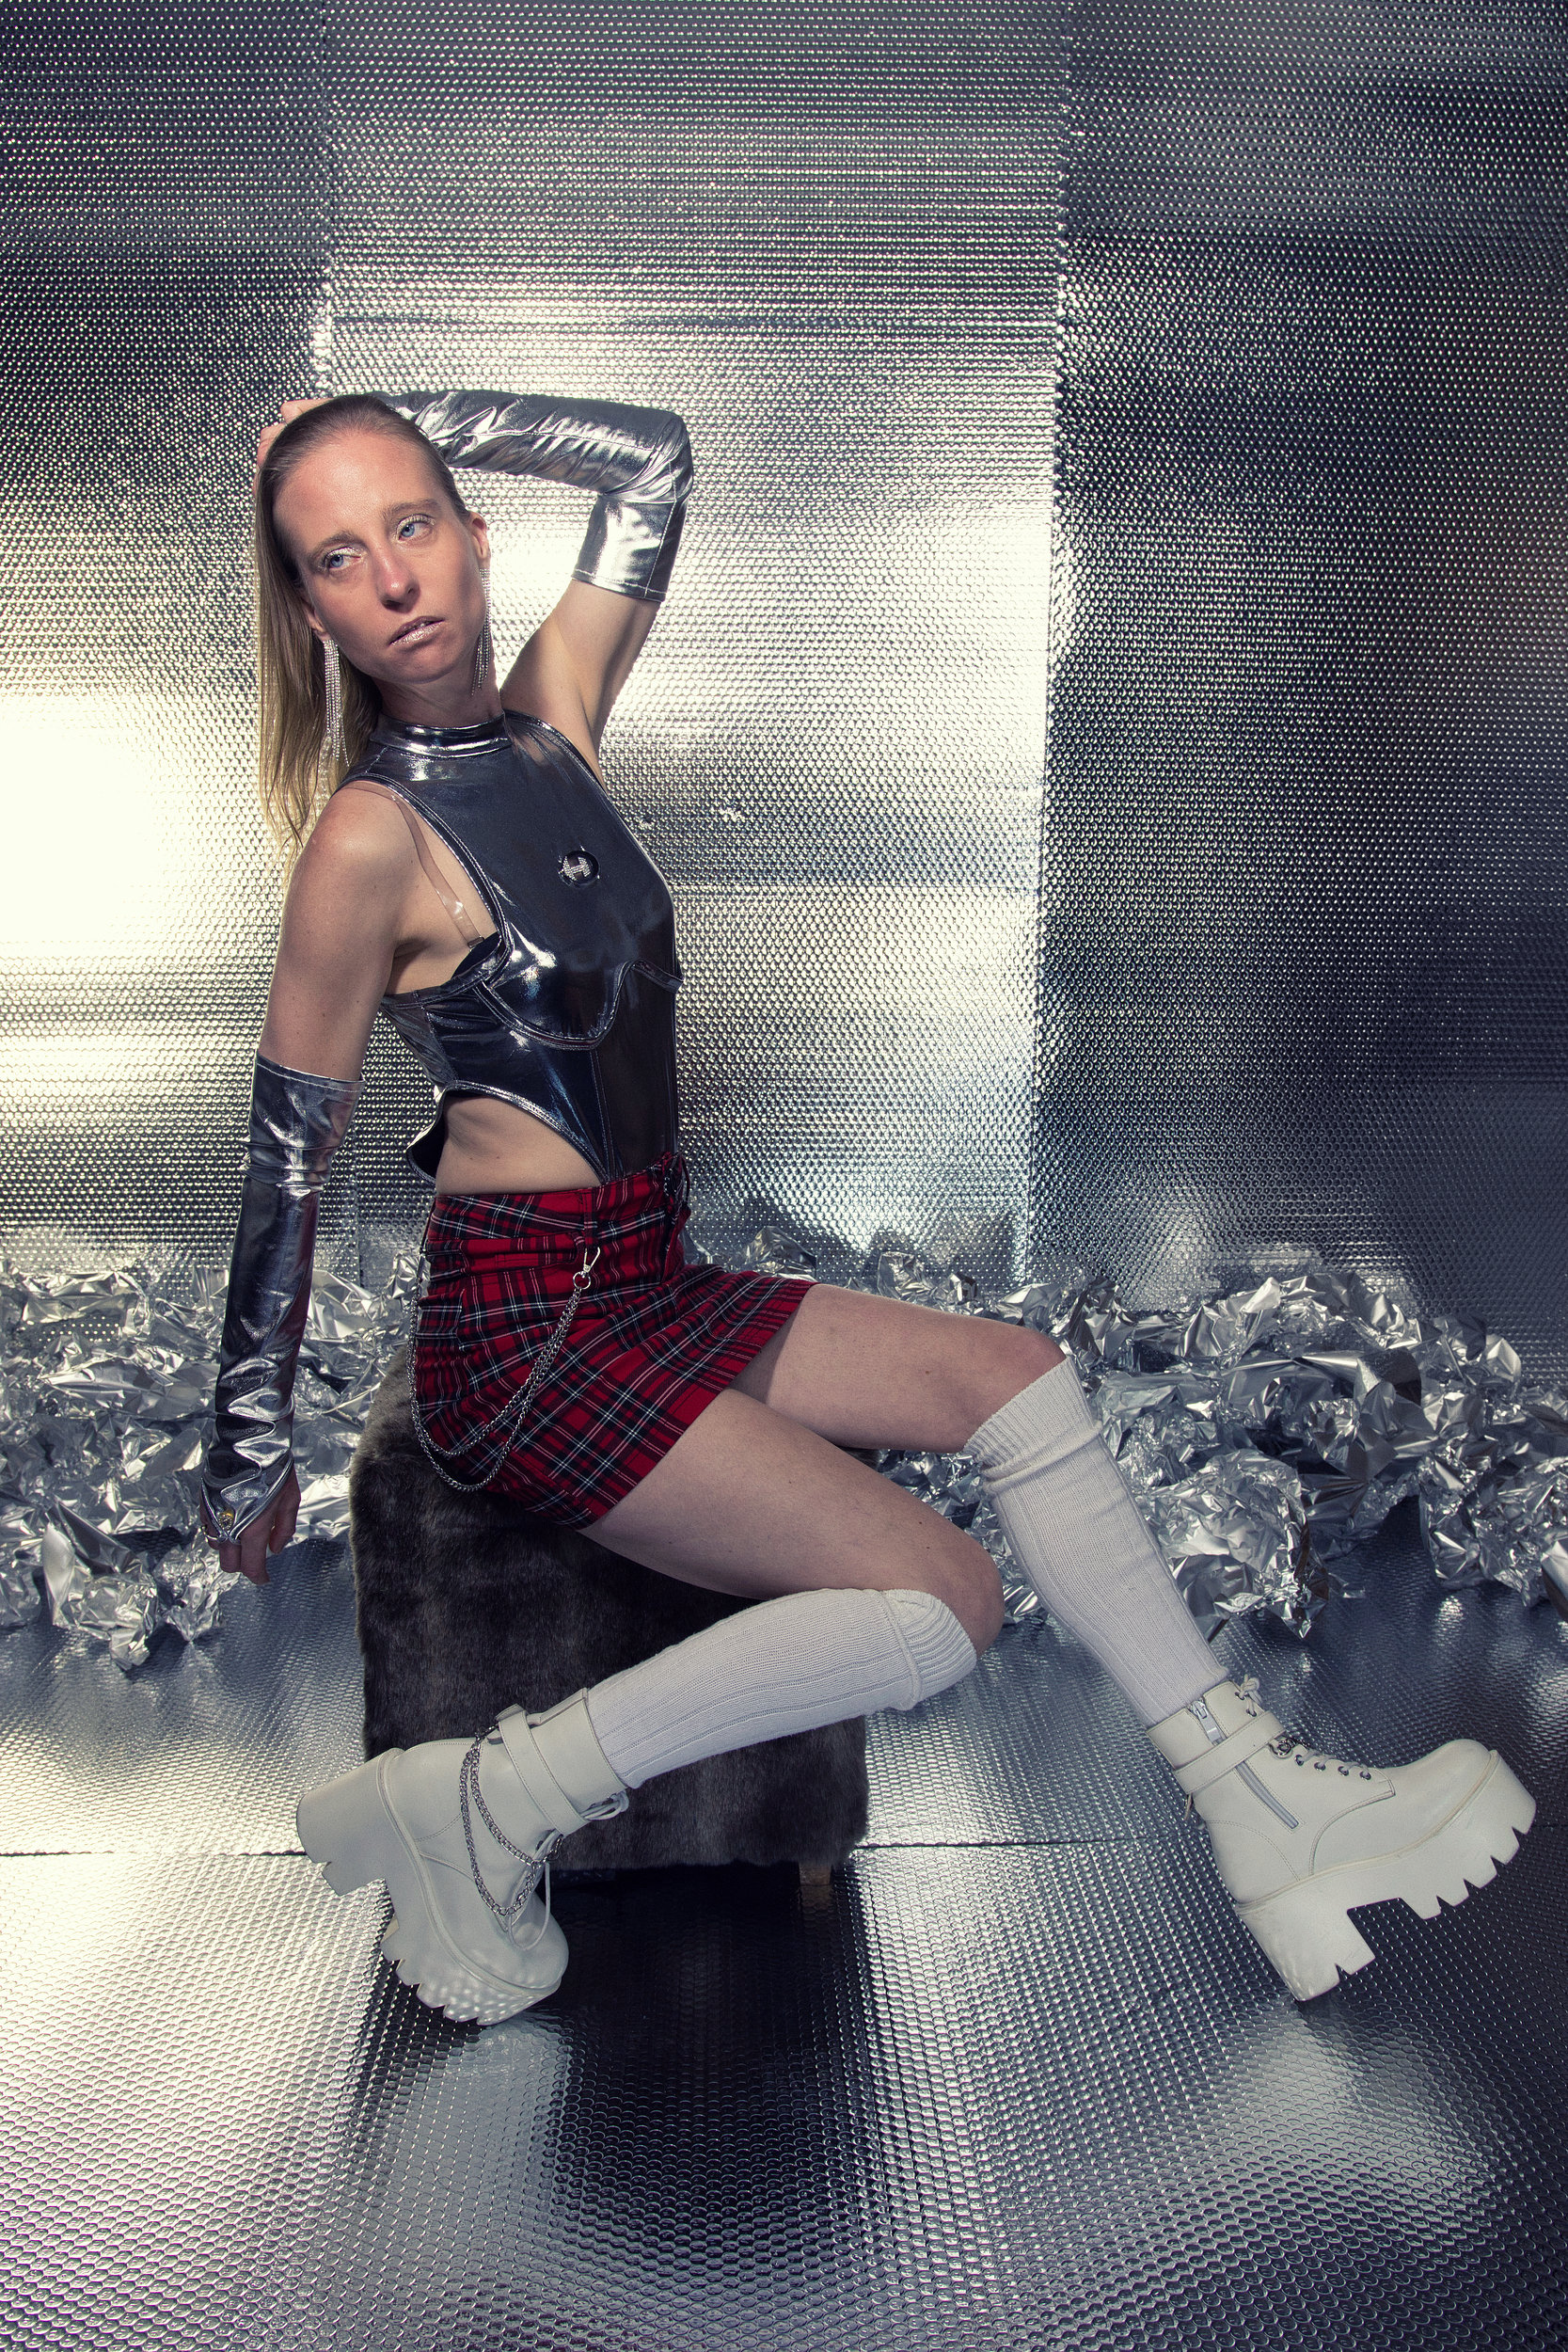
    Image

    Roos Testshoot Alu

    View more
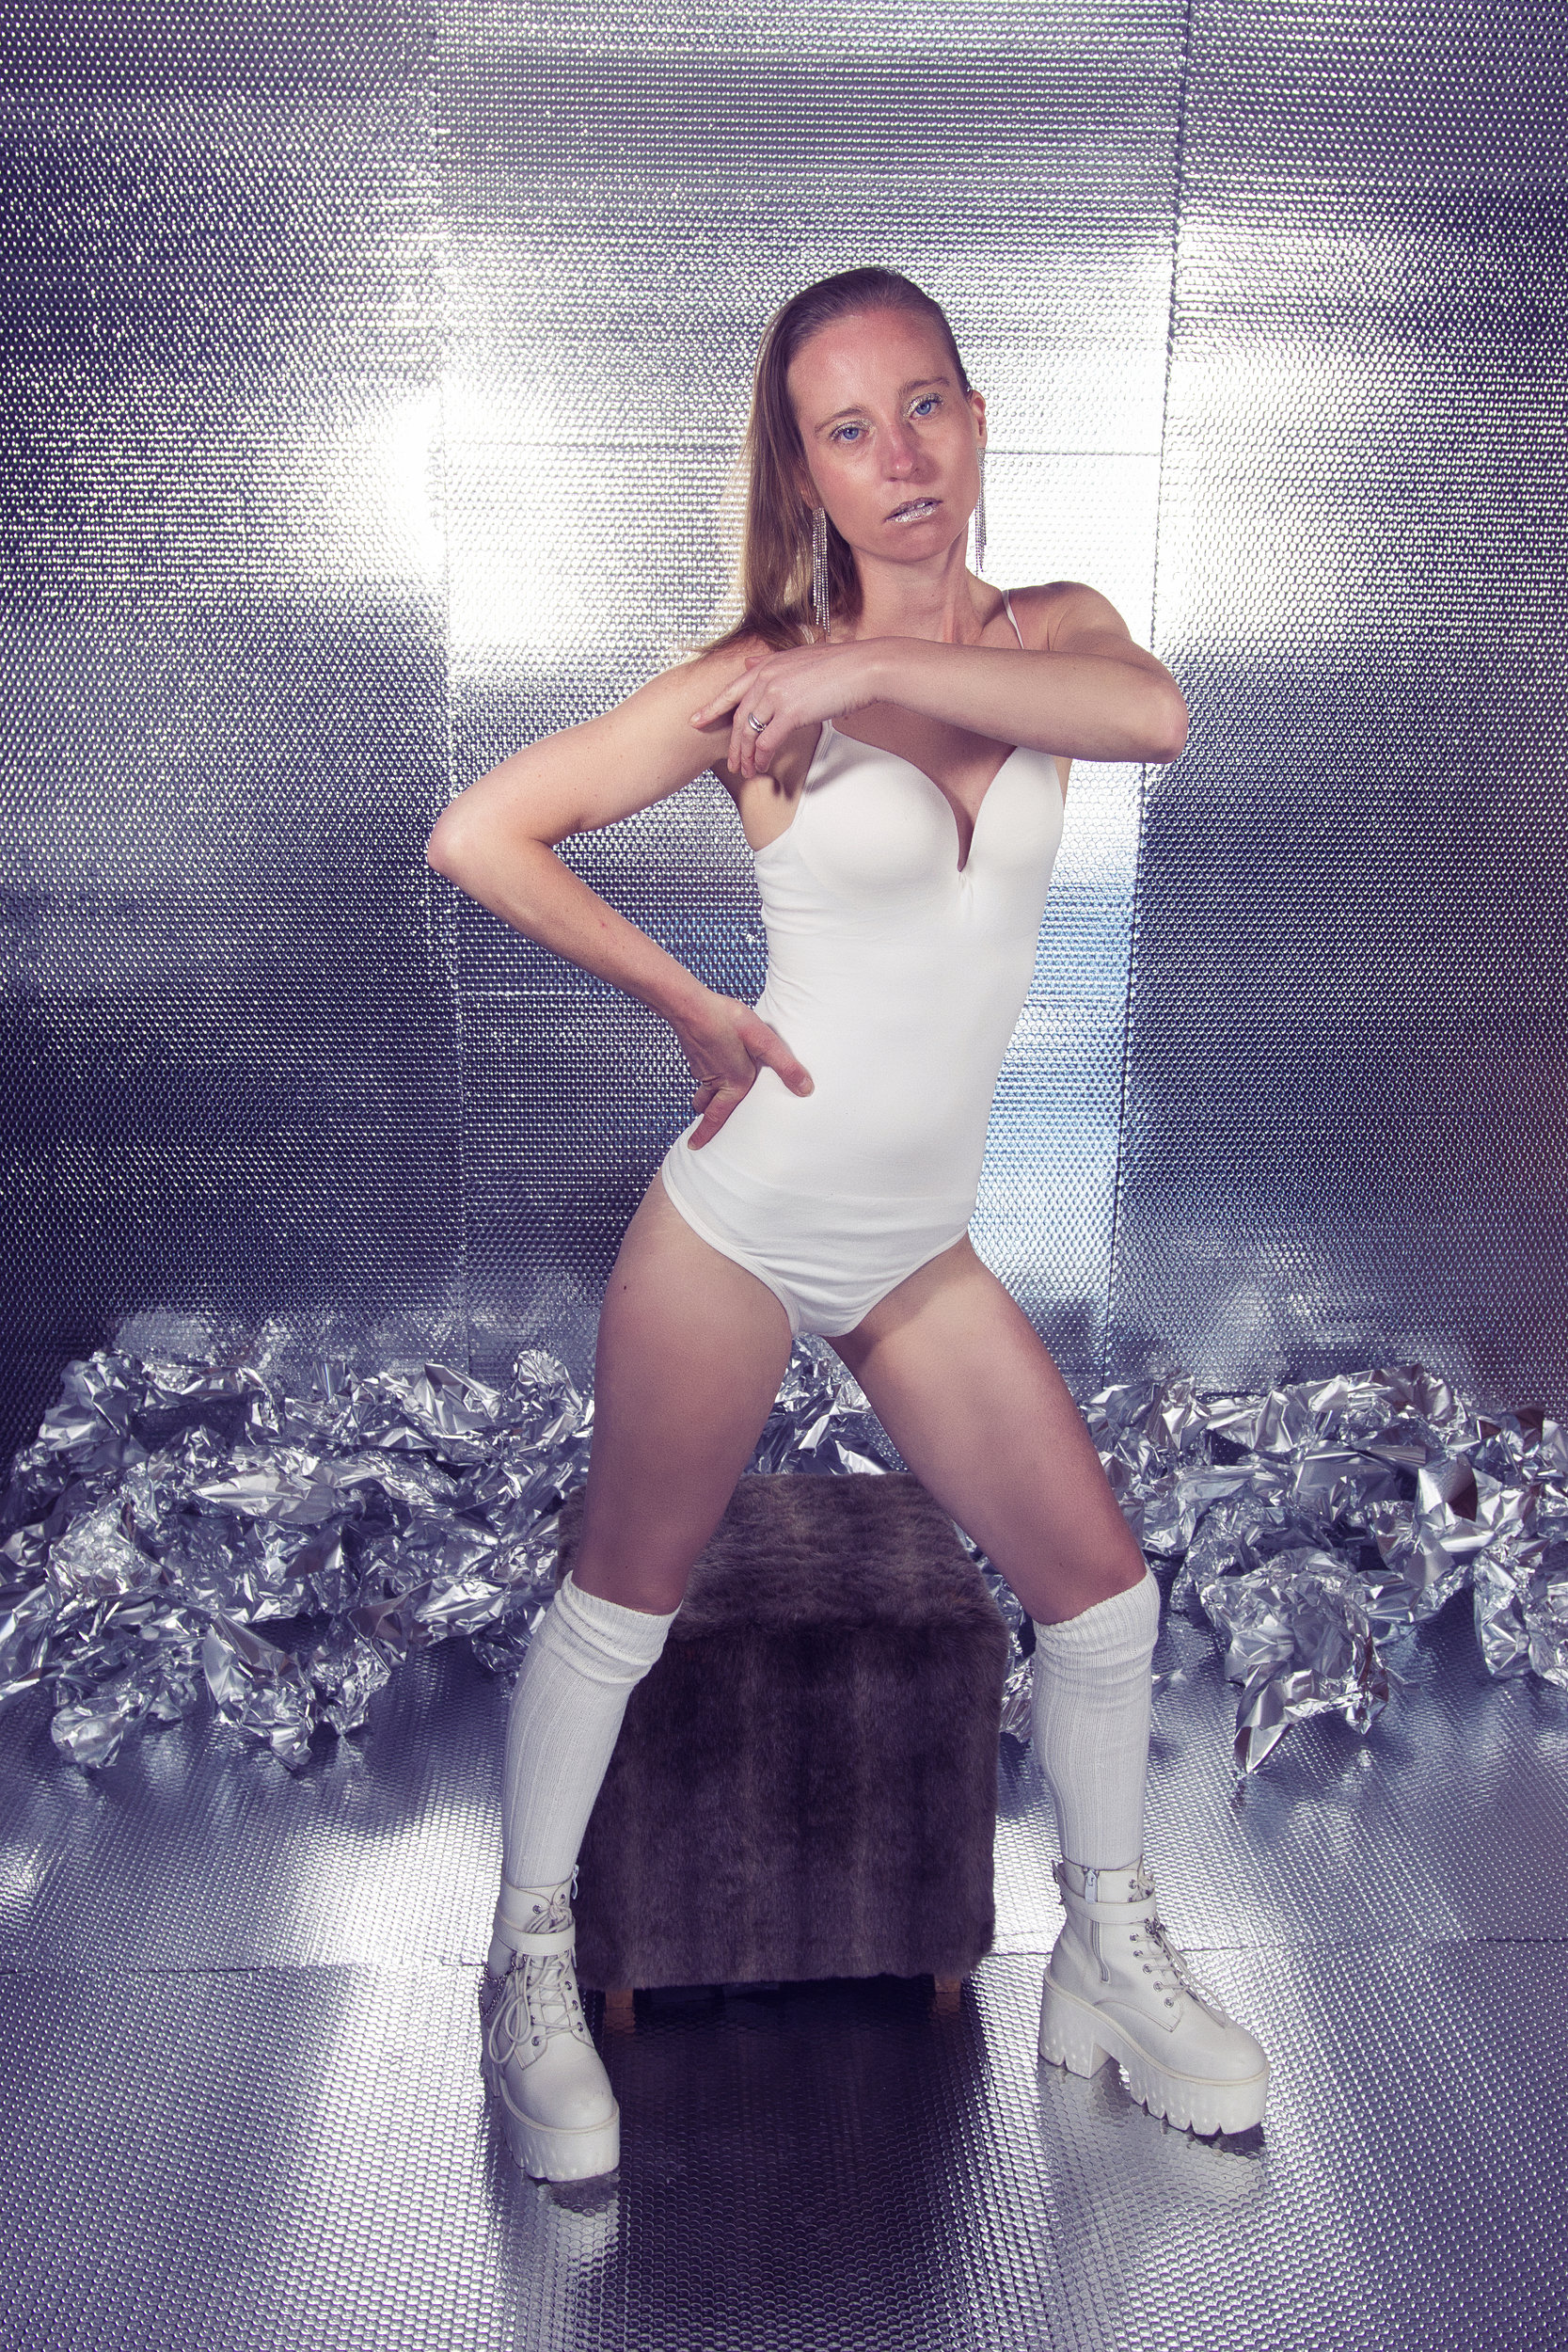
    Image

    Roos Testshoot Alu

    View more
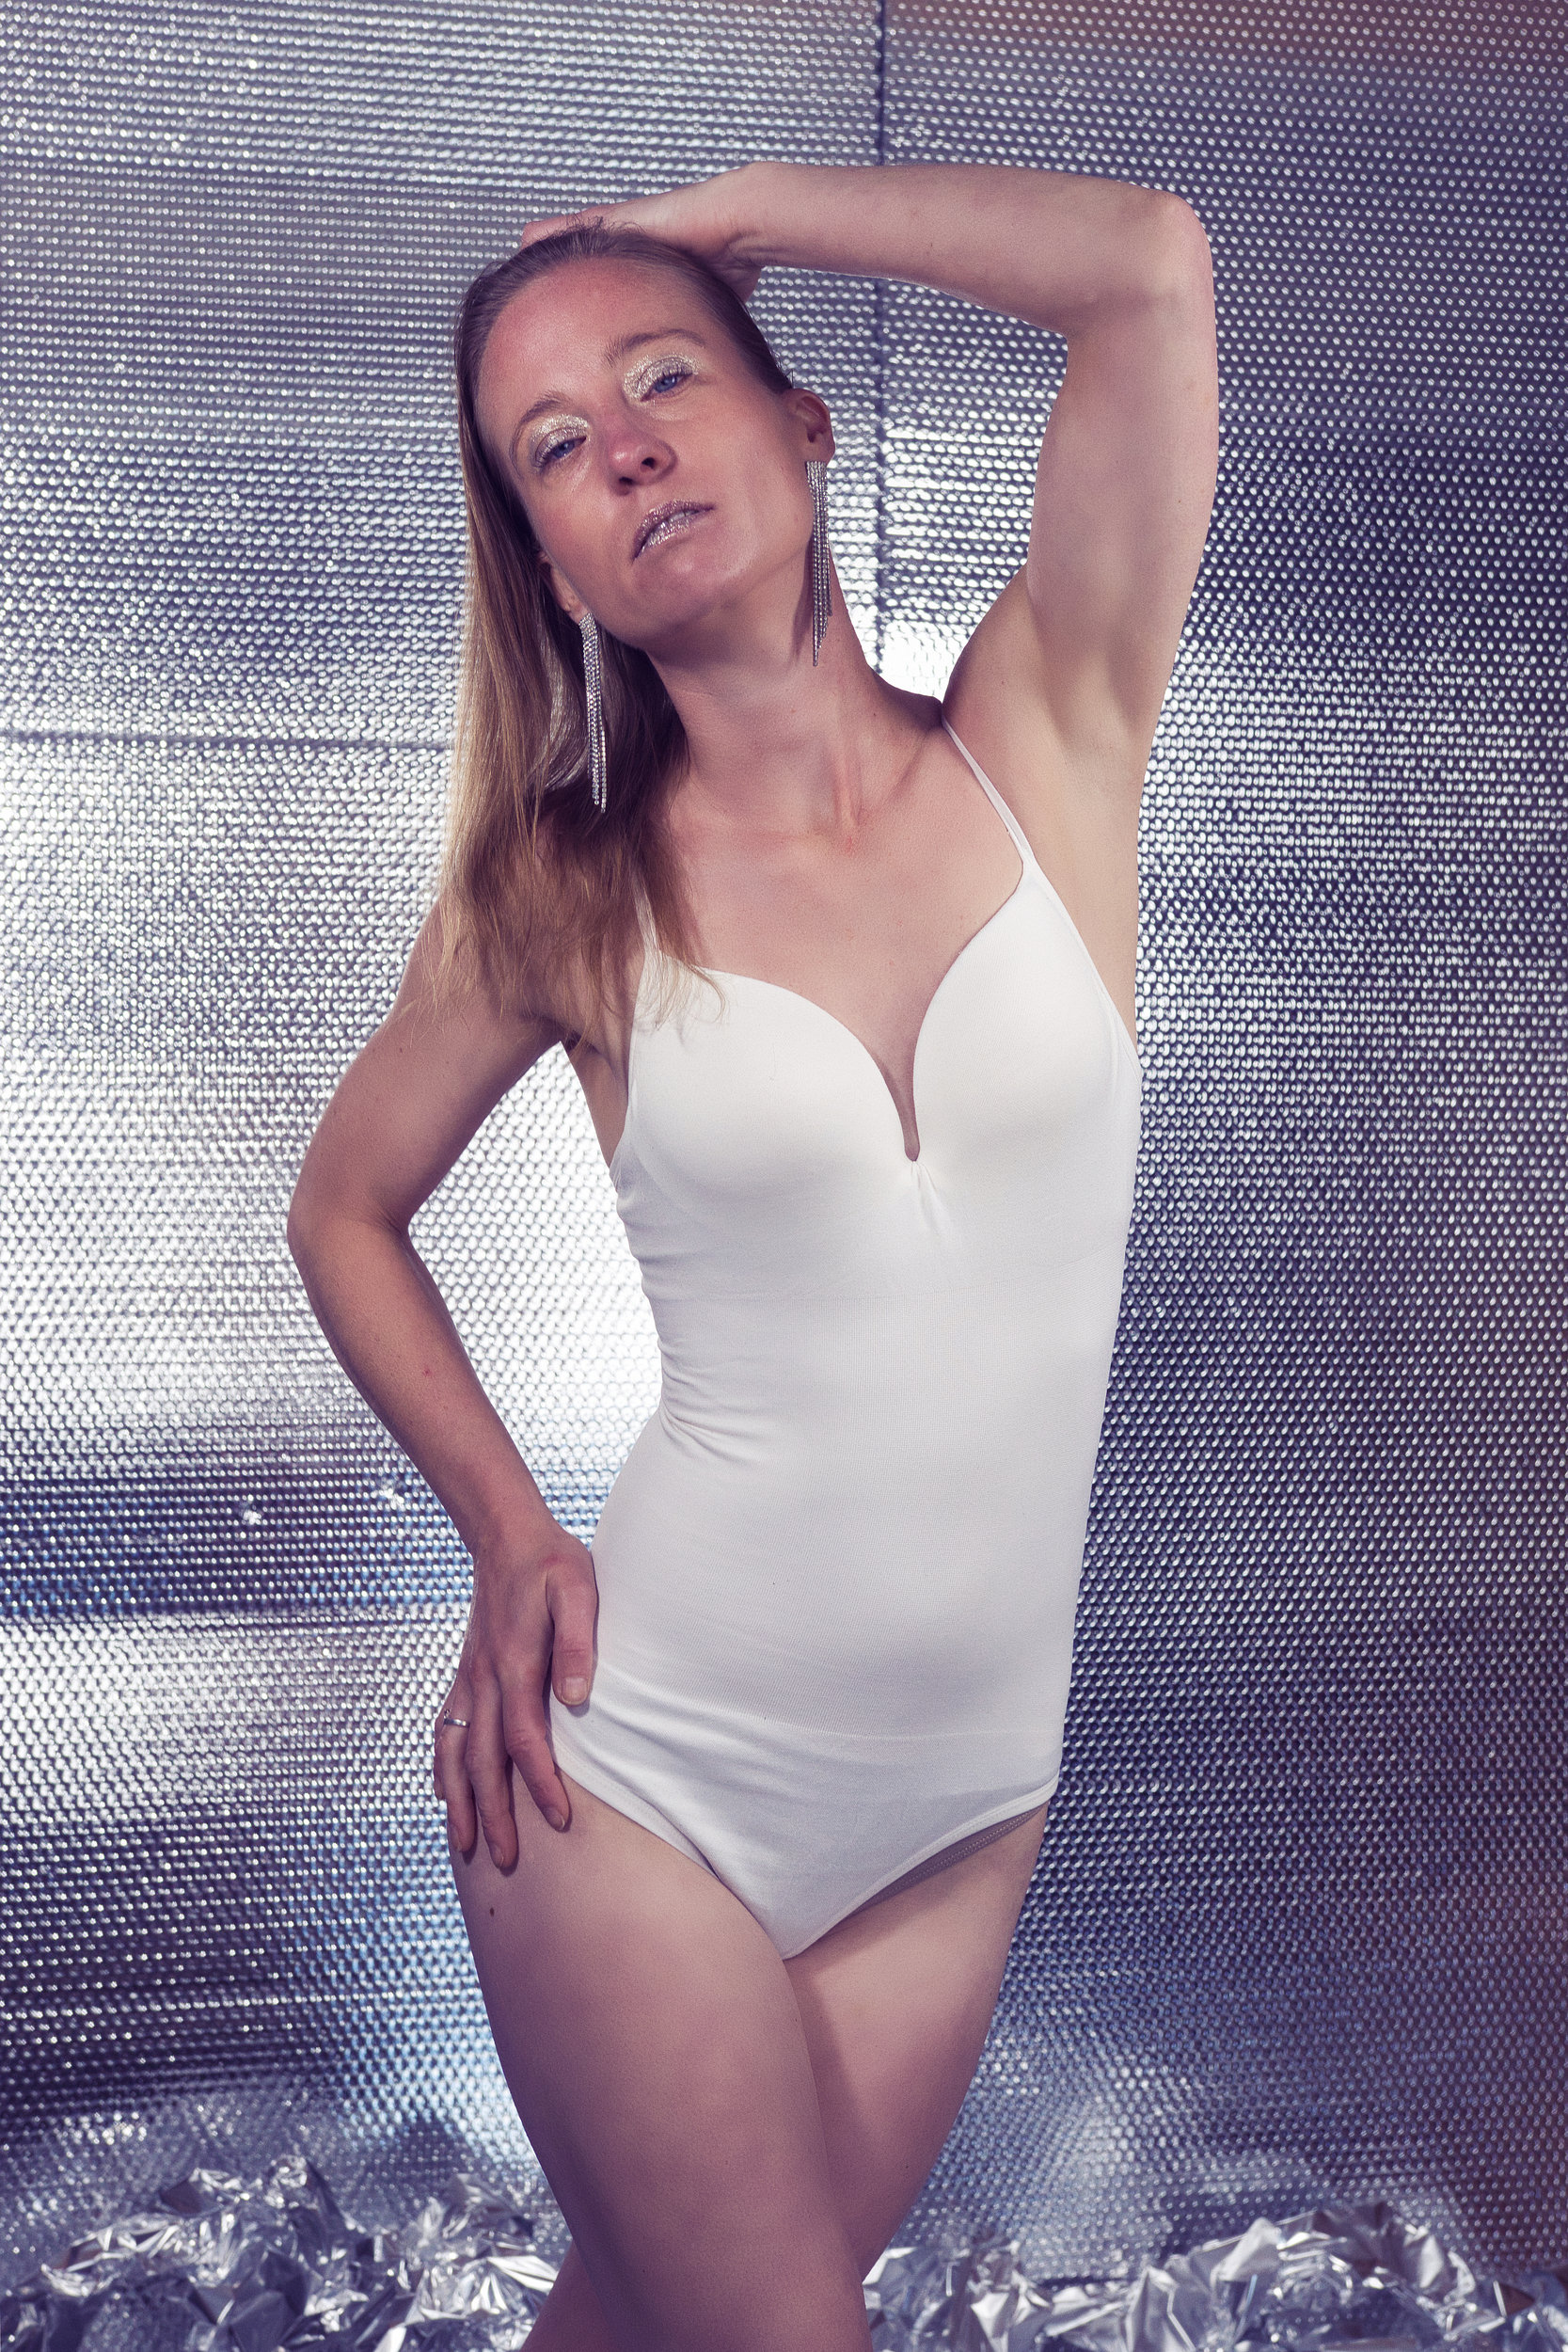
    Image

    Roos Testshoot Alu

    View more
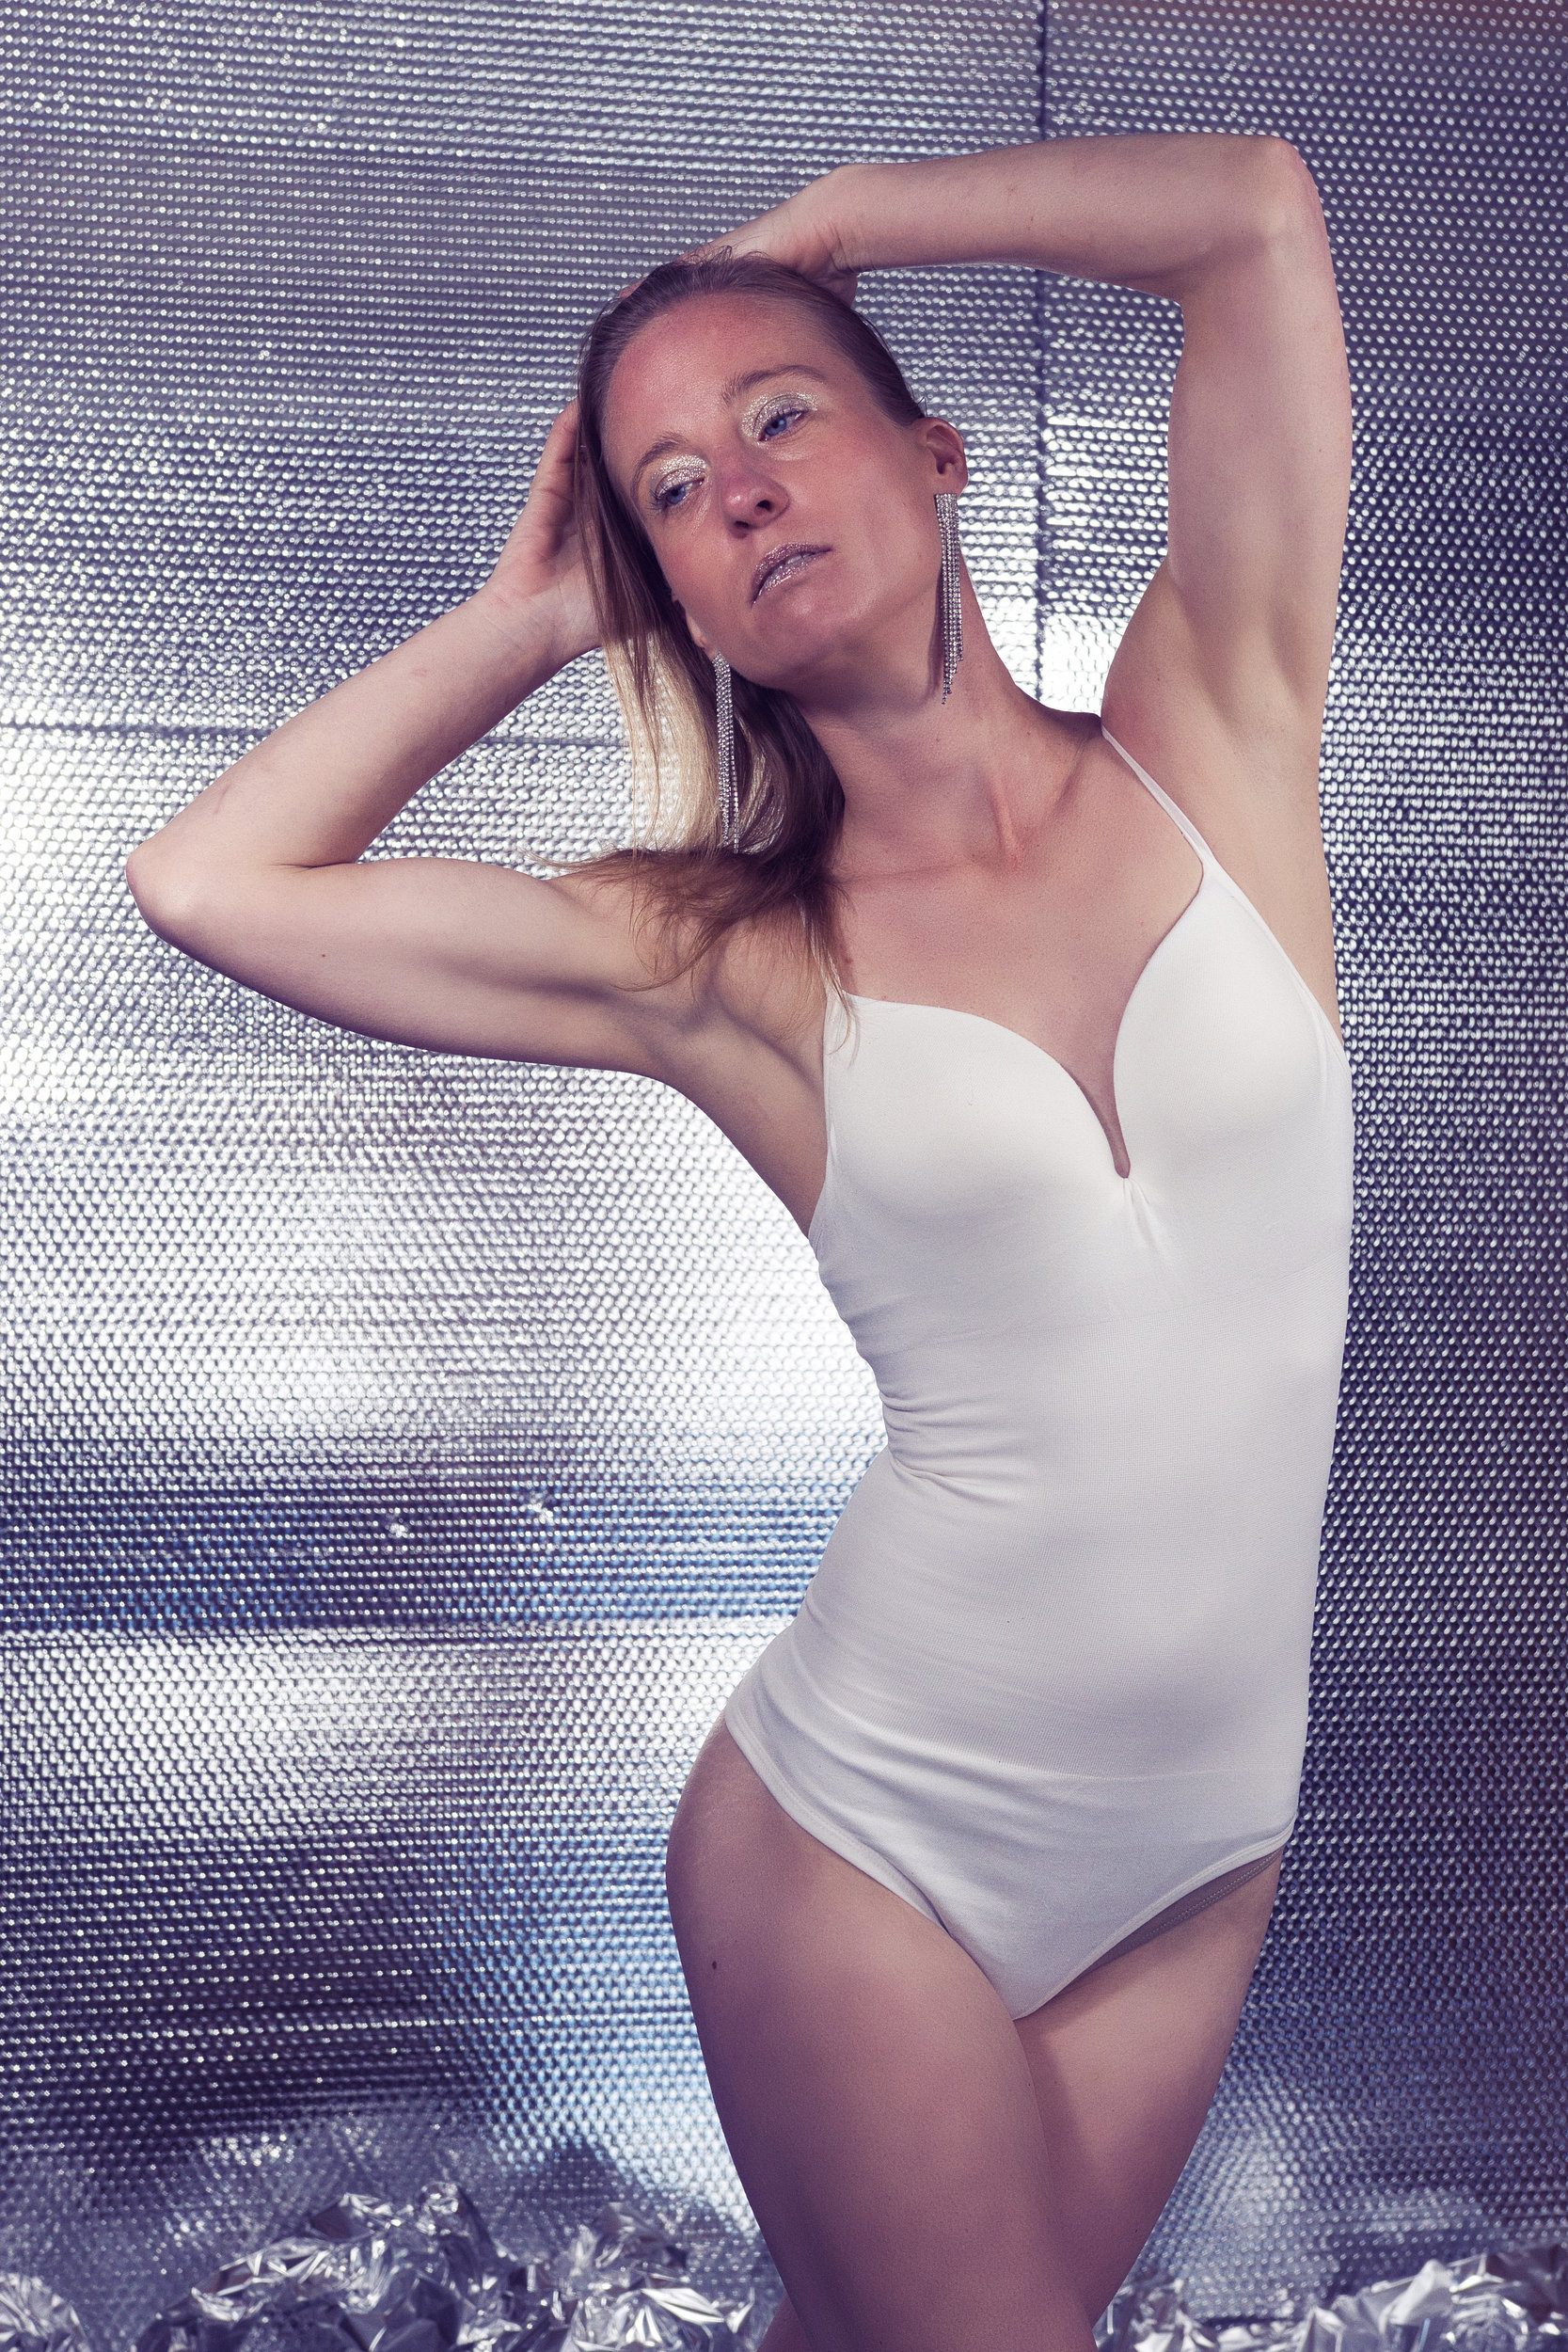
    Image
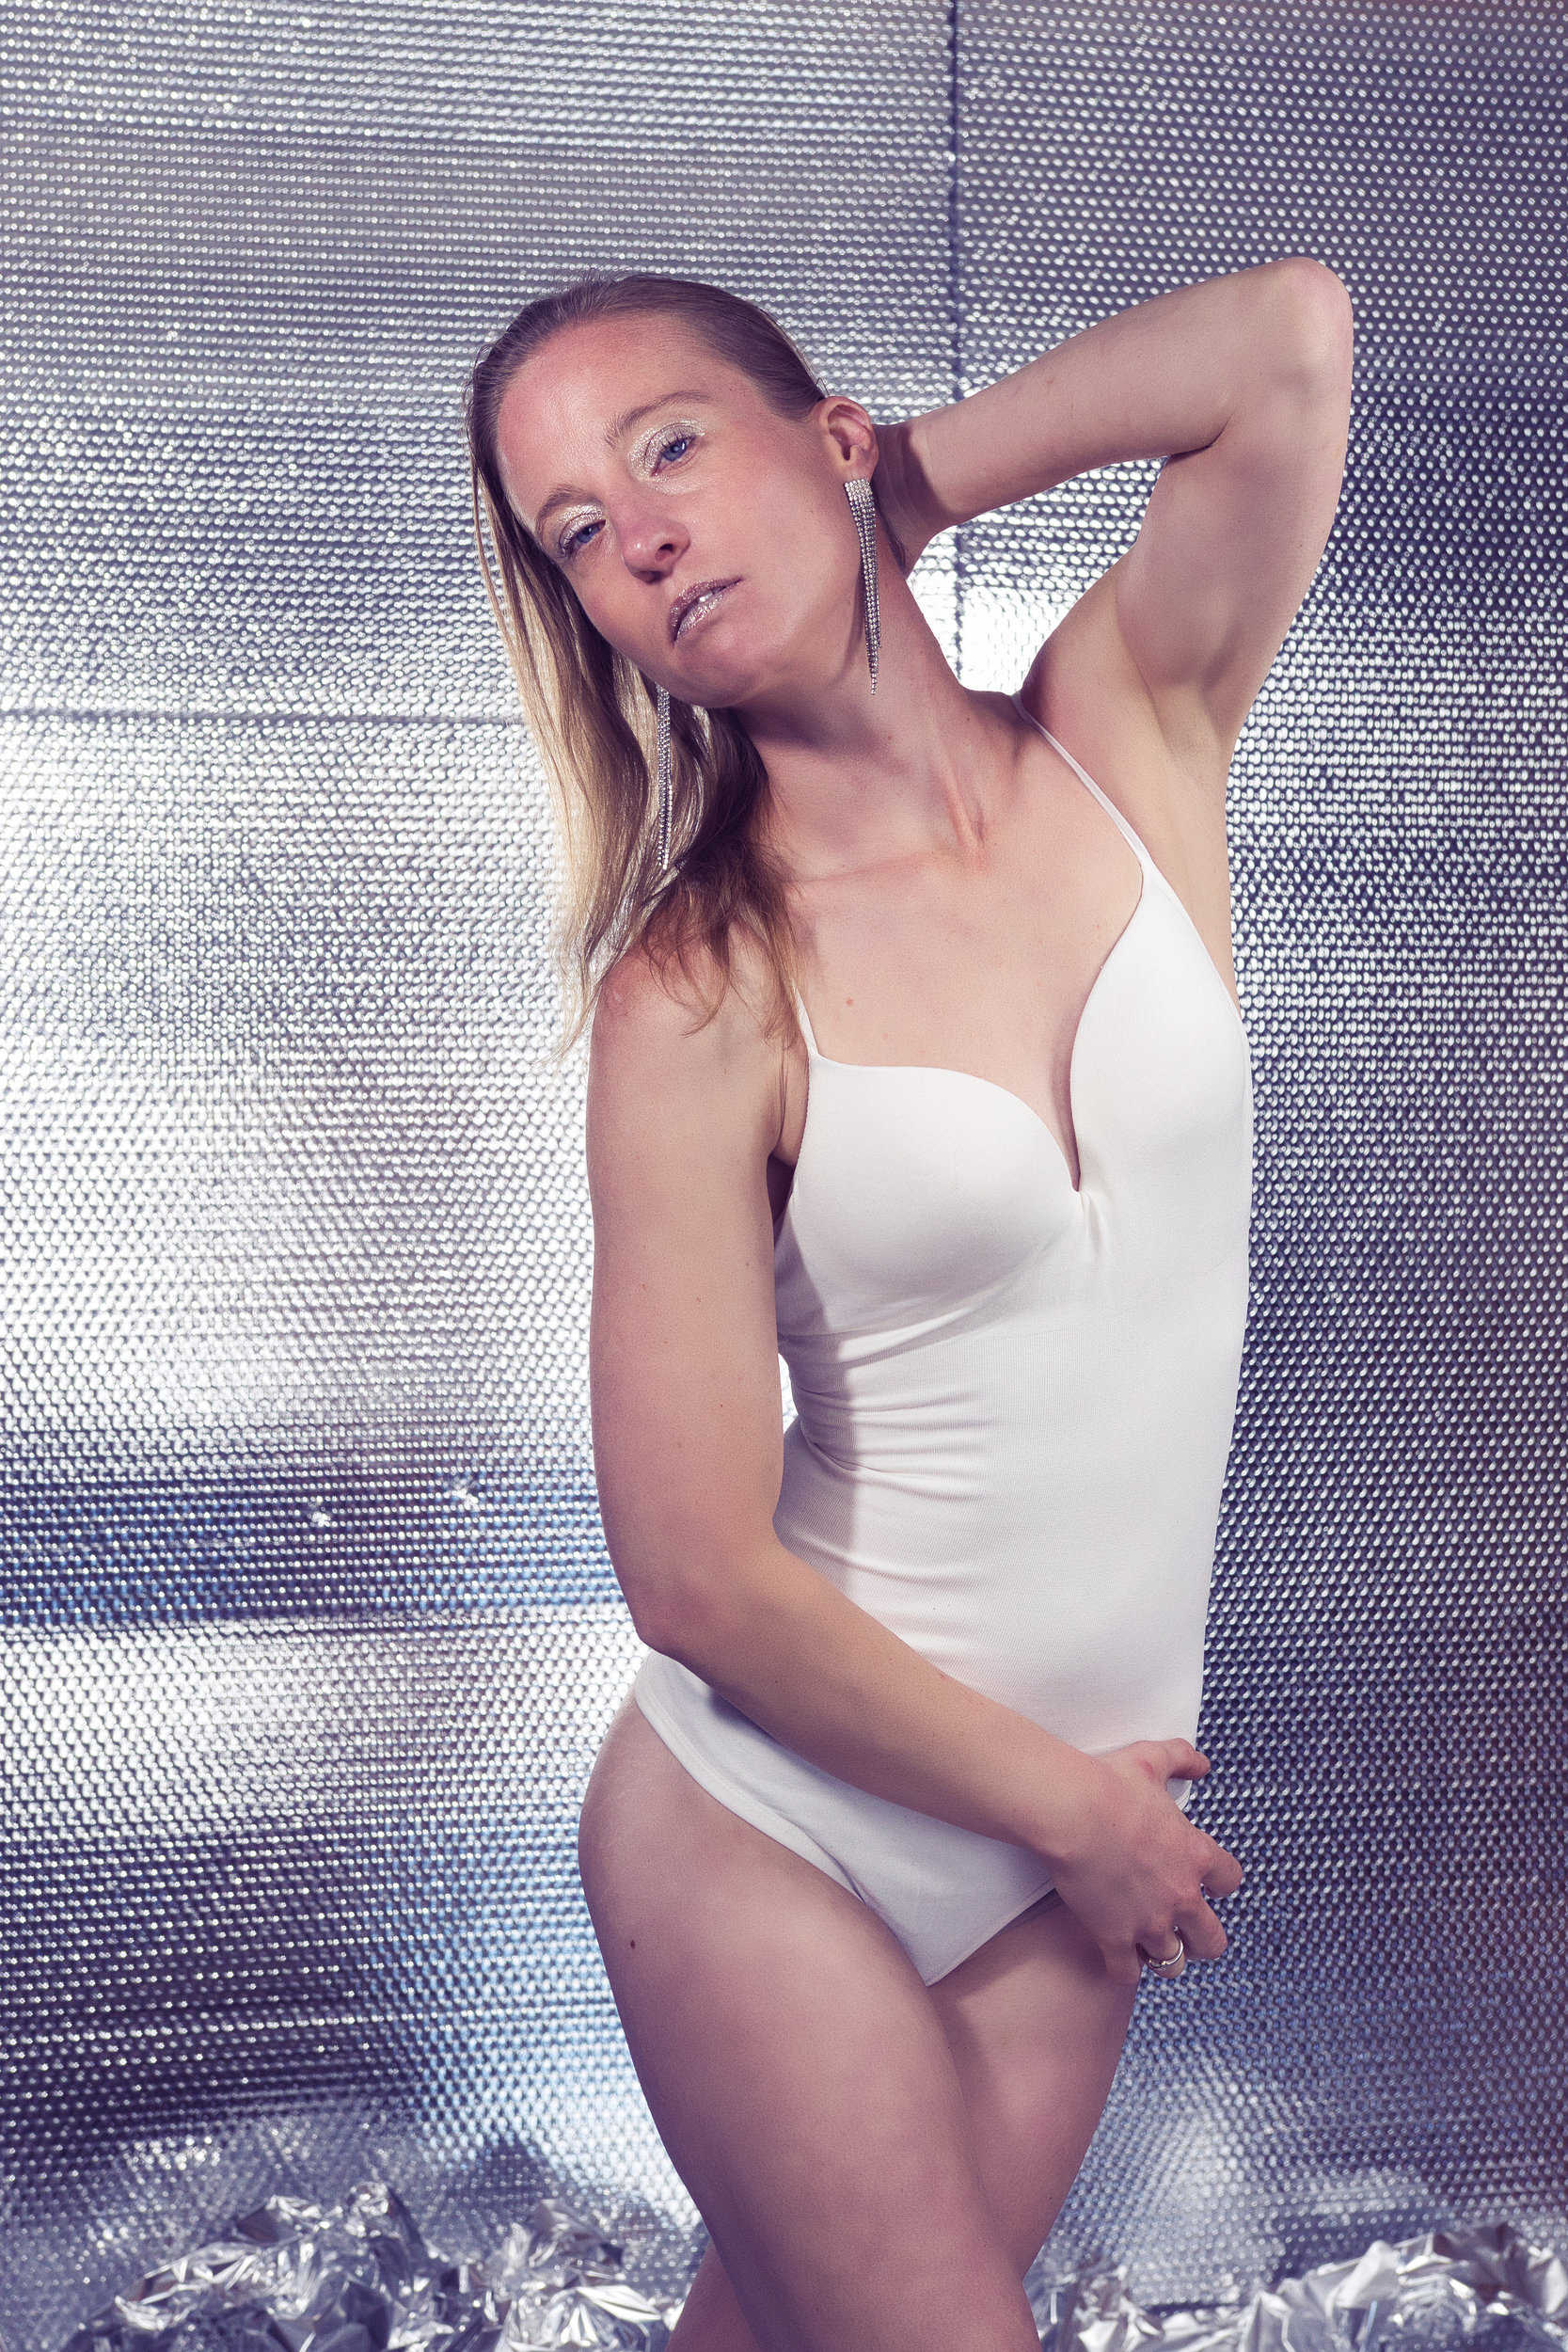
    Roos Testshoot Alu

    View more
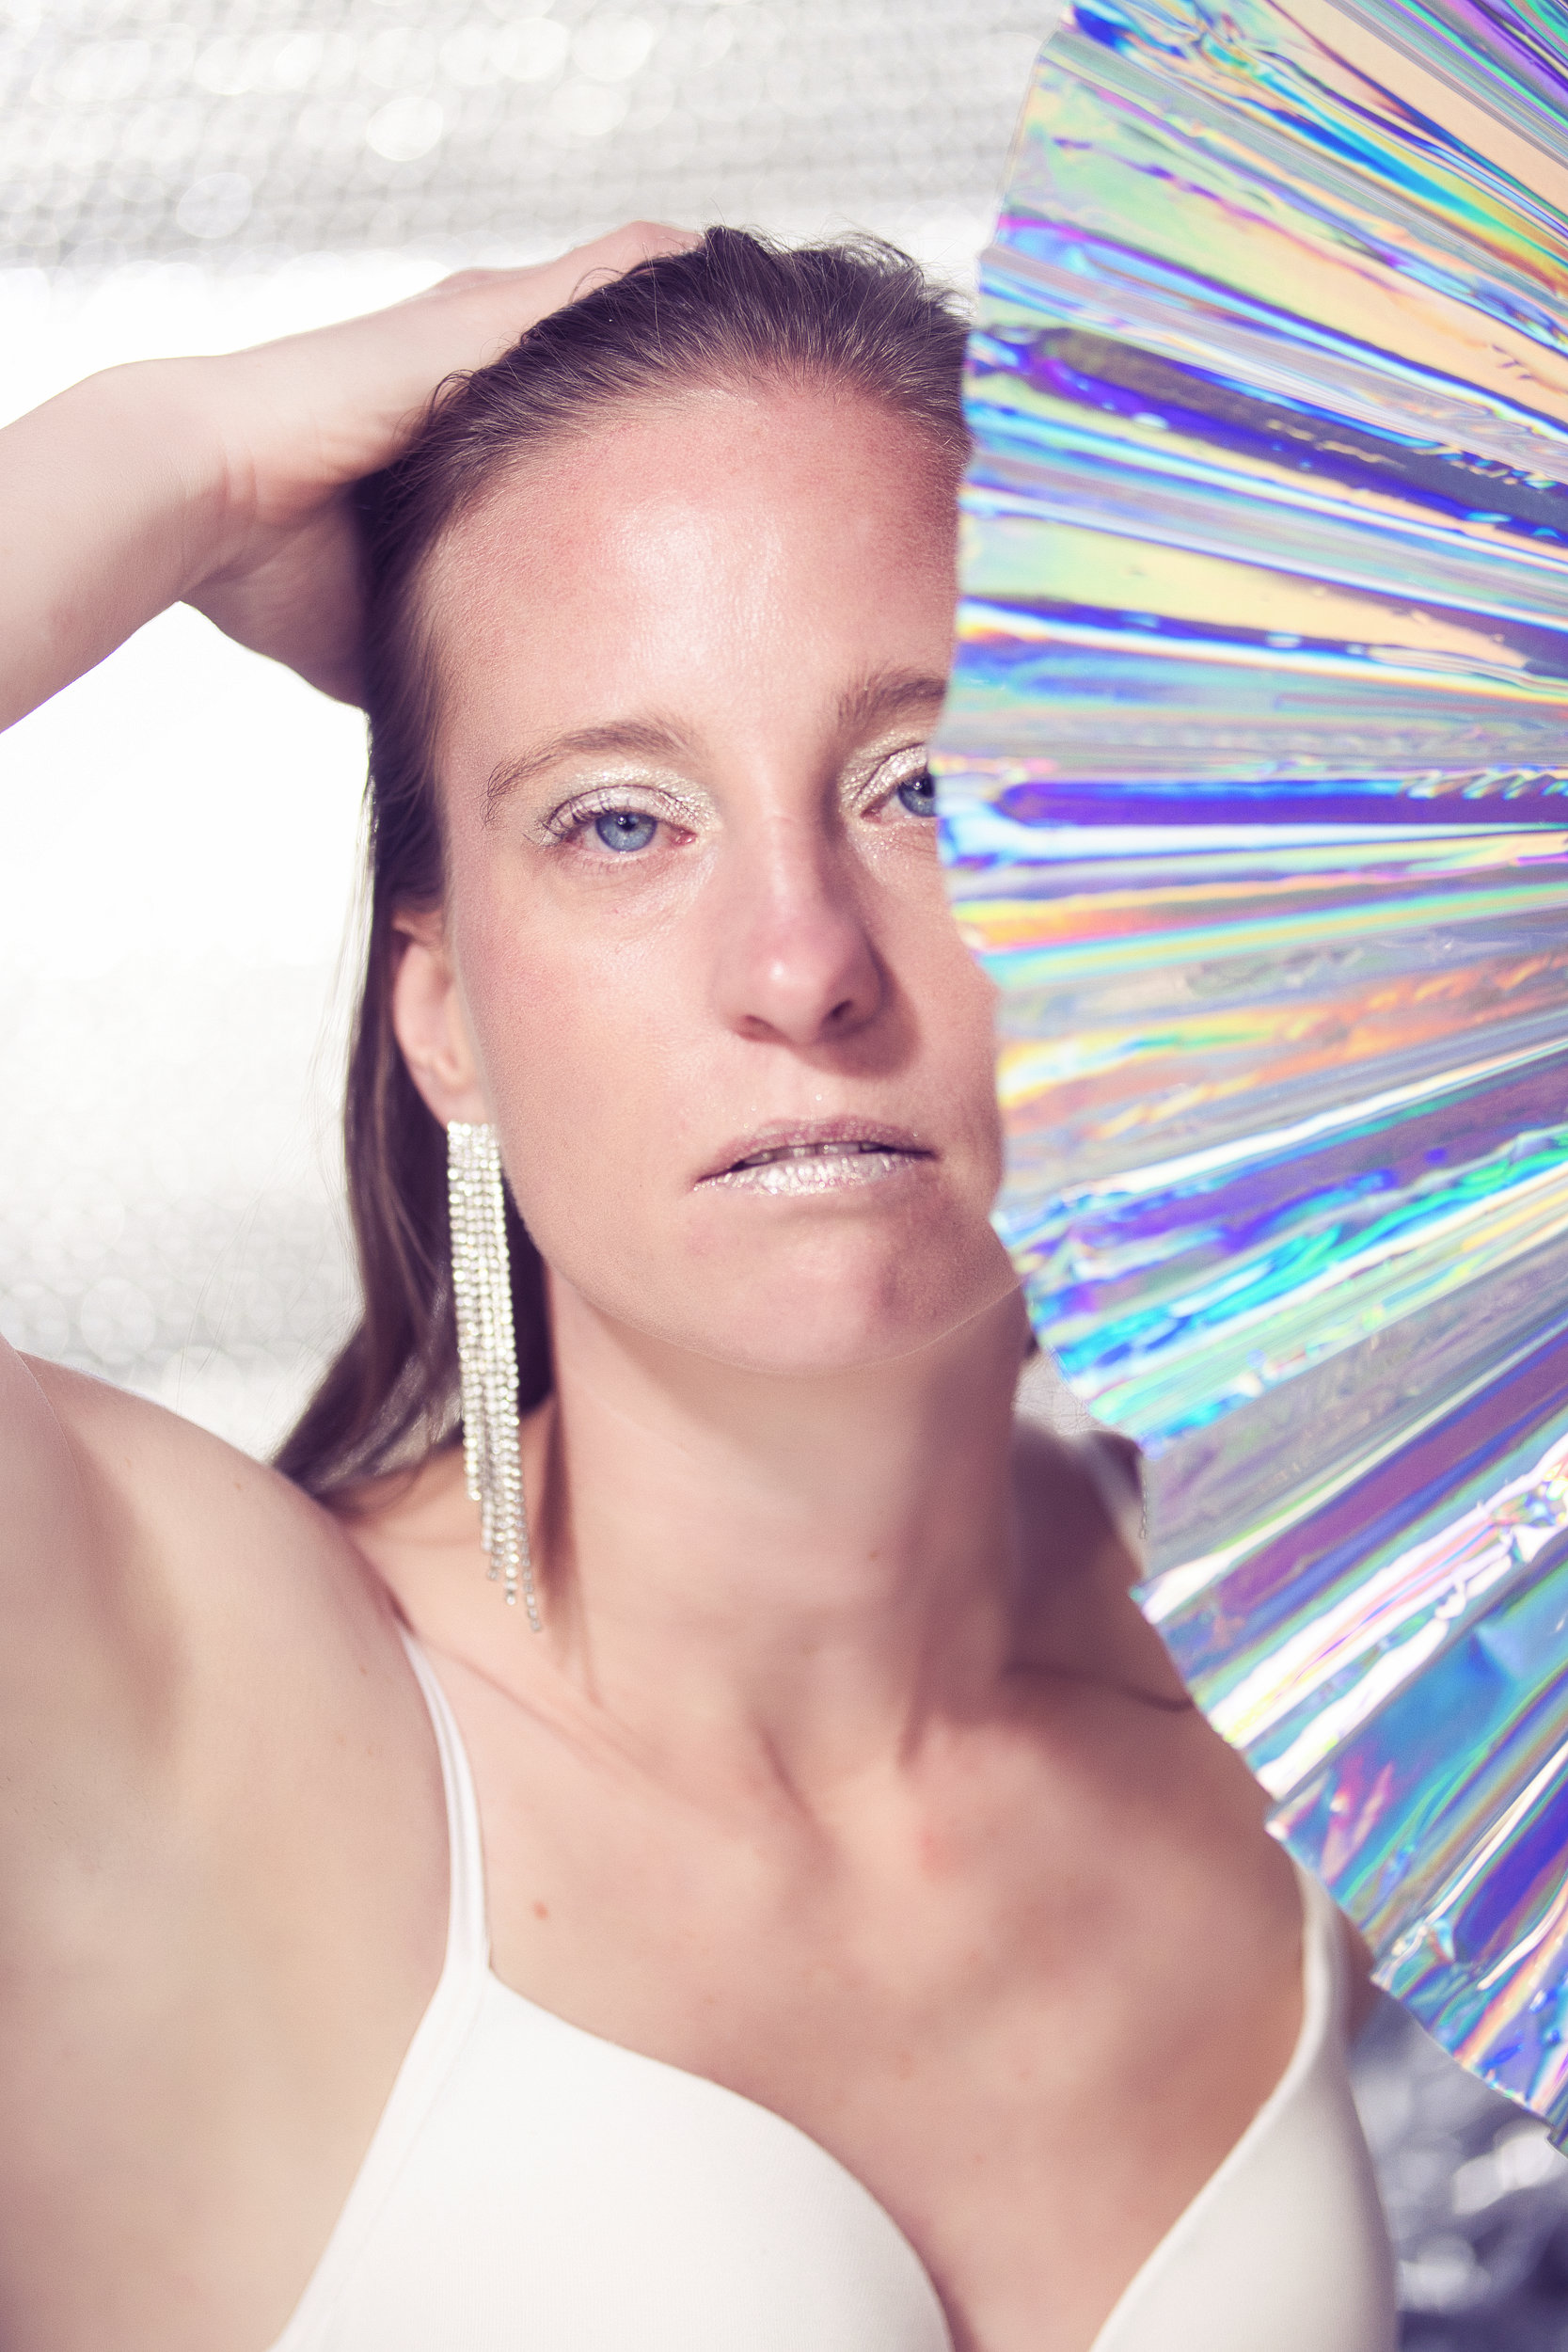
    Image

    Roos Testshoot Alu

    View more
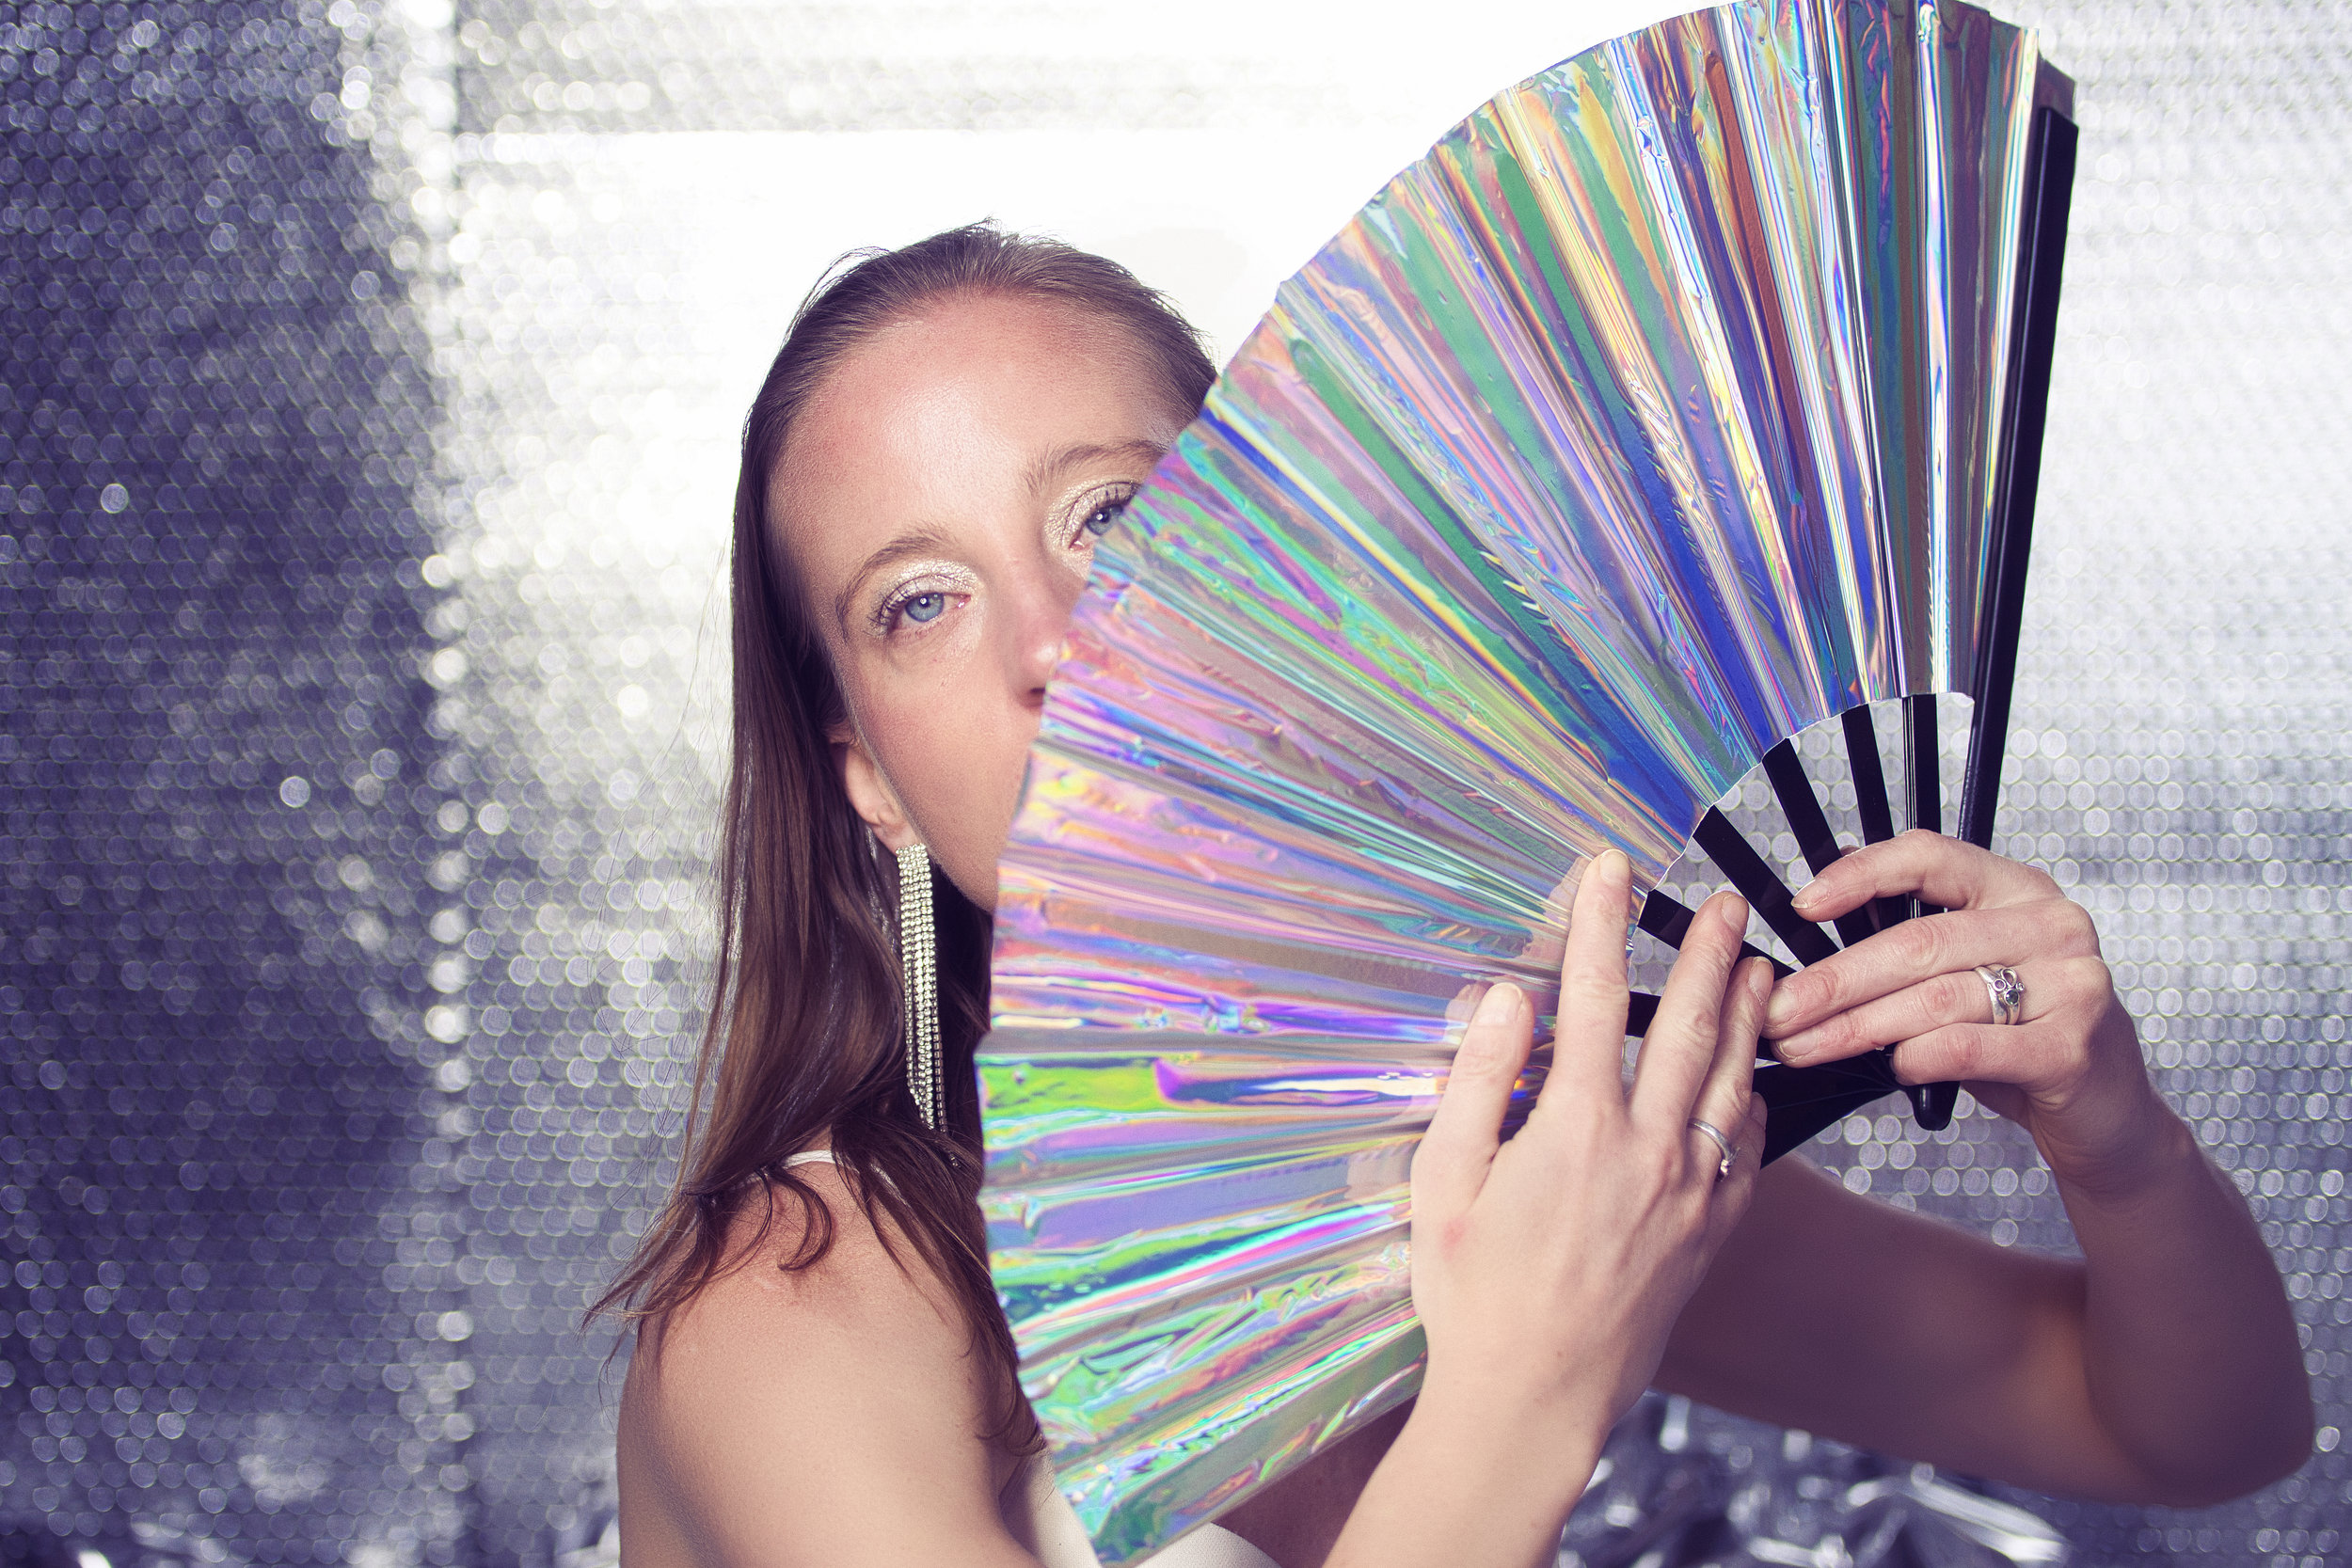
    Image

    Roos Testshoot Alu

    View more

  • Image

    Roos Testshoot Alu

    View more
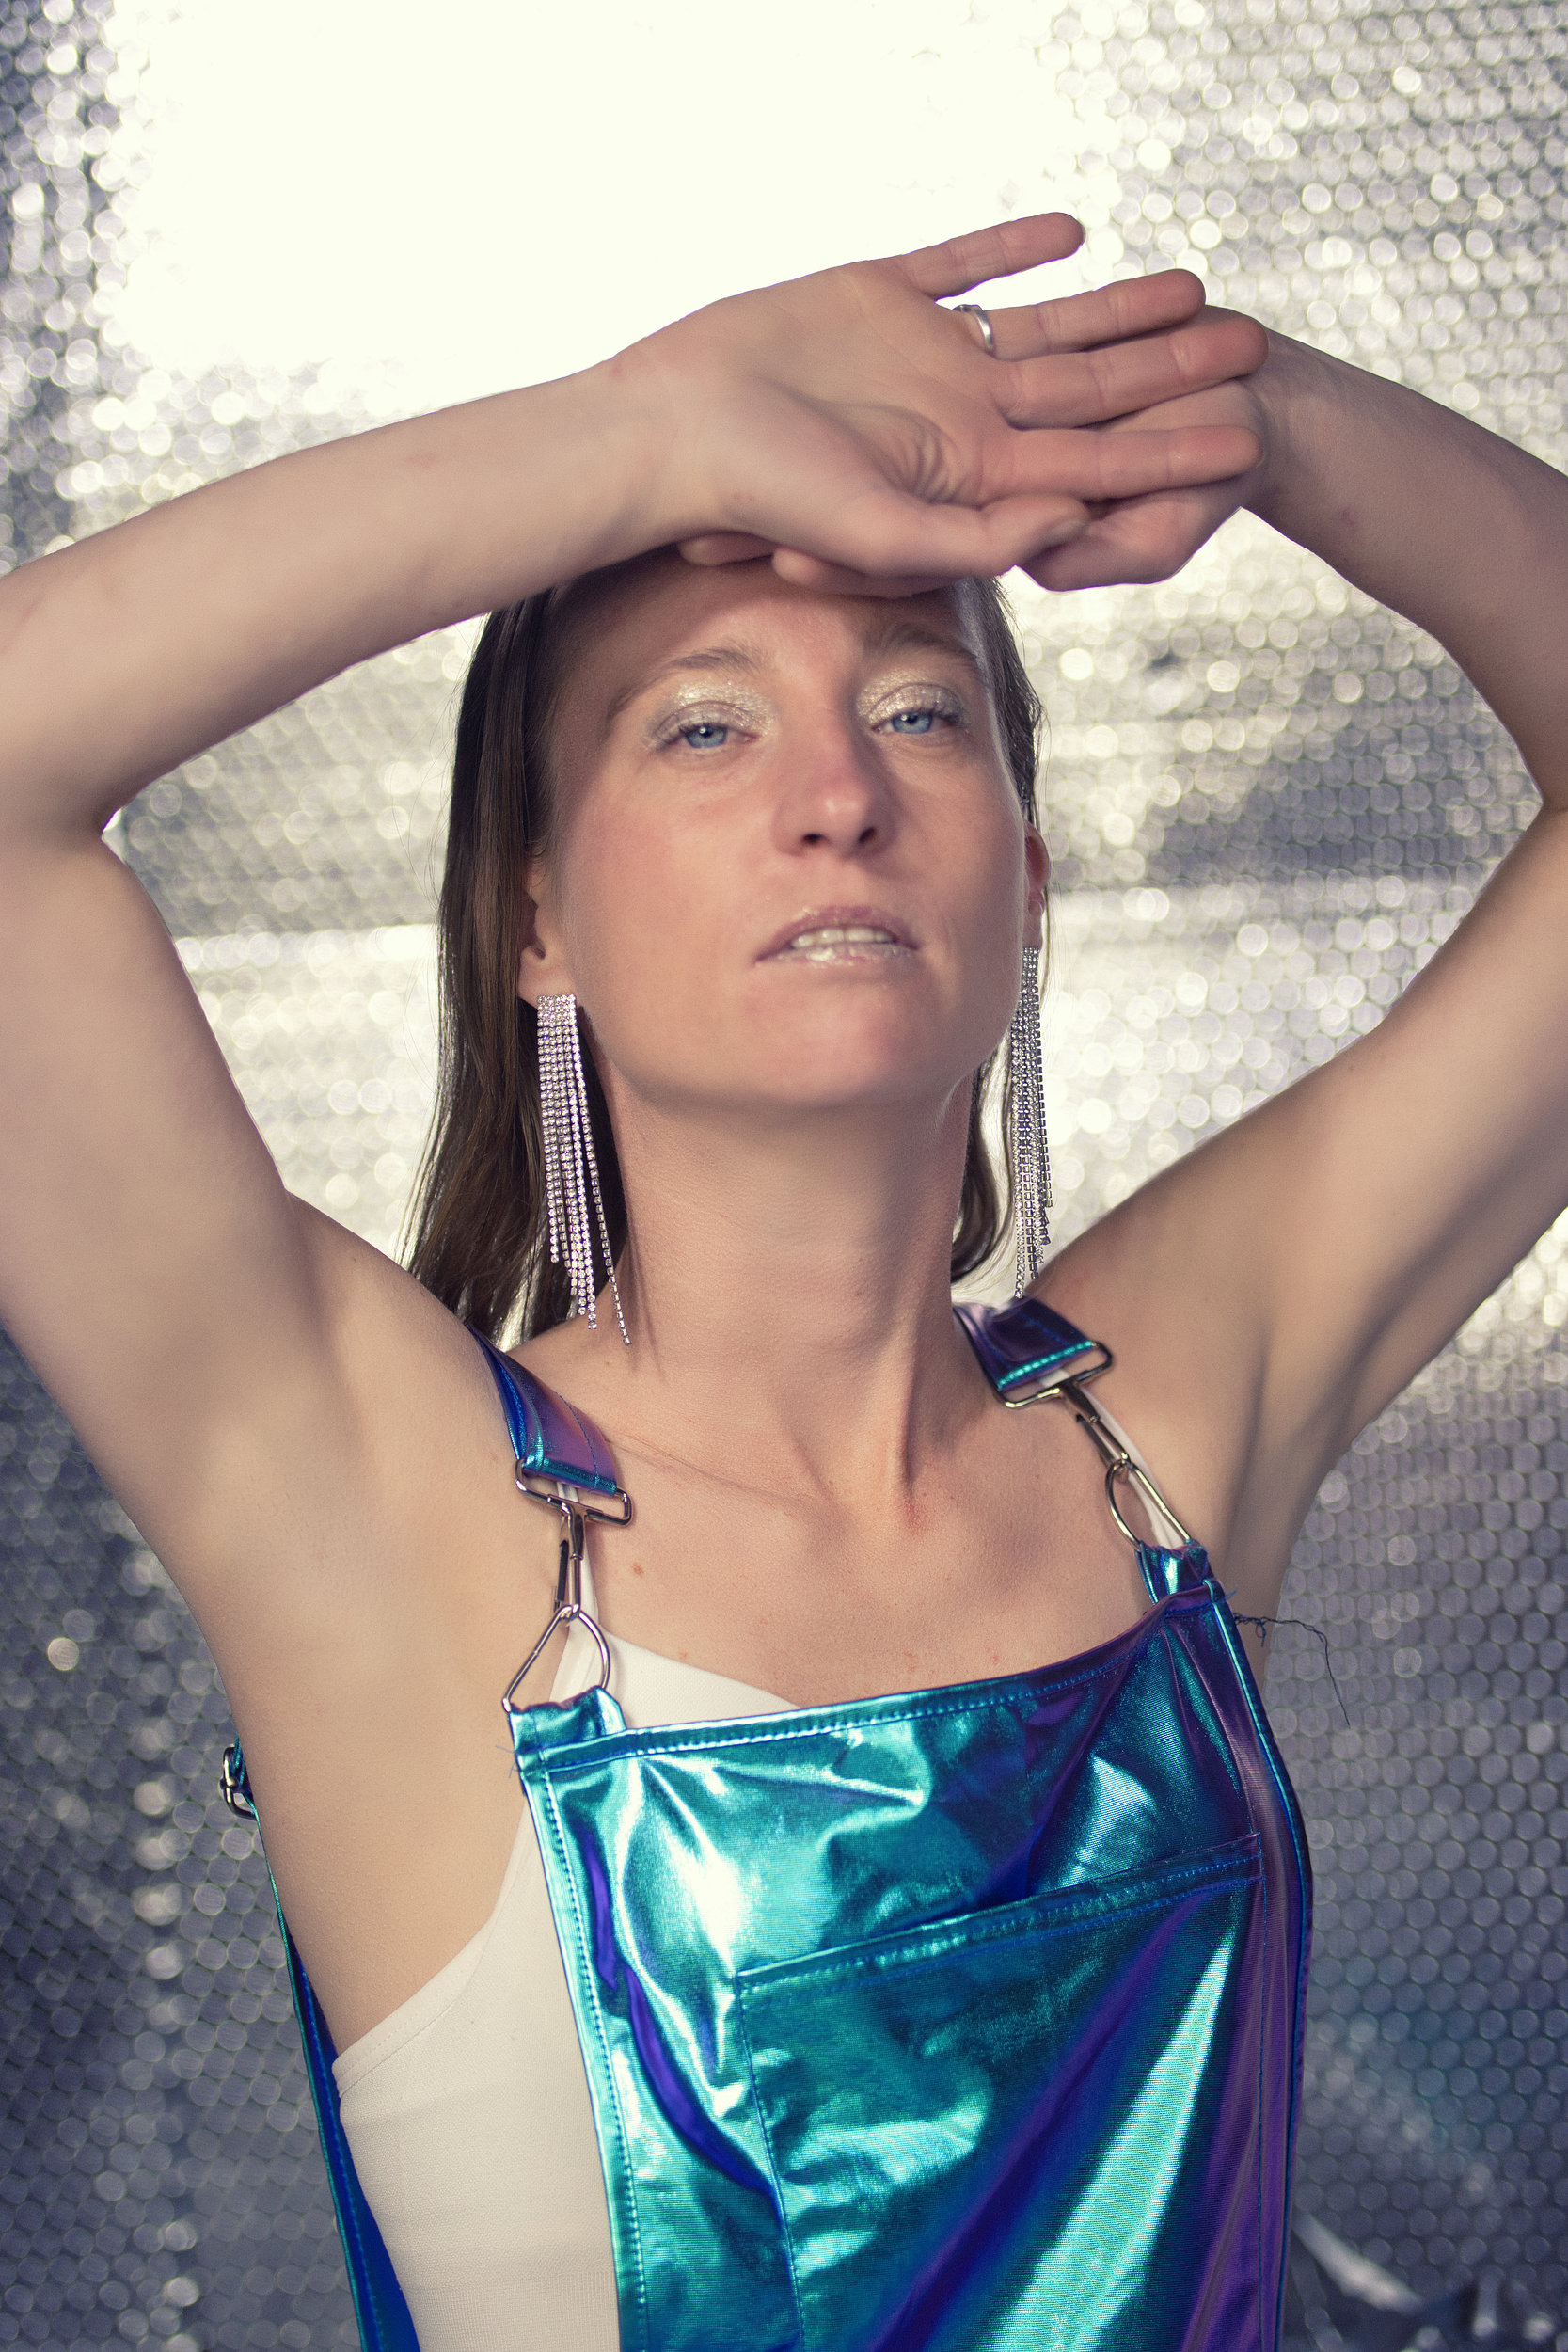
    Image

    Roos Testshoot Alu

    View more
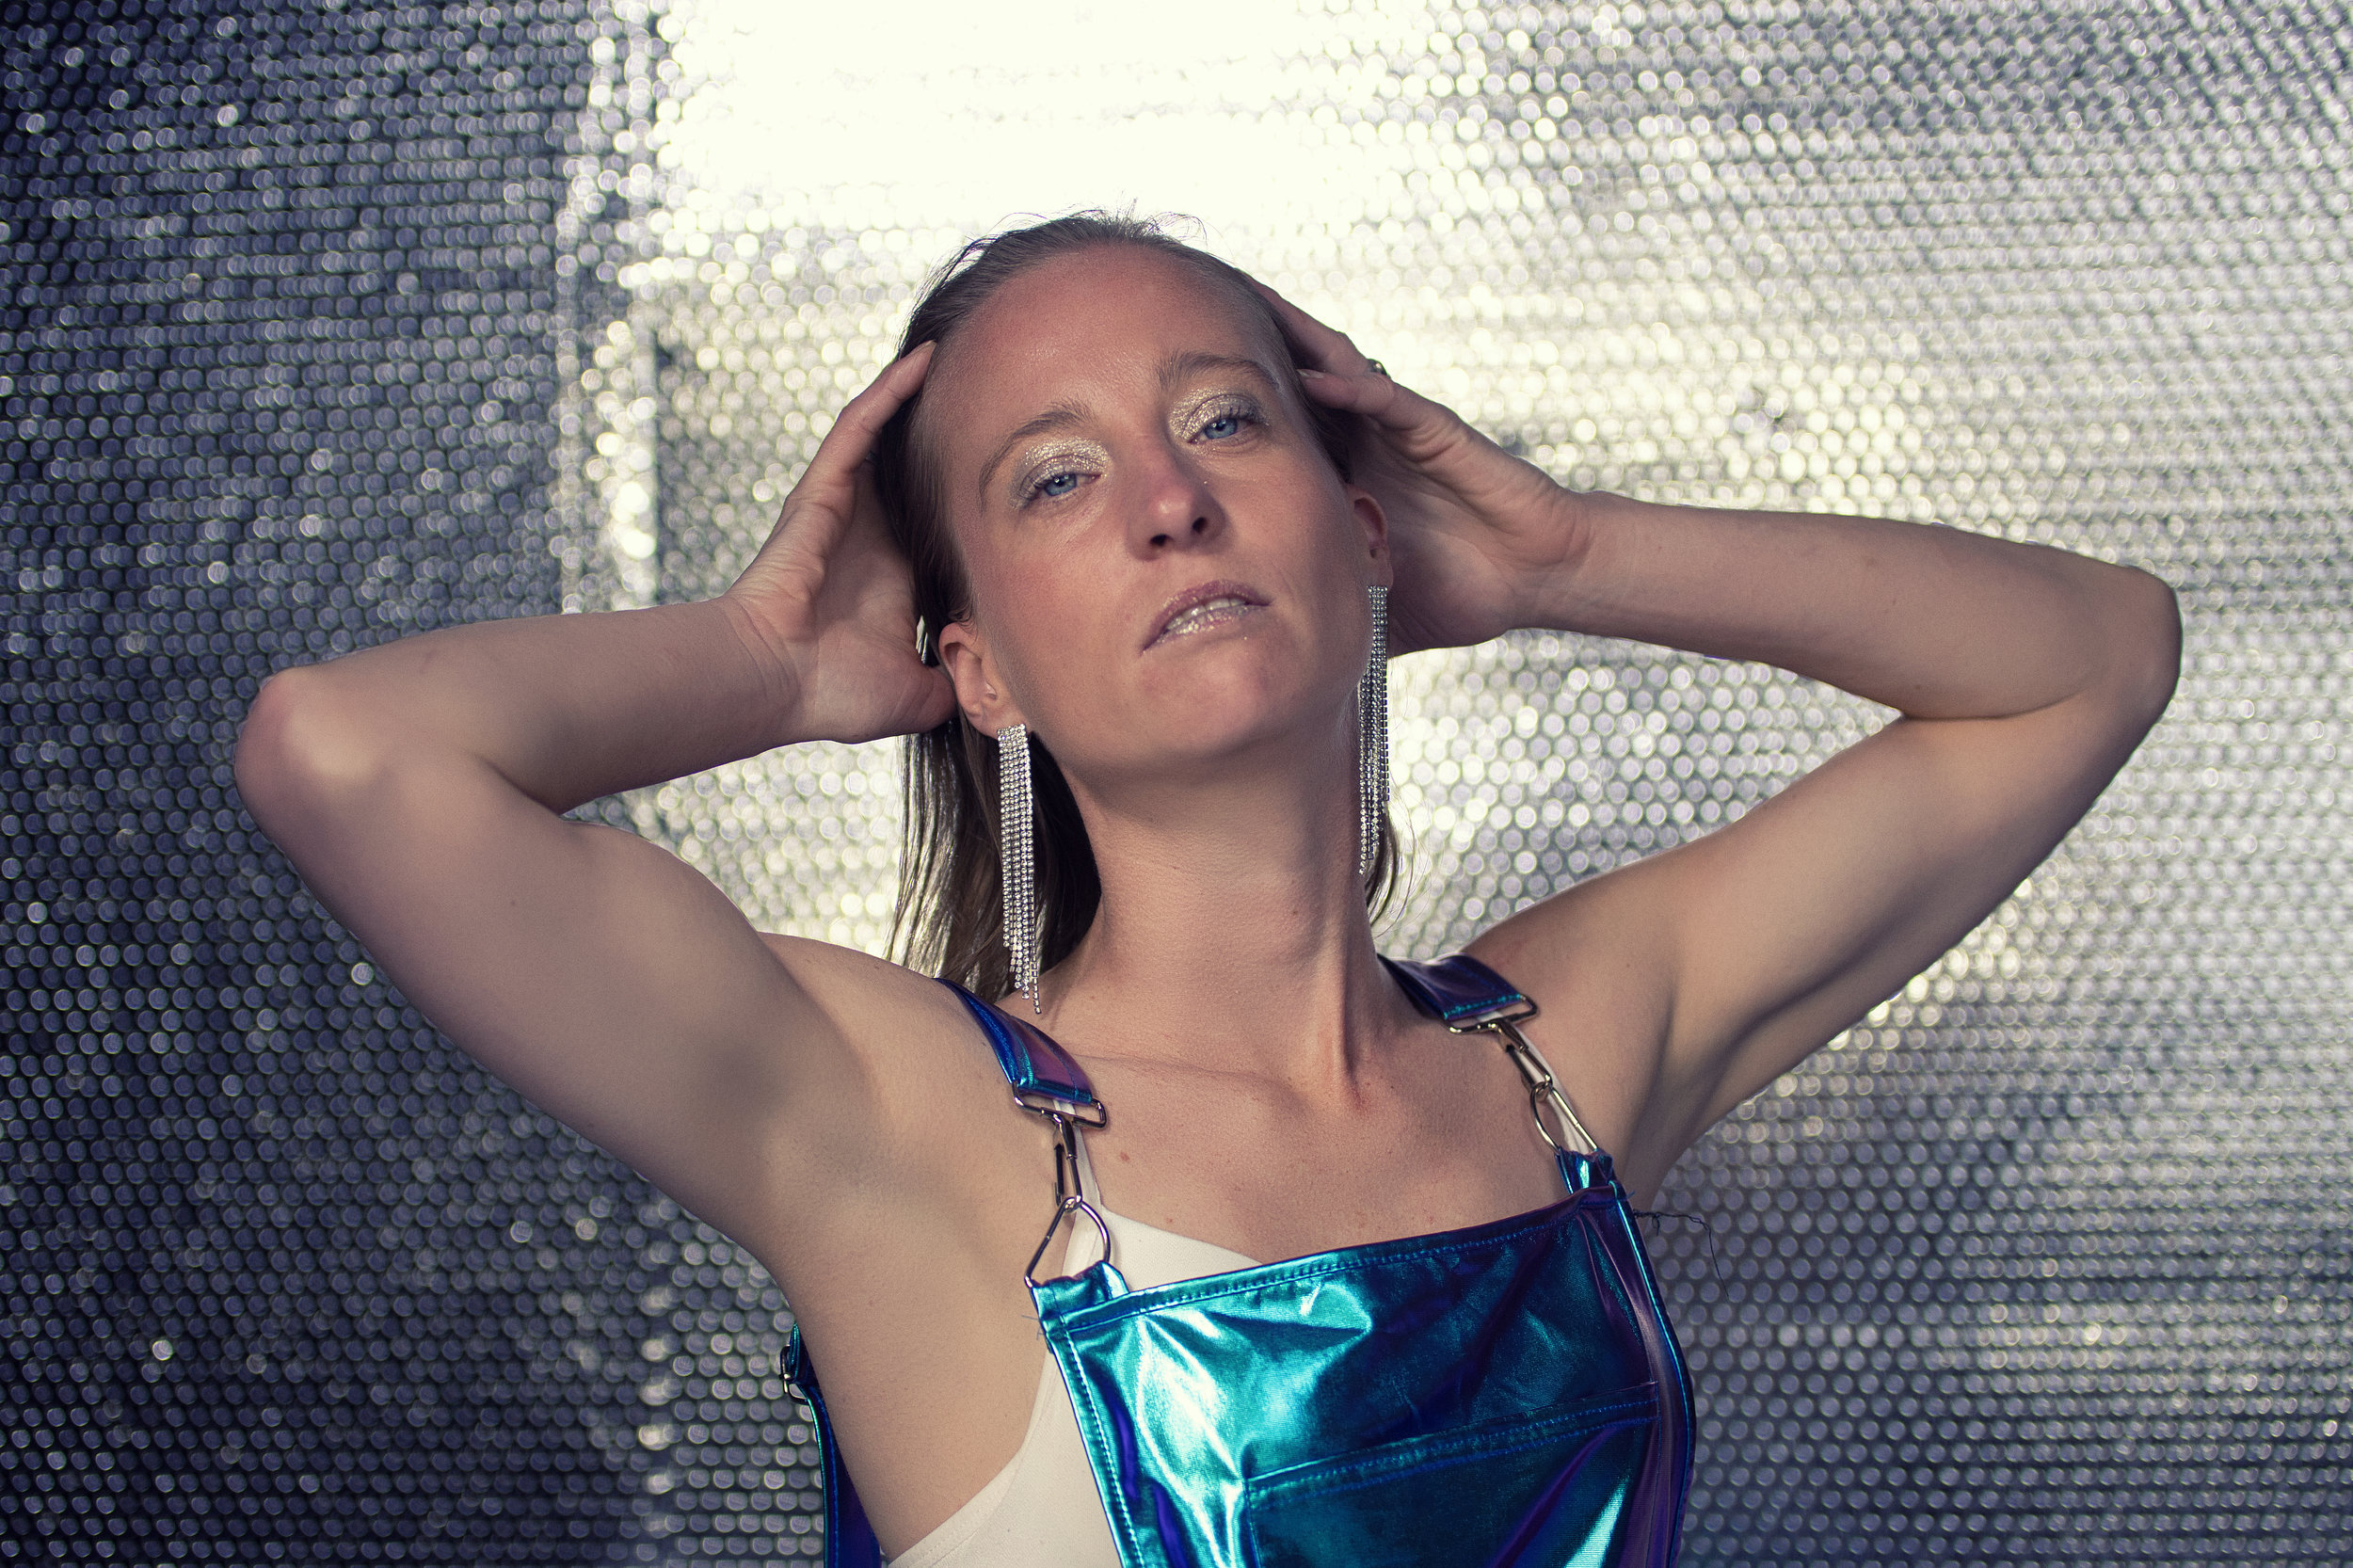
    Image

    Roos Testshoot Alu

    View more
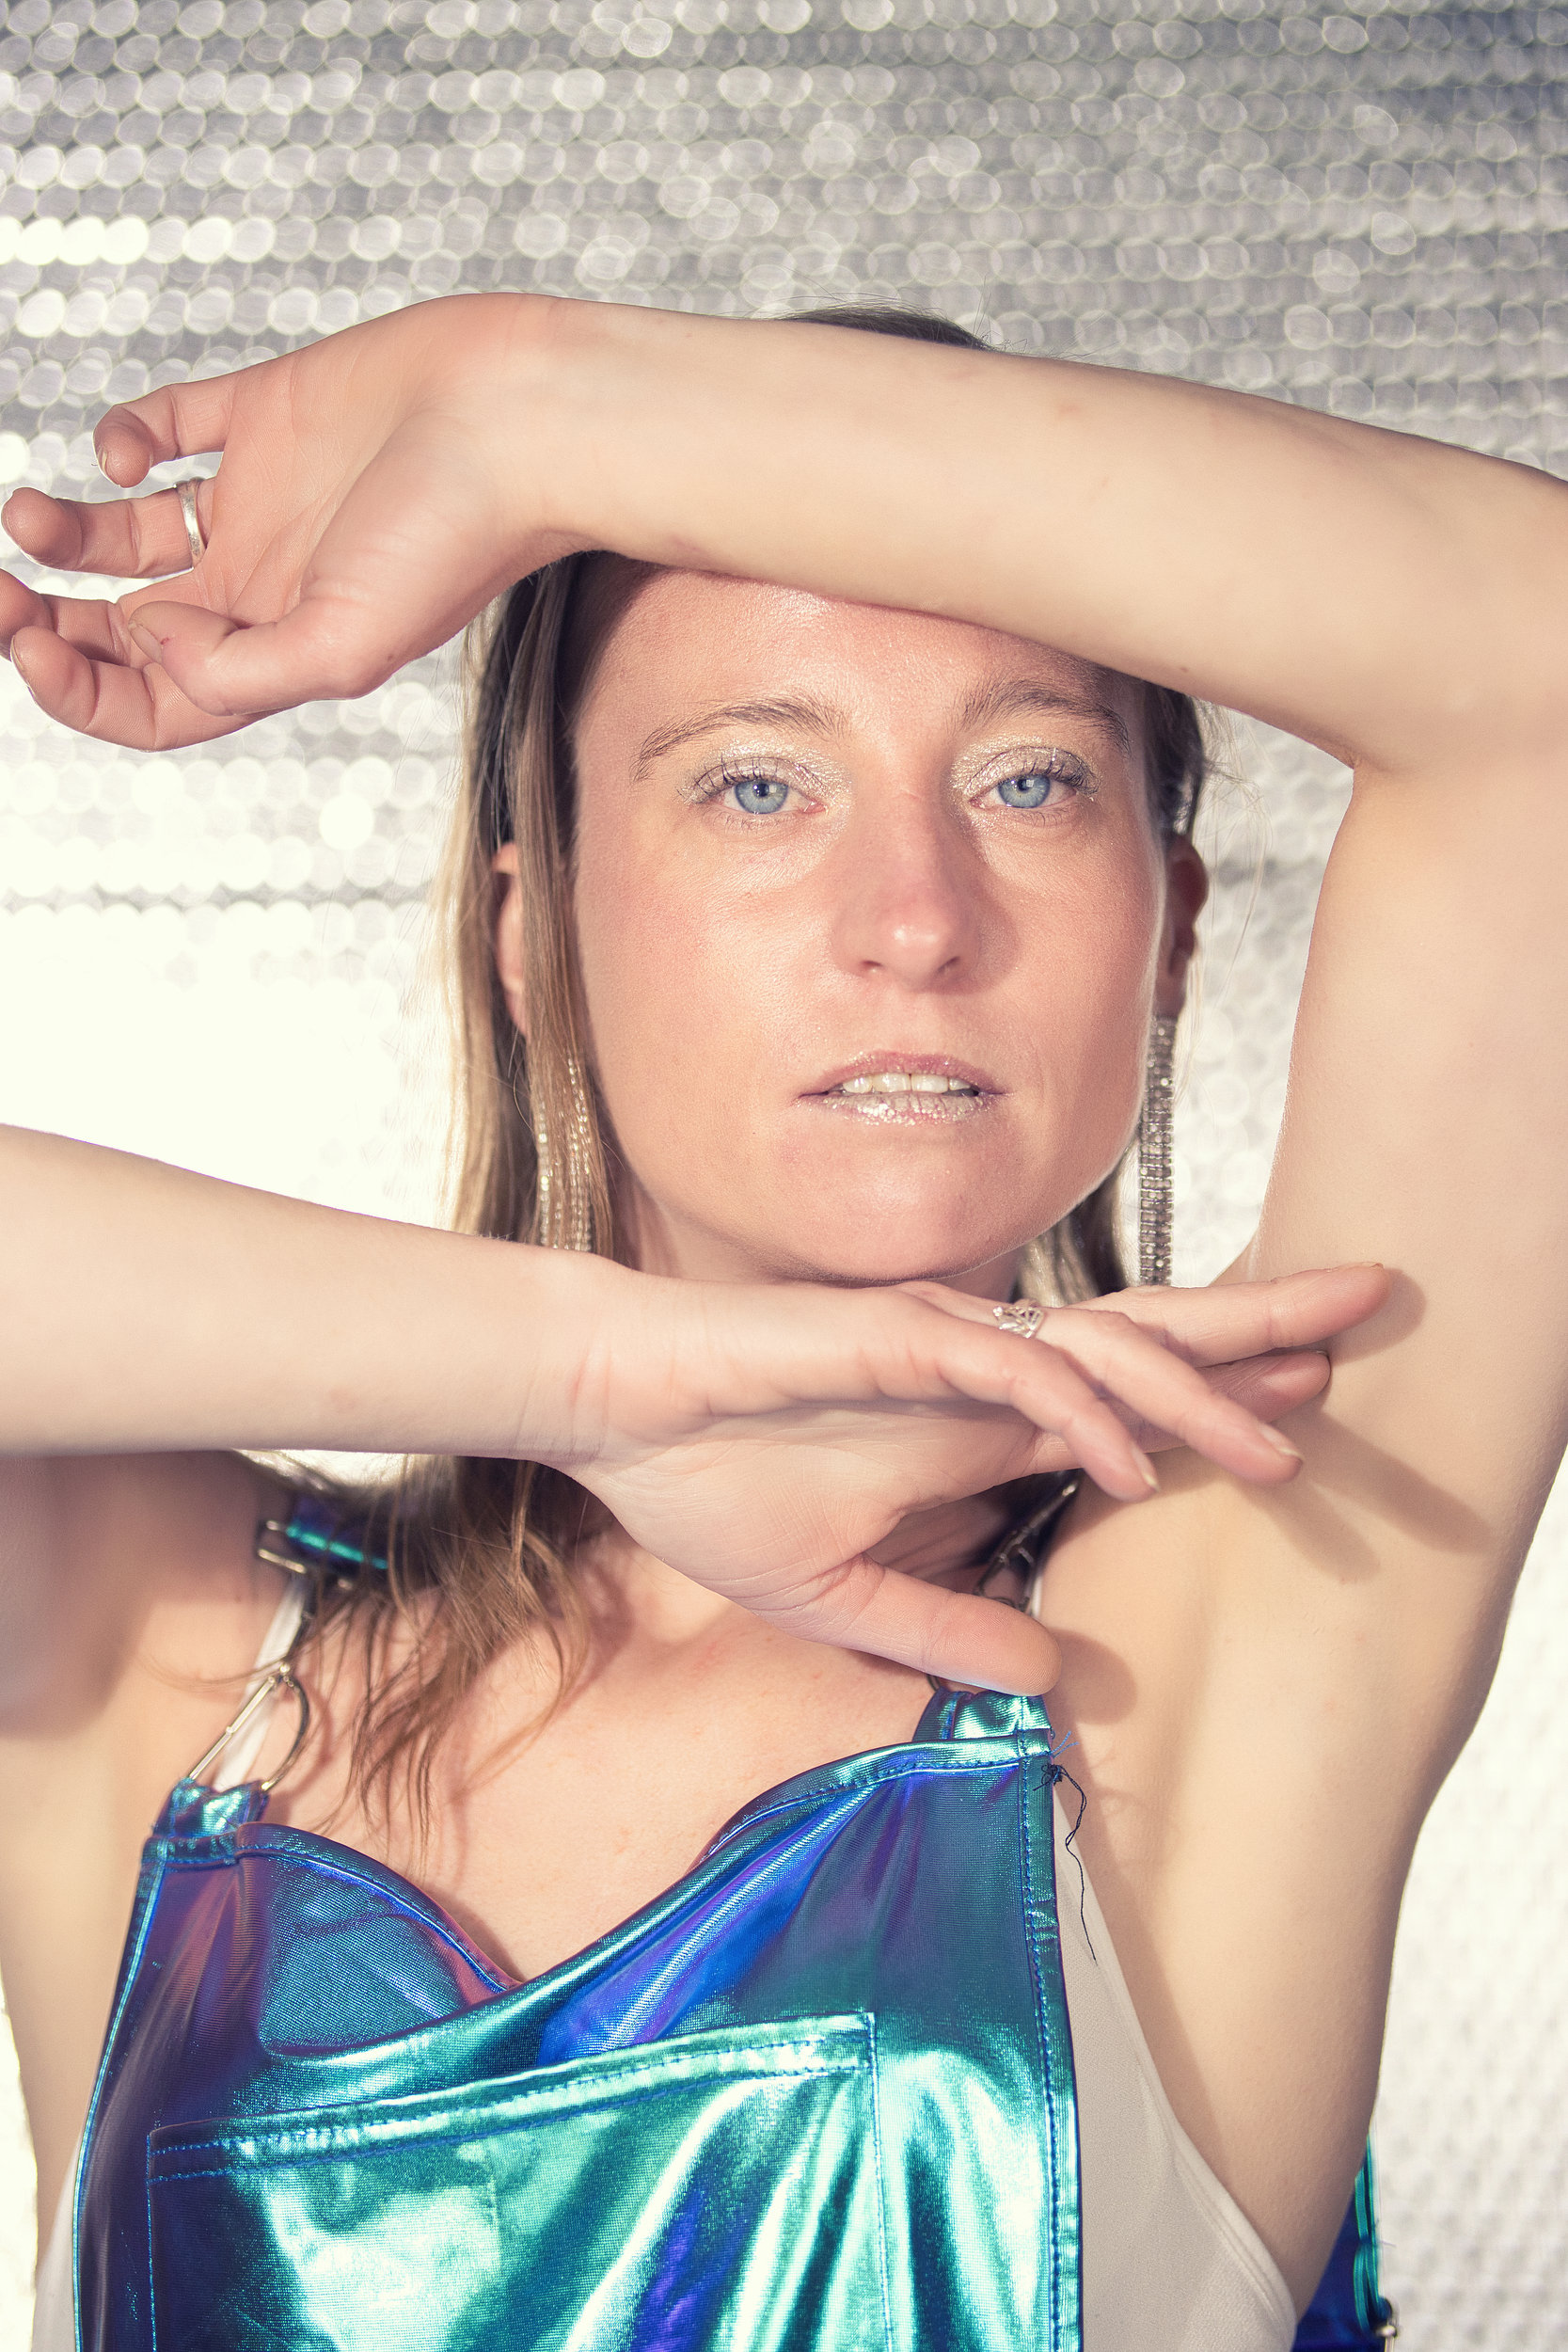
    Image

    Roos Testshoot Alu

    View more
    Image

    Roos Testshoot Alu

    View more
    Image

    Roos Testshoot Alu

    View more
    Image

    Roos Testshoot Alu

    View more
    Image

    Roos Testshoot Alu

    View more
    Image

    Roos Testshoot Alu

    View more
    Image

    Roos Testshoot Alu

    View more
    Image

    Roos Testshoot Alu

    View more
    Image

    Roos Testshoot Alu

    View more
    Image

    Roos Testshoot Alu

    View more
    Image

    Roos Testshoot Alu

    View more
  • Copyright © 2026 Nico Suykens Fotografie